New to Nature? Start Backpacking and Camping with Rental Gear from CampCrate

How do you plan for a backpacking trip in Yosemite National Park when you have no gear?

There are a couple options. For starters, you could buy a bunch of cheap gear and hope it doesn’t rain on your trip. Chances are you’ll be wet, cold and hungry and may never go backpacking again.
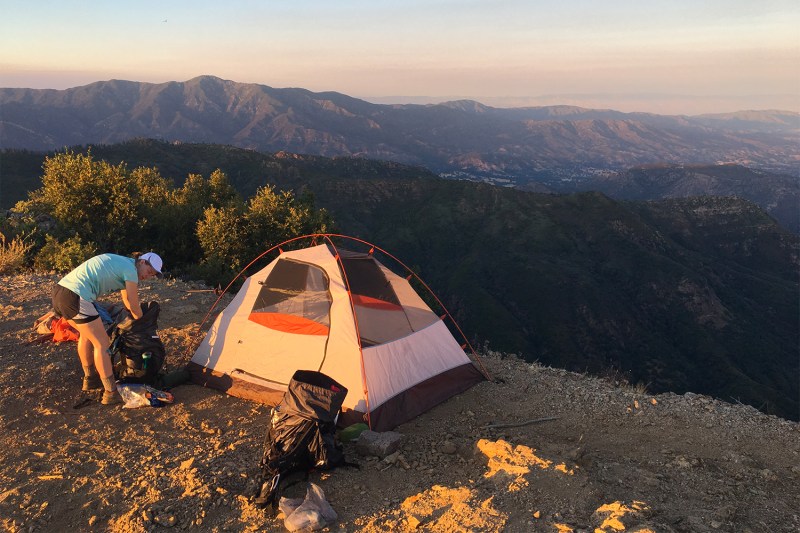
Image used with permission by copyright holder

Option two is buying a bunch of nice gear for the trip. Between a tent, backpack, sleeping bag, stove, water filter, clothes, and food, you’ll spend well over $1,000 for all of it. Hopefully, you’ll use it again.

Your final option is to rent backpacking gear. CampCrate will ship you a box of goodies you can use for the trip. Afterward, you send it back with a pre-printed shipping label. Founders Chad Lawver and Mason Gravley want to make it as easy as possible for beginners to go backpacking. “Over 90 percent of our customers have never even slept in a tent,” they tell The Manual.

What’s In a CampCrate?

In your standard CampCrate, you’ll find the basics needed for a few days out in the woods. Look forward to a waterproof tent, warm sleeping bag, and a comfortable sleeping pad for a great nights sleep. A Katadyn Hiker Pro water filter and JetBoil flash stove are lightweight and reliable for rehydrating all your freeze-dried bag meals and boiling water for coffee in 100 seconds. Pack all this into a Klymit Motion 60 backpack that saves weight with an inflatable frame. You’ll be able to see what you’re doing at night with a 200-lumen Petzl Tikka headlamp.

Standard CampCrate Gear

  • Tent
  • Sleeping bag
  • Sleeping pad
  • Camp stove
  • Headlamp
  • Backpack
  • Water filter

The standard crate costs $92 per day. You can bump up to a two-person crate that shares the tent, stove, and water filter but doubles down on the other supplies for $111 per day. CampCrate also offers options for larger groups. If you just need a couple things on your own trip, make a custom crate. The service rents out individual items, like the tent, sleeping bag, or headlamp, for a few nights.

All the gear is thoroughly cleaned before it’s sent out for another trip. “Mason keeps the gear cleaner than I keep my own gear,” Lawver brags. 

Before you embark, you can watch about an hour’s worth of instructional videos on CampCrate’s website to understand basics like packing your backpack, filtering water, and pooping in the woods. If you have any questions before the trip, you can just ask —Lawver and Gravley are happy to answer any number of questions you have about bears.

Fully Planned, Self-Guided Backpacking Trips

If you’re short on time or just don’t know where to go, CampCrate also offers fully planned, self-guided experiences in two locations. For example, CampCrate’s most popular trip takes you through Yosemite Valley’s southern rim on the Pohono Trail. Beginner backpackers can witness the iconic Half Dome, Yosemite Falls, and Giant Sequoia groves without planning a thing.
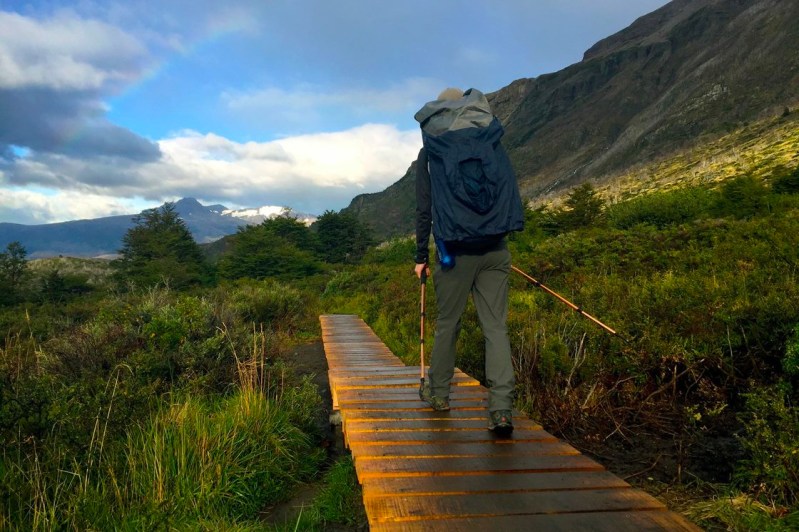
Image used with permission by copyright holder

“We want you to feel like you’re on a guided service by how well thought-out it is, but we want you to be empowered to do it on your own because that’s that’s a priceless experience,” Gravely explains.

Both Lawver and Gravley have spent years working in Yosemite and know it well. They go to great lengths to make sure budding adventures have everything they’ll need on the trek, shipping the CampCrate with permits, step-by-step instructions, an itinerary, and even a bus ticket to Glacier Point to start the hike. The itinerary is relaxed, leaving time for side hikes and exploring the beautiful scenes in Yosemite.

Next year will be spent expanding the number of planned experiences, adding another six or seven across the United States. Gear kits will grow to include more “luxury” car camping items and necessities for music festivals. CampCrate is also looking to include a biodegradable trash bag in every crate; send the company a picture of the bag full of trash from the trail and the team will send you a free T-shirt.
Ross Collicutt
Former Digital Trends Contributor
Ross is an outdoor adventure writer, amateur photographer, and computer programmer based on Vancouver Island, British…
How to gather firewood responsibly while camping
Yes, there are several "rules" when collecting wood for your campfires
Camping fire

The warm weather outdoor season is finally upon us, so camping, hiking, and escaping into nature are all on the short list of things we can enjoy now. Whether planning a weekend state park escape or a multi-day backpacking excursion into the wild, we should all strive to be good stewards of the Earth. One of the simplest ways for campers to do just that is to learn how to gather firewood responsibly before building a fire.
7 ways you can be a good steward of the Earth

Here's how you can responsibly gather firewood. And help out your camper buddies by passing on these "rules" for collecting firewood, so they can also be good stewards of the Earth.
Check local campfire regulations
It’s easy to assume that because you’re in a remote area, campfires must be fair game. Long before you start gathering firewood, check the local regulations to see what’s allowed. In some regions, particularly those susceptible to extreme wildfires, the rules may change daily. Wind, humidity, local lightning storms, and a host of other factors come into play. Once you know where you’ll be making camp, check with the agency (e.g., National Park Service, Bureau of Land Management, U.S. Forest Service, etc.) that manages that land. They can tell you whether campfires are currently allowed in that area. Even if fires are permitted, check that it’s legal to gather wood and split the wood directly around your campsite.
Shop local
Invasive species are a threat to wilderness areas throughout the world. It’s tempting to bring firewood from home to your campsite, but this can threaten local ecosystems. Although it’s more expensive, the best option for “gathering” firewood is to buy it locally. The closer it’s purchased to your campsite, the better, whether that’s at the campground itself or a nearby convenience store.
Deader is better
Perhaps the most essential rule of gathering firewood responsibly is never to strip live trees. It’s bad for the environment, and it’s not sustainable. Imagine if every camper in that area -- dozens, even hundreds throughout a season -- pulled their firewood from the trees closest to their campsite. But, even from a selfish perspective, fresh, green wood is not going to burn well. Repeat after me: “Deader is better.” If it snaps easily under your boot, it’s ready to burn.
But let dead logs lie
Dead logs might look like great fire-stoking material, but there are two reasons to leave them be. The first is that they make great homes and hiding spots for smaller wildlife, including mammals, reptiles, and insects. They’re a vital part of any ecosystem. Second, the oldest logs are often damp or soaked completely through, so they make for terrible campfire wood.
Size matters
Gathering oversized pieces of wood is fine, so long as they’re cut to size before adding them to the fire pit. For front-country camping, consider packing a bow saw. Leave the axe at home, as it’s overkill for simply cutting logs to size. Backcountry campers concerned with pack weight might bring a hatchet, which is lightweight, compact, and incredibly versatile even beyond fire-making purposes. Whatever the tool, always cut firewood to fit completely inside your fire pit. This will help keep your campfire contained to a manageable size that’s less likely to get out of control.
Pay it forward
In some national and state parks, campers are not allowed to leave firewood behind. It must be taken with them or burned. Another option is to give any leftover wood to a fellow camper. It’s the right thing to do legally, environmentally, and for the simple pleasure of paying it forward.
Leave no trace
The idea is to leave your campsite just as you found it, for the next person to enjoy, so don't take more wood than you need for your campfires. If you accidentally collect more wood than you need, then refer to the above "rule" and share it with other campers.

Read more
Forget s’mores: Solo Stove has a new camping-ready popcorn maker
A solo stove popcorn maker placed over a solo stove standalone fire pit

After enjoying an easy camping meal around a warm campfire, breaking out a nostalgic dessert such as s'mores is customary to finish the night. But for those who prefer a savory snack to end their day in the great outdoors, the Solo Stove Popcorn Maker whips up batches of popcorn quickly and easily.
Solo Stove isn't new to the scene when it comes to reinventing the fire. The company is known for creating fire pits that are virtually smokeless, from large backyard bonfire pits to portable models.
The Solo Stove Popcorn Maker takes this technology to the next level, creating a product that can evenly roast kernels without creating a lot of soot or burnt pieces. It holds up to 3 quarts, perfect for a group of hungry campers.
How exactly does the Solo Stove Popcorn Maker work? It's simple. Add 1/3 or less of a cup of kernels; any type will do. Then add your favorite oil and salt, and place the pot on a grate above the fire. In about five minutes, you'll have hot, fresh, perfectly cooked popcorn ready to enjoy.

The Solo Stove Popcorn Maker is designed to work safely and quickly

Read more
Dust off your gear, it’s time to hit the trail: The spring hiking tips you need
These tips will keep you safe and comfortable on the trail
A person hiking

I don't know about you, but I love the fact that spring is here, and I can hit the trail again. I went out the other day without having to load up in all of my outdoor layers and enjoyed a trail run along some snow-free tracks. It's that time of year when you can dust off your hiking boots, dig out your trekking poles, and start to make some hiking plans. But spring isn't all sunshine and dry tracks. A little like fall hiking, spring trails can be muddy, and some of the wettest, coldest days I've had on the trail have come in springtime. Maybe it's not quite a time to pack away all that warm gear after all.

Spring is changeable. That's what I'm getting at. It's perhaps the toughest time of the year to pack a hiking pack because, on any given day, you might need to change layers four times. The days are long enough to get a good hike done, but you can still find yourself caught out after dark if you're not careful, and once that sun drops, the temperature goes with it. In return, though, spring rewards us with those golden hours at sunrise and sunset — the outdoor photographer's dream — raging waterfalls as the snow melts off, and the sounds and sights of nature coming back to life after a winter's hibernation. It's great if you get it right, and if you follow our spring hiking tips, you won't go far off track.
Dress and pack accordingly

Read more