
How to Layer for Cold-Weather Cycling

Man cycling in snowy conditions.
Pixabay

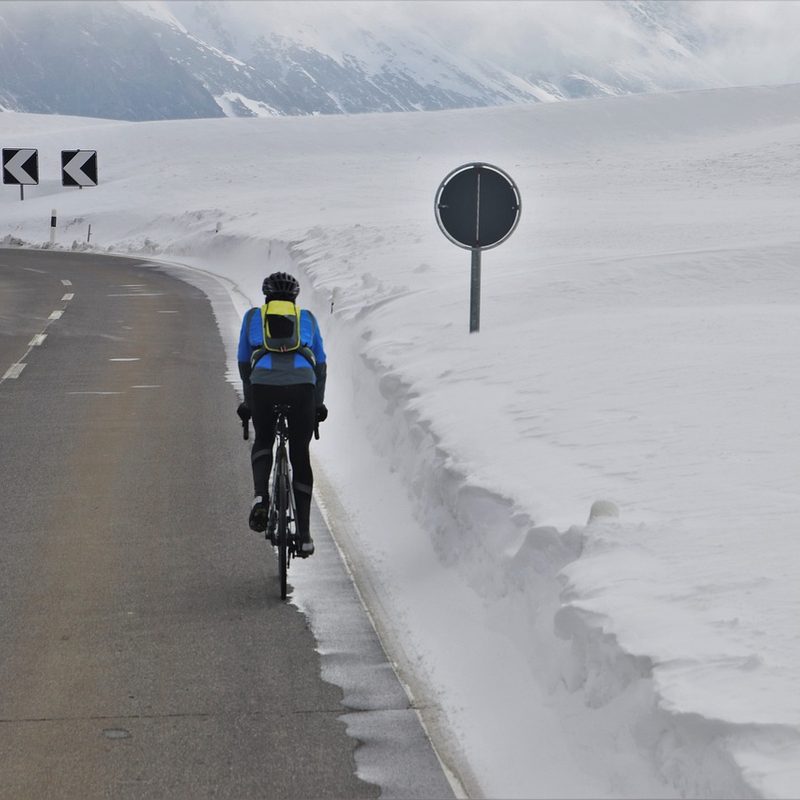
Some people think of cycling as a three-season sport, and while spring, summer and fall are glorious times to ride, winter can also be a great time to grab your bike and hit the road, too. While there are plenty of challenges to cold-weather cycling, one of the biggest issues is dressing well for the conditions. Winter mornings and evenings when the sun is rising or setting can be very cold. But in the middle of the day when the sun is at its peak and you are working to climb hills or riding against a strong wind, chances are you’ll build up a sweat. To keep yourself comfortable during a winter ride, you need to layer with precision.

Related Guides

Foundation Layers

A stack of Merino wool shirts.
Image used with permission by copyright holder

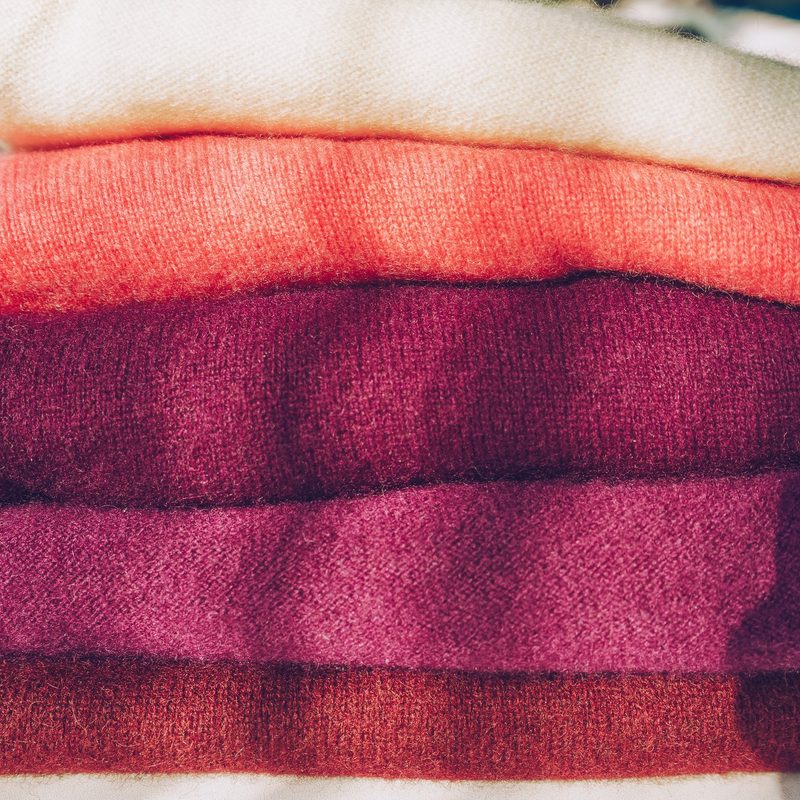
The most important part of dressing for cold-weather cycling is getting your first, foundational layer, which is closest to the skin, just right. This layer should be one that wicks sweat away efficiently yet keeps you warm as your body cools off. It’s no secret that merino wool is one of the best options for doing just that. That’s why wearing an undershirt made of merino wool is a great choice underneath your favorite cycling jersey.

Recommended Videos

Once you’ve chosen a great base layer, you can opt for a thick, full-zip jersey for the best insulation with the option to unzip to cool off. If you live somewhere that gets cold, but not excessively so, you might choose a short-sleeved jersey to pair with accessory garments. Regardless, continuing to use a jersey is a smart move so you can easily stash things you might need to quickly access while out riding.

Outer Layers

Two men riding a bicycle.
l

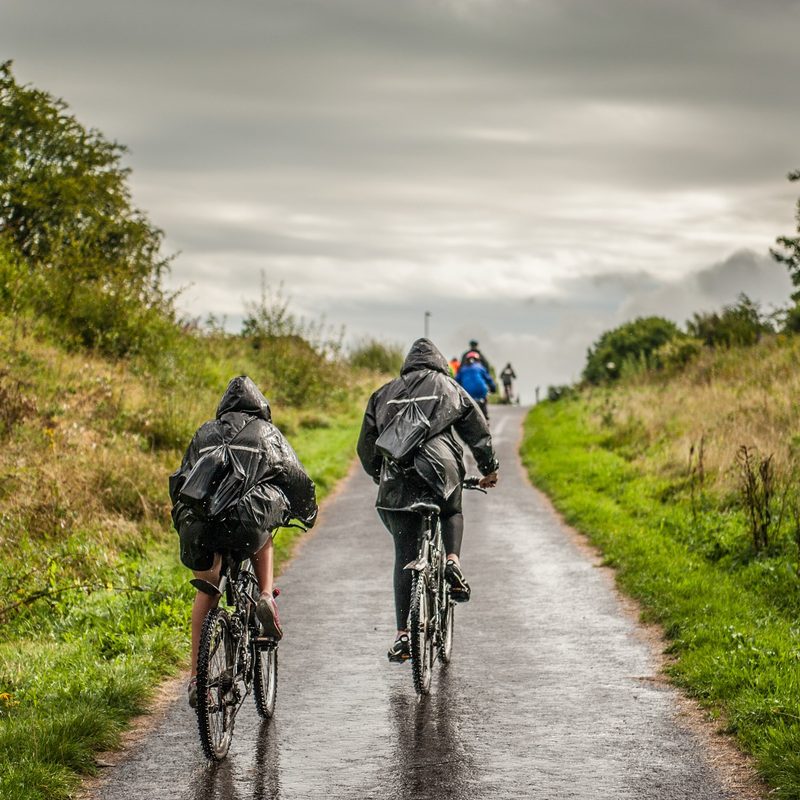
Depending on the weather you are working with, there are a couple of different outer layer options. You can always throw on a rain jacket or coat with good ventilation under the arms for a waterproof layer. However, there are tons of other lighter options that are perfect for keeping you dry underneath the layer. These layers also tend to be windproof and can be quite helpful for locking heat in.

If it is particularly cold though, you can toss on a thicker jacket that will keep you warmer on descents or after the temperature drops. For added protection, simply pull on the thin wind- and waterproof jacket to stay dry and warm. Even if you’re sweating, a proper base layer should keep you dry no matter how warm the top layers are. That can be especially helpful given that some jackets can begin to cling to the skin.

Tights, Shorts and Overshorts

Three people cycling on a road.
Image used with permission by copyright holder

While keeping the core warm should be your highest priority, keeping the legs warm is a close second. Choosing the right bottoms for cycling highly depends on the temperatures in the forecast. Medium weight to thick tights are the best option for freezing temperatures. You can easily layer another pair of bottoms such as overshorts for added warmth, too.

Temperatures that start out cold during your ride and heat up throughout the day to a pleasant riding temperature are better suited to shorts. While you can use regular cycling shorts and pair them with accessory garments for effective warmth and coverage, there are also winter-grade shorts made with insulation materials. So, consider investing in an additional pair of chamois just for cold winter days.

Accessory Garments

Finally, you can add all kinds of accessory garments to protect your extremities and keep you warm. One great piece to have at the ready is a hat underneath your helmet. A significant amount of body heat leaves the body through the top of the head. That’s why in very cold weather, it is really important to keep your head warm. Opt for a thin merino wool skullcap or a wind- and waterproof cap for inclement conditions.

Another type of garment to consider for your extremities includes sleeves. Sleeves are tube-shaped garments for your arms and legs. The great thing is that you can slip them off whenever you get warm enough that you need to shed a layer.

Of course, shoe covers, a warm fleece buff for your neck, and gloves with good grip are all important items to consider, too. No matter how cool or cold the weather turns, with these essential cold-weather cycling clothes you can keep cruising no matter what the weather has in store.

Molly Harris
Molly Harris is a freelance journalist, cyclist and outdoor enthusiast. Her work has appeared in Travel + Leisure, Lonely…
How to adjust ski bindings in 10 easy steps
Your ski bindings are the link between you and the snow, so set them once and set them right
Ski boot clipping into binding from behind

When you’re riding the chairlift or gondola up your favorite ski mountain and picturing your next great run, there’s a good chance you’re not explicitly thinking about your ski bindings. I know that I really don't ever give my bindings much thought, except when I'm stepping into them. However, once you get to the top of the mountain and plant your skis in the snow to clip your boots in and start down the slope, you’ll be reminded of how crucial ski bindings are to the whole skiing experience.
After all, ski bindings attach your ski boots to your skis, allowing you to stay in control of your skis. Therefore, having properly adjusted ski bindings ensures you can ski safely and comfortably without risking injury to yourself or others by accidentally losing control due to an equipment failure.
Adjusting your ski bindings isn’t particularly complicated. Still, it must be done correctly -- and that's true if you're participating in the Winter Olympics skiing events or if you're like me, hitting the slopes for some weekend fun! With that in mind, let's get you set for the best ski season yet as we show you how to adjust ski bindings.

Can you adjust your own ski bindings?

Read more
How to stay warm outside: Essential tips for winter adventures
Don't freeze another day out there with these winter warming hacks
Skiers on Mountain Quail at Telluride Colorado

When wintertime comes around, most people put away their camping gear and spend their time bundled up indoors. But if you're one of the adventurous few, you'll know that winter time is the best time to experience the magic of our treasured outdoor locales. Snowcapped mountains, powdered trees, and the wildlife rival anything you might see in summer, but in order to enjoy it, you need to know how to stay warm outside. In my experience, staying warm is the key to your wintertime enjoyment. Those who follow these tips are sure to stay out longer than ever.
Look at your layering system

Let's start at square one: your layering system. The layering system includes three layers. First, your base layer the closest to your skin. These will be your under shirts and thermalwear. To avoid chills, avoid cotton at all costs, and choose merino wool or moisture-wicking synthetic fibers to draw any moisture away from the skin. These should be close-fitting but comfortable.

Read more
How to calculate hiking time and plan for being away
Calculating your hiking speed isn't as hard as you think
Two people hiking together

To most people, planning a hike can be tedious, but for me, packing my bag gets me even more excited for the adventure ahead. One of the most important aspects of preparing for my hike is determining how long it will take to complete it. This is important for several reasons. First, you'll be able to determine what kind of equipment you'll need during that timeframe, and second, you'll be able to tell someone when to expect you back in case you go missing. About 600,000 hikers get lost every year in the U.S., so if you're one of them, calculating this could mean your survival. Here's how to calculate hiking time.
How to calculate hiking time accurately

If you’re an experienced hiker, you might have noticed that sometimes there is an estimated time listed for a hike in a guidebook or app, which is termed "book time." Almost across the board, these hike time estimations are calculated using Naismith’s (Time Estimation) Rule, which essentially says that it takes about 1 hour to hike 3 miles plus an additional hour for every 2,000 feet of elevation gained.

Read more