
Spiral ham is a must-have at any holiday table; it’s a beautiful centerpiece that comes with a rich, smoky-sweet flavor. I wouldn’t say it’s terribly difficult to cook, but knowing how to carve a spiral ham properly is what takes it from just another dish to something special, as presentation is everything. Many people struggle with cutting it cleanly, leaving behind uneven slices or missing out on valuable portions of meat.
Learning the correct carving technique can help you get the most out of your ham. After many a shredded hams, I finally figured out how to do it the right way, and it makes a big difference. Instead of reaching a certain point where you’re practically just pulling the meat from the bone because you’re frustrated and don’t know how to cut it, it’s better to just take the time to do it the right way. Whether it’s for a special occasion or a casual family dinner, following a few simple steps will help you slice a spiral ham with precision and ease.
Why spiral ham is easier to carve
You learn something new every day, don’t you? Turns out, there’s a difference between a traditional ham and a spiral ham. Spiral-cut hams come pre-sliced, which makes them way easier to carve than your standard ham. The butcher or manufacturer has already done most of the hard work by cutting the meat into thin, even slices around the bone. This means that all you really need to do is separate those slices properly and remove them from the bone without tearing the meat.
What you’ll need to start carving
Before you start, make sure you have the right tools to get the job done. Once you have your tools ready, it’s time to start slicing. You’ll need:
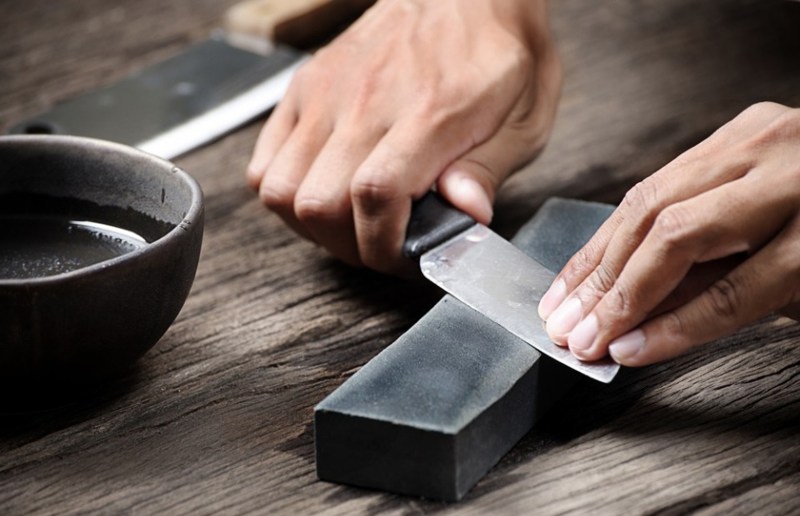
- A sharp carving knife: Go into your set of kitchen knives and grab a long, thin, and razor-sharp knife to help you glide through the meat effortlessly.
- A sturdy cutting board: Use a board with a groove to catch juices and prevent a mess, and make sure you keep your cutting board in good condition so that it’s ready to go for every carving.
- Tongs or a meat fork: These will help hold the ham steady as you carve.
All it takes is a little focus and patience to carve a spiral ham

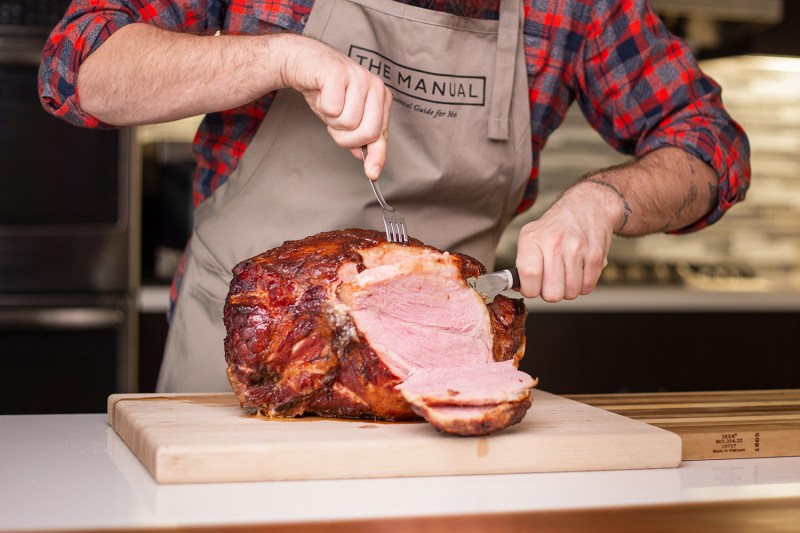
Carving a spiral ham means you’re working with the pre-cut slices rather than against them. If you handle each step with care from start to finish, you’ll be in good shape. If you want to see the technique in action, Chef Christopher Mangless from Green Bay’s Three Three Five restaurant gives us the perfect demonstration of exactly how to carve a spiral ham with ease.
1. Let the ham rest
Before carving, allow the ham to rest for at least 10 to 15 minutes after removing it from the oven. This helps the juices move throughout the meat, preventing it from drying out. Cutting into a hot ham too soon can cause it to lose moisture and fall apart.
2. Identify the natural cuts
Spiral hams are pre-sliced in a circular motion around the bone, but they’re still attached at certain points. Your goal is to free those slices while keeping them intact. Locate the bone and note where the spiral cuts naturally separate.
3. Make the first cut
Using your carving knife, slice along the side of the bone to separate the bulk of the meat from it. This step helps loosen the already-cut pieces, making it easier to remove them in sections. If you see any resistance, gently wiggle your knife to release any stubborn areas.
4. Remove large sections
Once the first cut is made, use your knife or tongs to lift entire sections of ham away from the bone. The pre-cut slices should naturally separate, making this process easy. If any slices are still connected, run your knife gently through those areas to free them.
5. Slice and serve
After the large sections have been removed, you can place them flat on a cutting board and cut them into smaller portions if needed. Arrange the slices on a platter and serve while warm.
Here’s what NOT to do
Even though spiral ham is easier to carve than a whole ham, mistakes can still happen. Here are some common errors to watch out for:
- Using a dull knife: A dull blade will tear the meat rather than slice through it cleanly.
- Not cutting along the bone first: This step is crucial for releasing the slices effortlessly.
- Carving against the pre-cut slices: Always follow the natural spiral pattern to avoid making a mess.
What to do with leftover spiral ham

Once you’ve gotten the technique down and you know how to carve a spiral ham, you’ll likely have leftovers to enjoy. Fortunately, ham is incredibly versatile and can be used in a variety of delicious ways. Store those Thanksgiving leftovers in an airtight container in the refrigerator for up to five days, or freeze them for longer storage.
- Breakfast dishes: Add chopped ham to omelets, quiches, or breakfast casseroles.
- Sandwiches and wraps: Use leftover slices for ham and cheese sandwiches or paninis.
- Soups and stews: The ham bone is perfect for flavoring split pea soup or a hearty bean stew.
- Pasta and salads: Toss diced ham into mac and cheese, pasta salads, or green salads for extra protein.
Slice and savor

Carving a spiral ham doesn’t have to be intimidating. If you follow the natural cuts, use the right tools, and avoid common mistakes, you can make sure every slice is clean, even, and ready to serve. With the carving taken care of, all that’s left is to sit back, enjoy, and enjoy every bite of that ham.


