
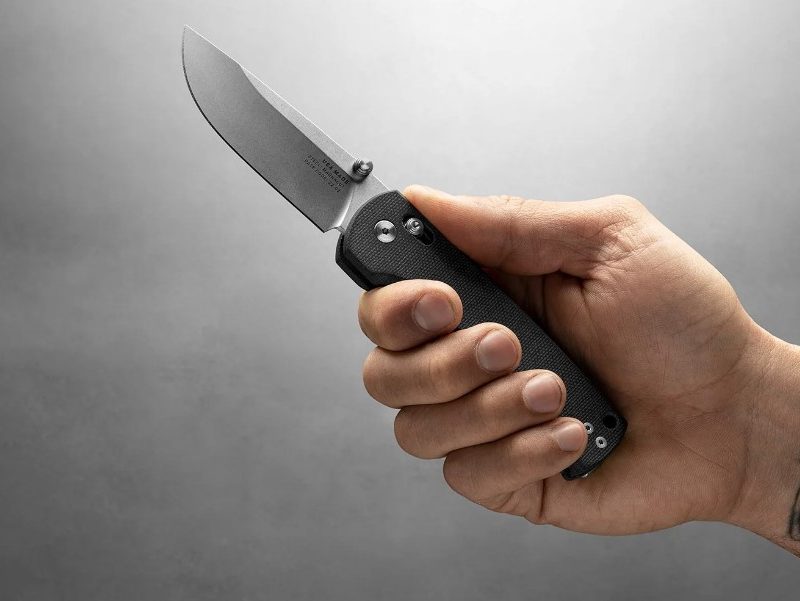
One of the most reached-for camping tools in my pocket is definitely my camping knife. I wouldn’t dream of going camping without it, just because it’s one of the most useful tools to have. Handy for any number of tasks, I use my camping knife for food prep, making kindling for a fire, and even first aid.
But when your camping knife is blunt, it can easily become a danger. While it might seem safer to have a less-pointy object around the camp, having a blunt camping knife can cause all kinds of problems like crushing and tearing instead of slicing cleanly. The amount of force you’ll need to do the job could easily send you to the emergency room, so here’s everything you need to know about how to sharpen a knife for
What to know before you sharpen your camping knife
Before you get started, make sure that you have nowhere to be for a little while. The last thing you want to do while sharpening a camping knife is to cut yourself because you’re feeling rushed.
After you’ve blocked out a good chunk of time, the next thing you’ll want to do is to see if there is any guidance directly from your manufacturer. Most will have care instructions that will be specifically aligned with your knife. It’s always best to follow those when sharpening your camping knife, but if you can’t find it, here’s how to do it.
How to sharpen a knife for camping
Step 1: Gather the right knife-sharpening tools
You’ll need:
- A sharpening stone or a whetstone
- Lubricant (some use water, others use honing oil)
- Cloth
There are a ton of sharpening tools out there, such as pull-through sharpeners, ceramic sharpeners, and even diamond stones with diamond-coated surfaces, but today, we’ll mostly focus on whetstones. If you’re new to knife sharpening, it’s best to choose a pocket-sized sharpening stone over a tabletop whetstone. Not only is the smaller one great for sharpening on the go, but it’s easier to maintain the proper angle. It’s far more time consuming to use a tabletop whetstone and requires a decent amount of skill, so we’ll focus on how to use the pocket-sized variant.
If your knife is really dull, you’ll need a coarse grit stone to do the heavy lifting before you use the fine grit one. It’s always easier to maintain a blade when you don’t let it get dull enough for the coarse grit stone, so take care of your camping knives regularly and you’ll thank me later.
Also, if you’re not confident with your skills, it’s a great idea to practice sharpening on a knife you don’t care about before trying it on your favorite camping knife.
Step 2: Prepare your knife-sharpening tools
Half the battle is with the preparation. With a ceramic or manual pull-through sharpener, you won’t need to use any water or oil. But with a whetstone or a sharpening stone, you certainly will. Using water or a honing oil lubricant will keep the abrasive surface of your stone free from metal particles, and it will give you a smooth finish. Whether you use water or honing oil depends on your knife and whetstone, so consult your manufacturer. Never use cooking oils on your tools.
If you’re using a pocket-sized sharpener, coat the flat of the stone in the recommended amount of honing oil or water for your knife type. To me, water is a nicer option because there’s less cleanup involved, and I don’t have to worry about carrying the oil with me while on the go.
Be aware that you may need to re-lubricate your stone to prevent it from drying out during the sharpening process.
Step 3: How to sharpen a knife for camping
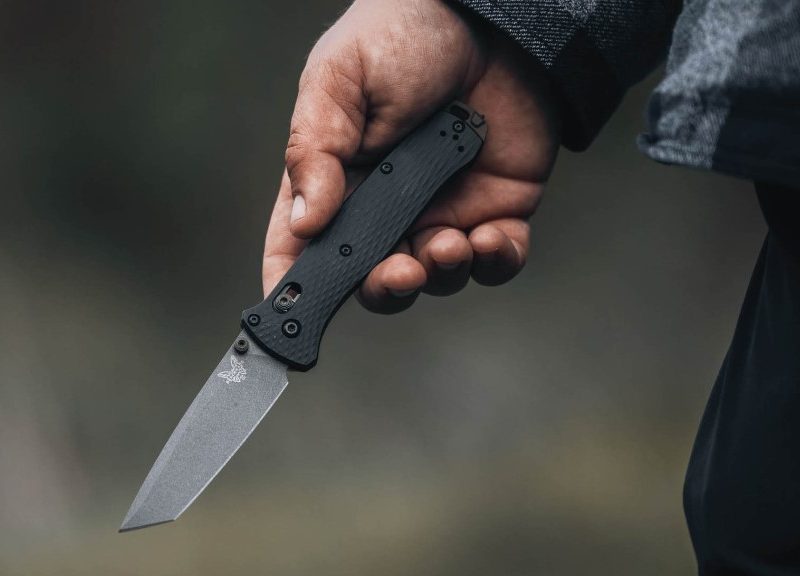
Contrary to popular belief, you’ll never need to actually touch the blade of your knife. Whether you use a tabletop whetstone or a sharpening stone, it doesn’t matter. Hold the knife by the handle. Not only is this safer, but you will have more control.
My favorite way is to use the pocket-sized sharpening stone, similar to how Dan Wowak from UCO does it. First, you hold the knife firmly by the handle in one hand, with the point facing away from you and the blade pointing up. That way, you can see what you’re doing.
To find the correct grind angle, you must place the stone against the knife blade. Since the blade will taper inward, there will be a gap between your sharpener and the blade. Close that gap so the stone is resting flush against the taper. This is generally around a 20- or 25-degree angle. Don’t try to go any further than this because it could, at best, give you an uneven angle, and at worst, ruin your knife.
After that, rub the stone up and down in short sweeps; don’t run the stone along the edge. That way, you’ll get a nice, sharp finish. Believe it or not, you won’t need to apply much pressure. Use a light, steady hand, and let the stone do the work.
Once you’re happy with the first side, do the other one. It might be easier to hold the knife with the point toward you (blade up) to get that second side.
Step 4: Cleanup
Once you’re happy with the edge, all you’ve got to do is wipe everything off with a clean cloth. After that, you’re good to go. Test out your edge by shaving some kindling, and it should feel a lot sharper.


