

Unless you’re a hardcore Survivorman outdoorsman, some form of shelter is essential in the backcountry. Camping in the rain (or snow or hail or locust swarms) is never fun, which is why having the best waterproof tent is critical for anyone planning to spend serious time in the great outdoors. But, while most tents are highly water-resistant, the fact is that no tent is absolutely waterproof. By taking a few simple steps to better waterproof your tent, however, you can greatly improve your odds. Here’s how.
(Re)Seal the Tent Seams
Seams (i.e., anywhere that two pieces of fabric are stitched together) are the most likely place for moisture to invade your tent or rainfly. Thankfully, most modern tents, especially the best tents for camping come with seams that are already sealed. But, that sealant wears out over time and, particularly for budget tents, it may not have been the greatest quality sealant from the factory. The solution is to apply an aftermarket seam sealer. Fortunately, they’re cheap and readily available from any major outdoor retailer.
Be sure to start with the right sealer for your tent. The most common type of tent fabric is polyurethane-coated, which requires one type of sealer, while silicone fabrics use another. In either case, the process of applying or reapplying the seam sealer is identical. Start by finding a bright, open workspace to spread out your tent and examine each seam. For used tents, clean the seams well with rubbing alcohol and a rag. Then spray or brush the seam sealer evenly over every seam of your tent and rainfly. Let the sealer cure overnight and your tent should be infinitely more waterproof ahead of your next camping trip.
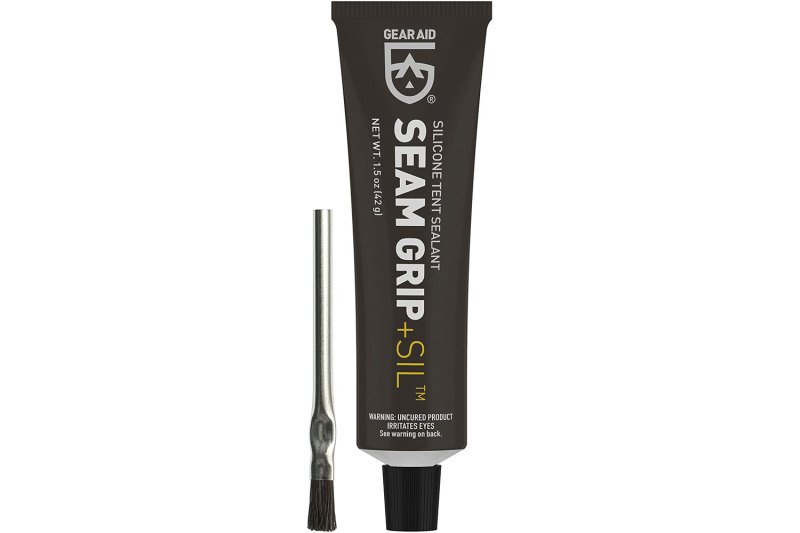
Gear Aid Seam Grip SIL Silicone Sealant
Refresh the Tent’s Urethane Coating
Most tents are treated with a protective coating for waterproofing and added durability. Over time and with repeated use, this coating breaks down. It’s easy to know when it’s time to refresh the coating as you’ll notice areas flaking off your tent or rainfly material. Refreshing it is as easy as resealing your tent’s seams. Start by spreading the injured section of fabric out in an open, well-lit area of your house or garage. Using an abrasive sponge and rubbing alcohol, scrub the flaking material away from the fabric. Apply a thin, even coat of fresh tent sealant to the freshly scrubbed area. If the tent is more than a few years old, consider coating the entire tent floor and fly. Let dry for at least 24 hours before your next adventure.
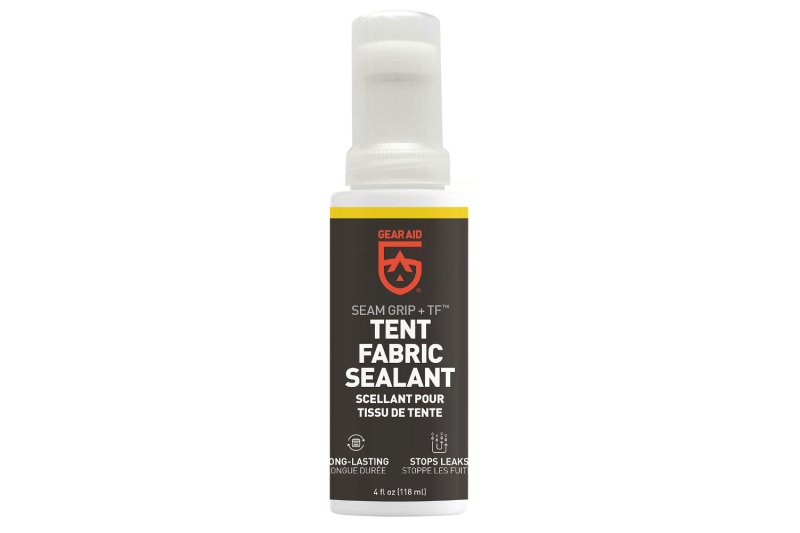
Gear Aid Tent Sure Tent Sealant
Apply a Fresh DWR Coating
The rainfly is usually your first line of defense in wet weather. A properly coated fly forces water to bead up on the surface and slide off like mercury. If this isn’t the case with your tent, it’s probably time to refresh the DWR (durable water repellant) coating on your rainfly. The process is extremely simple. Set up your tent and attach the rainfly. Lightly wash the fly (even better if you’ve just freshly cleaned your tent). While it’s still damp, spray the entire rainfly with a new bottle of DWR coating. Use a cloth or sponge to wipe off any excess. The best sprays offer UV and waterproofing that can easily double the life of your tent’s fabric. Bonus: The spray typically works great for hiking backpacks and hiking boots, too.
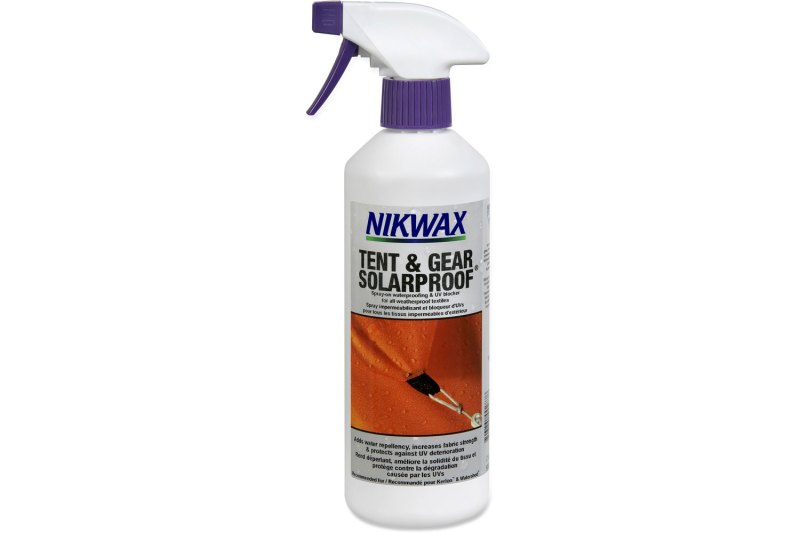
Nikwax Tent and Gear SolarProof Waterproofing Spray
Of course, it’s one thing to have the right tent. Even more important is knowing how to set up that tent when it’s time to make camp for the night.


