The clove hitch knot is among the most useful outdoor knots you can learn. This fully adjustable bind has endless uses and can be tied either freestanding or around an object. Being fully adjustable means you won't have to completely retie the knot in your system if you want to adjust the tension of your rope.
The clove hitch is also easy to untie after being under tension, and once you learn it, can be hitched quickly around a carabiner, or any other rounded object. Tying a clove hitch around a squared-off anchor — like a fence post — won't give the knot the friction it needs to work, and this can mean your clove hitch will come untied. For this situation, a bowline knot would be more appropriate. If you have a rounded anchor point and want an adjustable knot, though, there is no better knot than the clove hitch. Here's how to tie it, both ways.
Tying a clove hitch for a fixed point
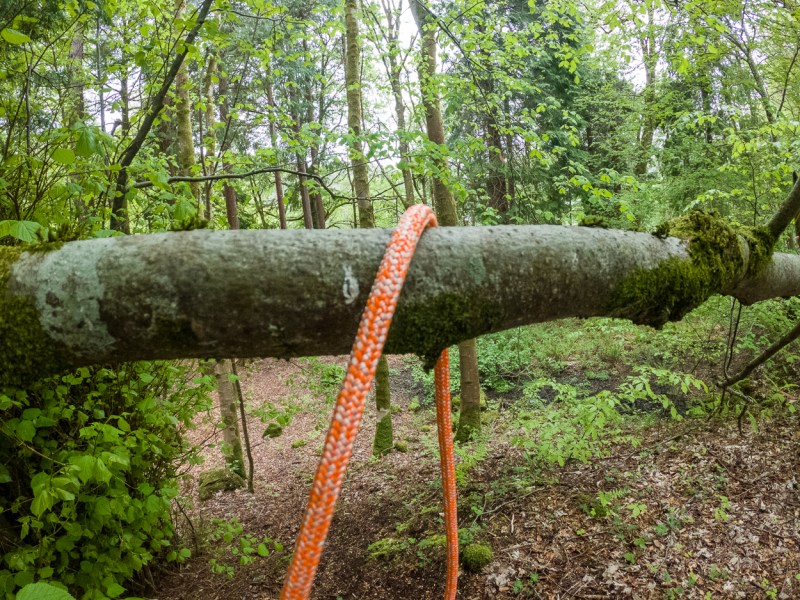
Tying a clove hitch around an object is the way most people learn this hitch. This is useful for securing bear bags onto tree branches or tying to a fixed anchor position in the mountains.
Step 1: Place the working end of your rope over your chosen anchor. Ensure you have enough rope to go around the anchor three times and still leave several inches of tail.
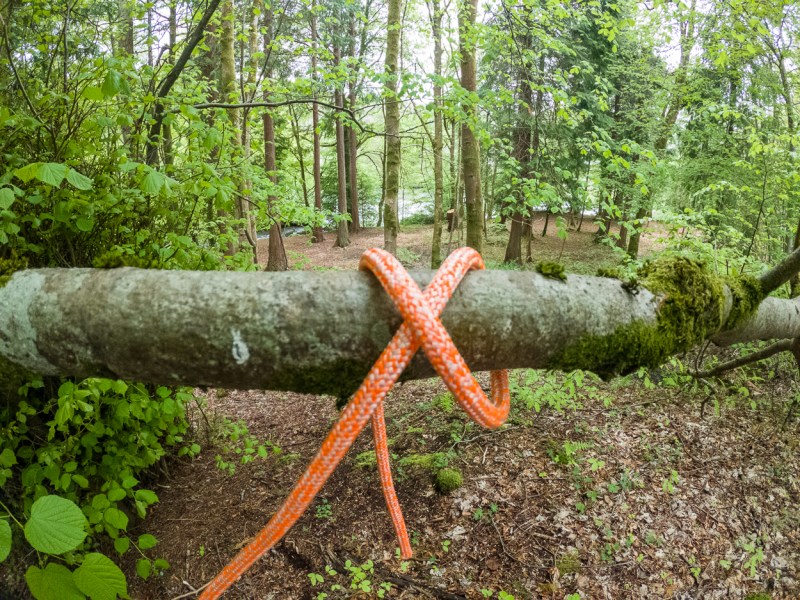
Step 2: Wrap the working end around your anchor again, crossing over the first wrap. You should now have two wraps and your rope should look like an X.
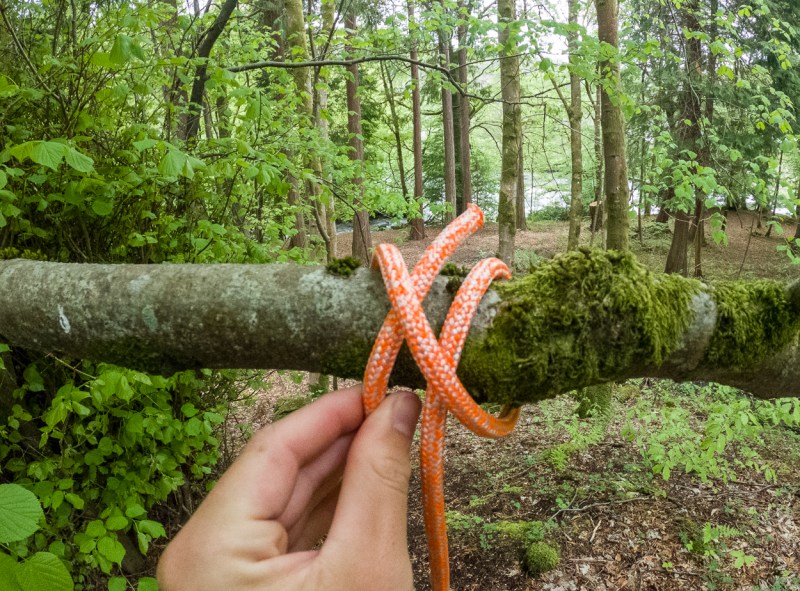
Step 3: With your final wrap, tuck the working end under the previous wrap. You should still be able to see the X on top of the whole hitch.
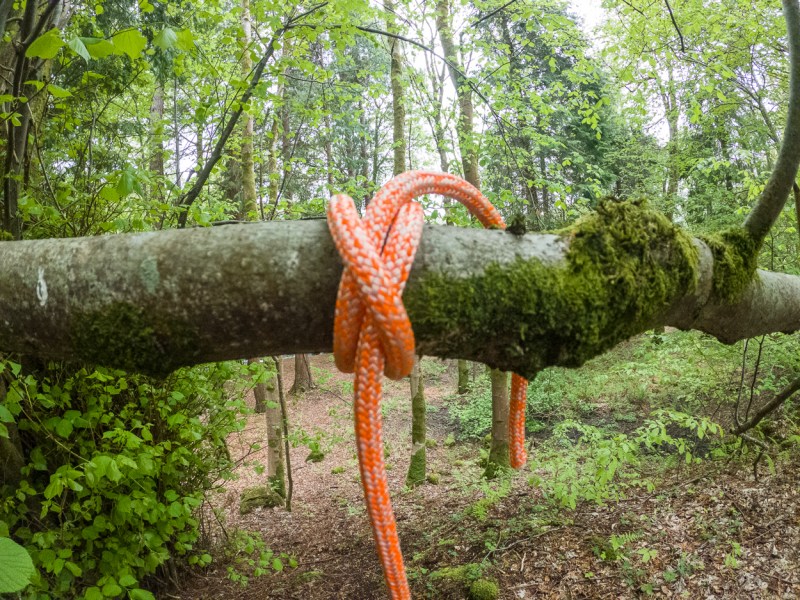
Step 4: Pull both ends tight and make sure you have a few inches of tail on the standing end. This will stop your clove hitch from untying easily.
Tying a freestanding clove hitch
If you need to tie a clove hitch in the middle of a length of rope, you don't want to have to pull meters and meters of rope around an anchor three times. Tying a freestanding clove hitch lets you attach your knot at the chosen point in your rope, and this method is best used for clipping a carabiner to your clove hitch.
Step 1: Make a loop in your rope, with the working end on top of the standing line.
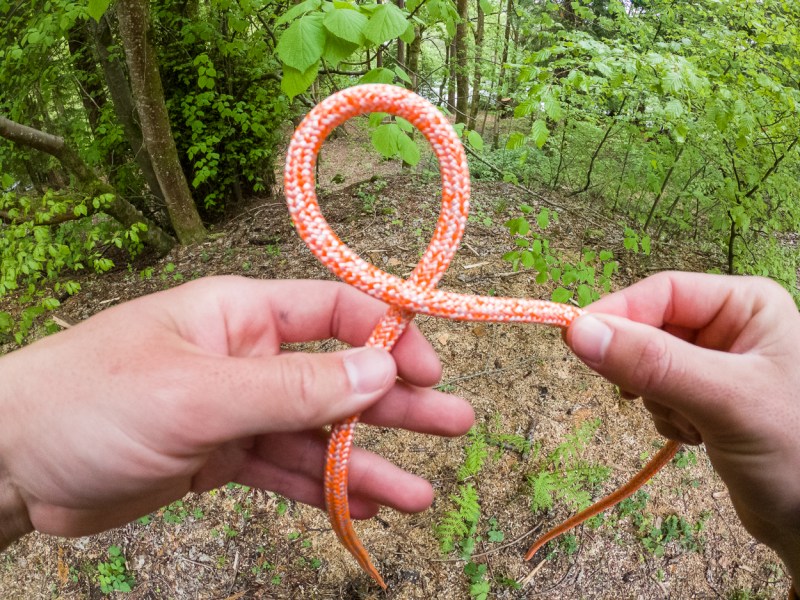
Step 2: Make a second loop in the same fashion, with the working end on top of the standing line. You should have two identical loops next to one another. If you're over a certain age — looking at you, dads — this looks a little like the spool on a cassette tape.
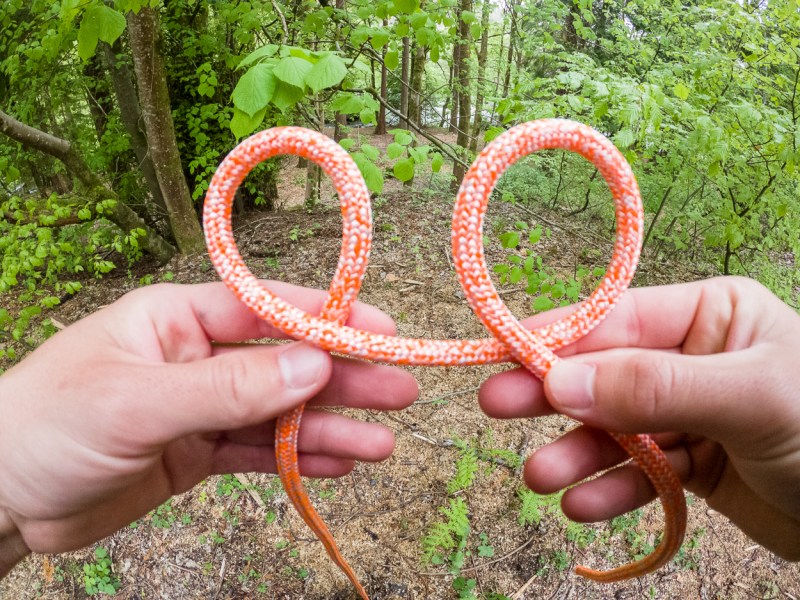
Step 3: Hold one loop in either hand, keeping the working end of the rope on top. Move the loop in your right hand behind the loop in your left hand.

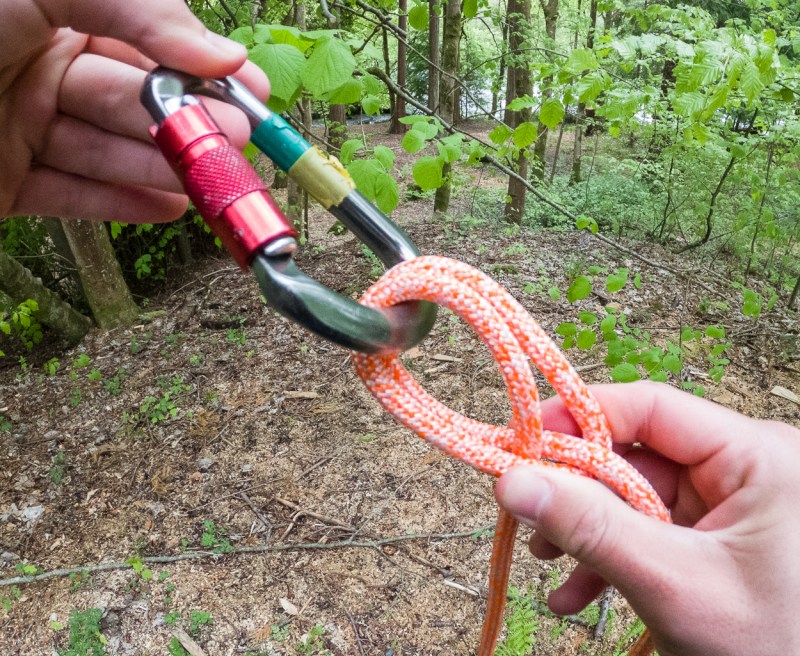
Step 4: Attach your carabiner through both loops and make sure you screw the gate shut.
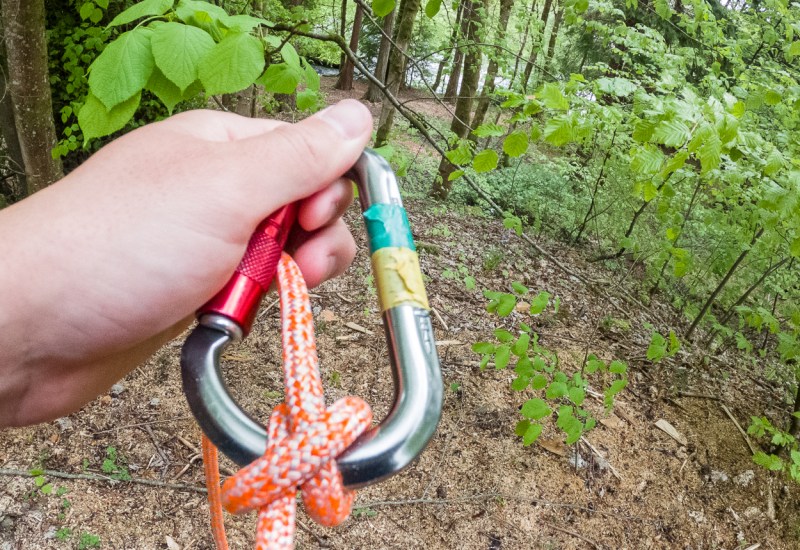
Step 5: Pull your hitch tight by pulling both the standing and working ends of the rope.
When can you use a clove hitch?
As we've already said, the clove hitch has almost endless uses. The most common historical uses are in rock climbing, where the clove hitch is the knot of choice for adjustable anchor systems and equalizing tension. But there are more uses that aren't so well known; here are a few.
- Hanging a bear bag: we mentioned this earlier, but you can use the clove hitch to give you an easily adjustable knot for hanging a bear bag in the trees. You may struggle to adjust the knot if you have a heavy crate or bag suspended.
- Hanging your hammock: I use the clove hitch to suspend my camping hammock between two fixed anchors fitted with karabiners. This allows me to easily adjust the tension of my system and get the perfect swing.
- Securing guy lines on tents and tarps: This might seem an odd choice, but if I have a clean end of a guy line, I will use a clove hitch to tie it to my tent peg or to a tree or truck ball hitch. I know the knot will stay secure and that there will be no slippage, but I can also adjust the tension easily.
- As part of a lashing: Whether it's a square lashing to tie two logs perpendicular to one another or a round lashing, as on items like survival spears, you need a secure knot to start and end with. The clove hitch provides this without using up a large portion of your available rope or cord.

The best kind of rope to use for a clove hitch knot
Any rope that's flexible enough can be used to tie a clove hitch knot, the best type really depends on what you're using the knot for. Generally, because the clove hitch knot can become untied without friction, you want to avoid using a rope that feels slick to the touch. You want to find a rope that doesn't stretch too much and is designed for the activity you intend to use it for.
If you're climbing, look for rope that is rated for climbing (obviously). If you're looking for lighter-duty uses, most kinds of nylon rope will suffice, as long as it has the friction necessary to keep the clove hitch knot in place.
If you're leaving your clove hitch in place for a long time or loading it up with something important like your body weight, it's a good idea to back up the knot. Chances are, your clove hitch won't ever slip or roll through, but a couple of quick half-hitches will give you peace of mind and prevent your rope from sliding.