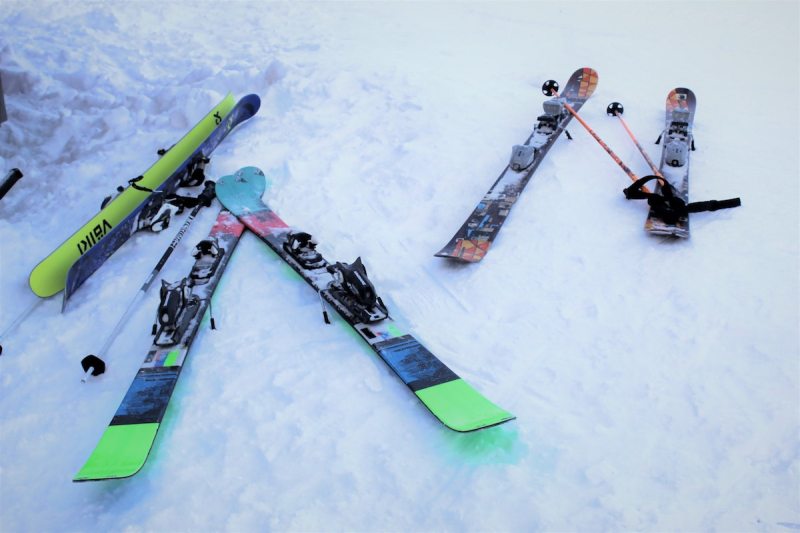
When you’re riding the chairlift or gondola up your favorite ski mountain and picturing your next great run, there’s a good chance you’re not explicitly thinking about your ski bindings. I know that I really don’t ever give my bindings much thought, except when I’m stepping into them. However, once you get to the top of the mountain and plant your skis in the snow to clip your boots in and start down the slope, you’ll be reminded of how crucial ski bindings are to the whole skiing experience.
After all, ski bindings attach your ski boots to your skis, allowing you to stay in control of your skis. Therefore, having properly adjusted ski bindings ensures you can ski safely and comfortably without risking injury to yourself or others by accidentally losing control due to an equipment failure.
Adjusting your ski bindings isn’t particularly complicated. Still, it must be done correctly — and that’s true if you’re participating in the Winter Olympics skiing events or if you’re like me, hitting the slopes for some weekend fun! With that in mind, let’s get you set for the best ski season yet as we show you how to adjust ski bindings.
Can you adjust your own ski bindings?
Your local ski shop or the ski rental shop at your favorite mountain can certainly adjust your ski bindings for you, but it will cost money, and if it’s their busy season, you will likely have to wait a while for them to get the job done, forcing you to miss precious ski time.
The good news is that you can adjust your own ski bindings with little more than a screwdriver, a few pieces of information about the skier (yourself or whomever you’re healing), and the basic know-how, saving you time and money and get you out on the slopes faster.
How do you adjust ski bindings for your shoe size?
The first step in adjusting ski bindings is determining the length of your boots, which is a function of your shoe size. However, rather than needing to know your regular shoe size, you need the actual length of the ski boots in millimeters.
This information is usually stamped on the bottom of the ski boot, although it may be printed inside the ski boot liner instead. You’re looking for a number that’s somewhere in the neighborhood of 250-320 mm, but of course, it depends on the size of your feet. The boot length will be a whole number — no decimals.
What should your ski bindings be set at?
An important component of adjusting your ski bindings is setting the DIN release setting. The DIN release setting determines the pressure and force that must be exerted on the bindings to trigger them to release your boots from the skis should you crash. The DIN release is a critical safety feature, preventing serious leg and ankle injury, so it’s vital that you correctly calculate your DIN setting.
One reason that it’s unsafe to swap skis between skiers of different body sizes and abilities without adjusting the DIN is that the DIN setting is based on the skier’s height, weight, ski boot length, and skiing ability. Larger skiers, for example, will exert more force and pressure on the bindings, triggering a release easier than a light skier. Accordingly, if ski bindings are adjusted for a heavier skier but then used by a lighter individual, the bindings may fail to release the boot if the light skier crashes, putting the skier at risk of severe injury.
You can calculate your DIN setting with a DIN calculator. However, if you have any doubts, consult a ski tech or professional to ensure you’ve done it properly.
How much can you adjust ski bindings?

There may come a point when you want to adjust your ski bindings more than just changing your DIN setting. For example, if you get larger boots, you must modify the bindings to accommodate the new length. Ski bindings are mounted on your skis in a set location, so while there is some adjustability, significant changes will require removing and remounting the bindings.
Generally speaking, you can adjust your ski bindings the equivalent of one shoe size larger or smaller, but if you’re going to be marking more significant changes (for example, in the case of a child whose feet are rapidly growing), the ski bindings will need to be remounted to ensure the ski boot is attaching at the ideal location on the ski. It’s best to bring the skis to a ski shop for this adjustment.
How often should I check my ski bindings?

Ski binding adjustment is not a one-and-done proposition; you need to keep checking your bindings to make sure they are at the correct settings throughout the season. Vermont Ski Safety Equipment recommends you have your bindings, as well as your boots and skis, professionally inspected at the beginning of every ski season. Additionally, the company recommends checking the bindings after every 15 to 30 days of use.
And if you’re rocking an old pair of skis and bindings, you may want to consider modernizing. Vermont Ski Safety Equipment says that bindings over 20 years old should be replaced because they are most likely obsolete, even if they are still in good condition.
Why is ski binding adjustment important?
For your safety, ski binding adjustment is very important. The DIN setting determines how much force is required to release your boots from the bindings if you fall. If your bindings are too loose, your boots may release too easily, causing you to fall. On the other hand, if your bindings are too tight, your boots may not release at all, which could lead to a serious skiing injury.
Another reason ski binding adjustment is important is that it improves your performance. If your bindings are too tight, they can restrict your movement and make it difficult to ski. Properly adjusted bindings can also help you feel more comfortable and in control while skiing.
How to adjust ski bindings for new boots
Here are the steps to adjust your ski bindings when you get new boots:
- Locate the boot length in millimeters.
- Place your skis face up on a stable, flat surface.
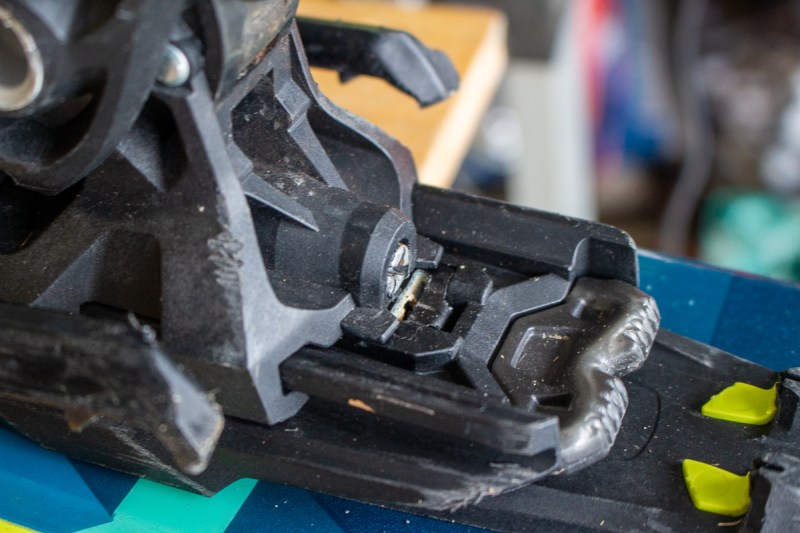
- Lift the lever on the side of the ski binding heel component and hold it upright while you slide the heel piece until the markers on it point to the numerical range that correlates with the boot size length.
- Perform the same step for the toe portion of the binding — lift and hold the lever and slide the toe piece until the markers point to the correct range for your boot length.
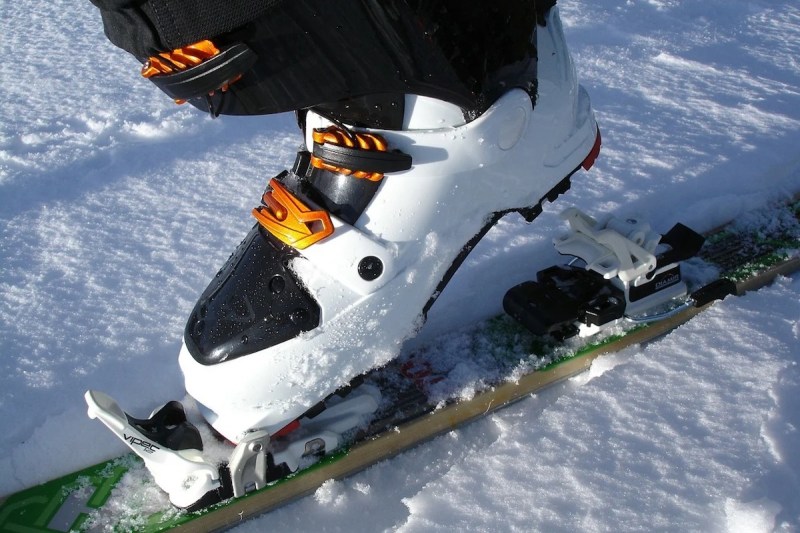
- Grab your ski boot and insert the toe into the toe piece of the binding, and then press down on the boot so that the heel snaps in. Try lifting the heel lever if you can’t get the ski boot to clip in.
- Slide a piece of paper between the bottom of your ski boot and the toe bar at the front of the ski binding.
- Use a screwdriver to loosen the screw at the front of the toe piece of the ski binding and push the toe bar backward until there is tension on the piece of paper. The proper tension level is when you can pull the paper out against resistance without ripping it but not slide it back in. Be careful not to overtighten the toe bar.
- The ski boot should click in comfortably without being overly loose or tight. Use the screws on the toe piece and heel piece to adjust as necessary until you have the fit you’re looking for.
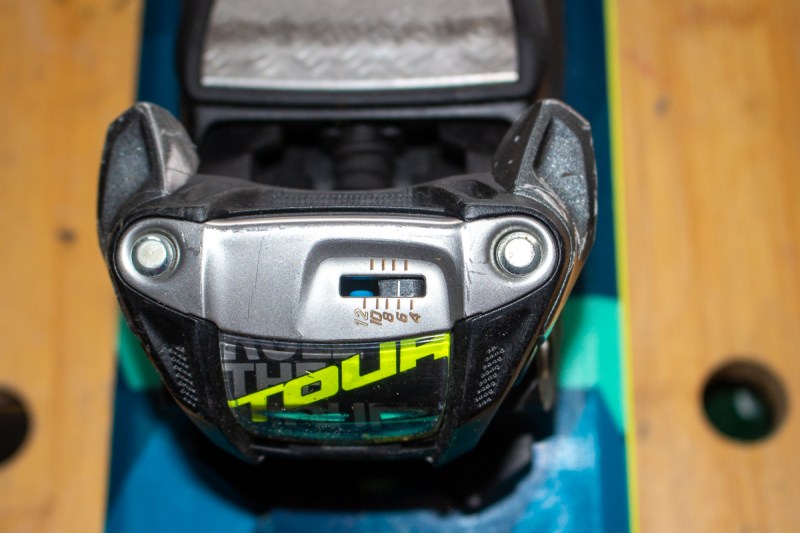
- After correctly calculating your DIN setting, set the DIN setting on the toe piece to your calculated number by tightening or loosening the screw on the side of your ski binding until the correct DIN number is displayed in the window on the top of the toe portion of the ski binding.
- Repeat this with the heel of the ski binding until your DIN setting appears in the window on the toe piece.
You have successfully adjusted your ski bindings and are ready to hit the slopes!