There’s nothing quite as satisfying as drifting off to sleep in a well-pitched tent amid the great outdoors. Even when the storms arrive, once you’ve mastered the essentials of setting up your shelter properly, you can rest securely. If you’ve never pitched a tent before, or if you’re feeling a bit rusty after a long hiatus of city living, this article will show you how to set up a tent for a successful camping experience.
Related Guides
Pre-trip Planning
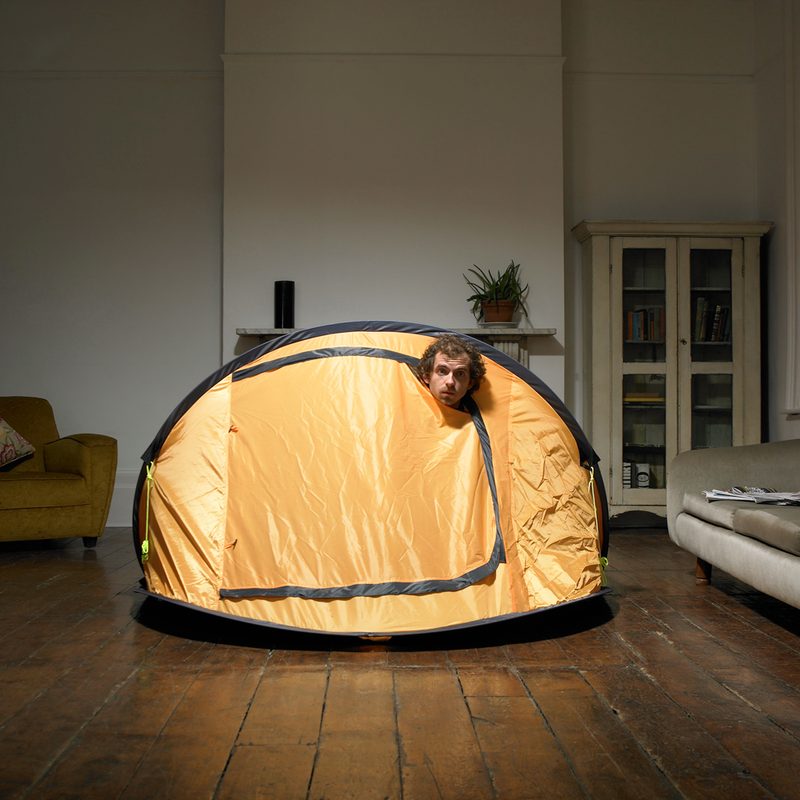
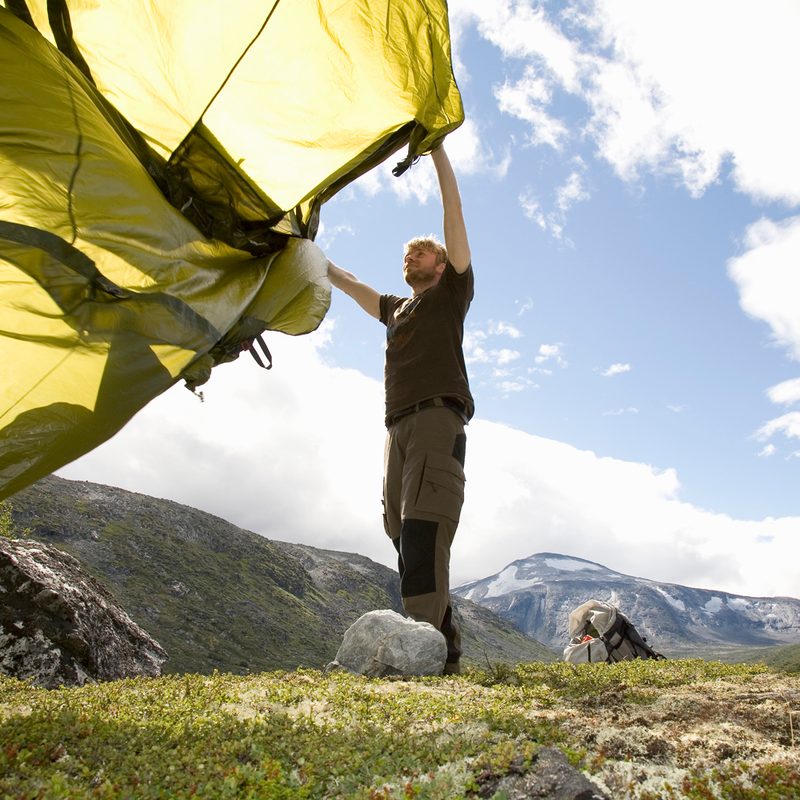
Before you head into the wilderness, set up your tent at home. This will help you familiarize yourself with your portable lodging, and alert you to any issues. Missing tent poles, broken zippers, and gaping are things you definitely don’t want to discover for the first time when you’re far from home.
Even if you’ve set up a camping tent many times before, be sure to read the instructions carefully. You don’t want to damage any parts by inadvertently inserting tent poles in the wrong slots. You’ll also want to inventory all of the parts. Make sure all pieces are present. If not, you’ll have to order replacements. Be sure to bring a copy of the instructions with you on the trip. It’s wise to photograph each of the pages, so you’ll have them handy in case you misplace the paper copy.
Footprints
Decide on your footprint strategy. A footprint is an extra piece of material that provides a moisture barrier and gives added protection to the tent flooring against punctures and abrasions. Many tents have strong flooring, but over time rocks, sand, twigs, and grit can wear away the integrity of your flooring, so it’s wise to have a footprint.
Tents that come with footprints are custom-sized to that tent. It should be slightly smaller than the dimensions of your tent floor so that water doesn’t pool under your tent. If you want to go low-tech, a tarp works fine; just make sure you fold it so that it’s smaller than the area of your tent floor.
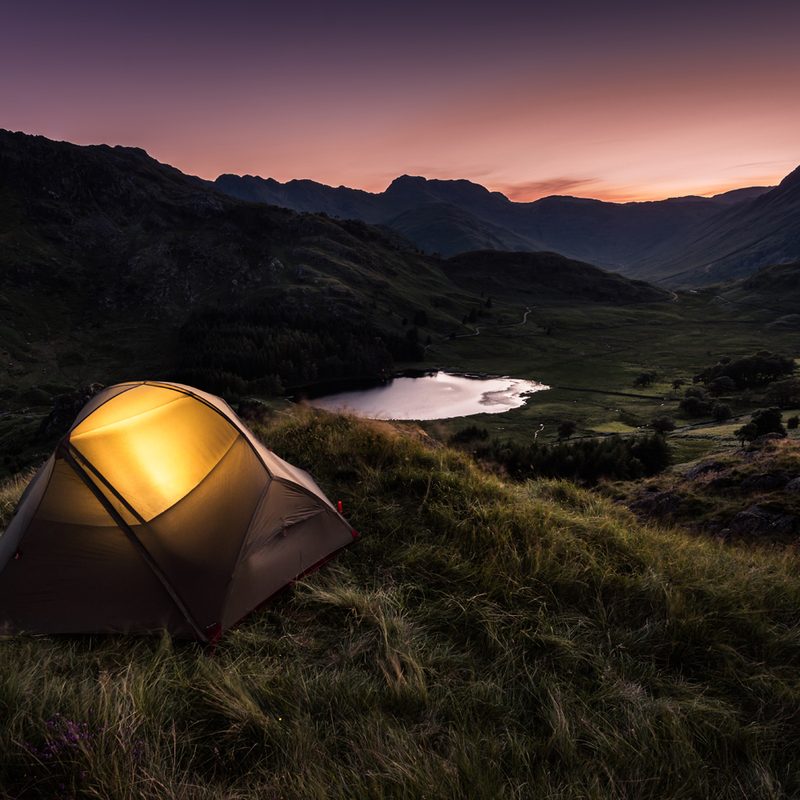
Selecting a Campsite
Minimize impact by using existing campsites if pitching in a developed area. In more pristine places, pick a spot where vegetation is absent, and camp at least 200 feet from lakes, rivers, and streams. Remember to think of the maxim of Leaving No Trace. Keep your campsite small, pack out whatever you pack in, and keep fires (where permitted) small.
Weather Strategies
Rain and wind are the big things to keep in mind when selecting the best place to pitch your tent. Choose a natural windbreak, like trees, a hill, or rock formations between your tent and the oncoming breeze. Be mindful of your immediate environment. Avoid camping under dead or damaged trees where falling limbs could pose hazards. Face the side of your tent with the strongest pole structure toward the wind.
When rain is a bigger concern, make sure you orient doors away from the direction of the oncoming rain and wind. Don’t camp in a low area wedged between two higher areas. Water can pool there when a storm arrives.
Read more: Tips for Rainy Day Camping
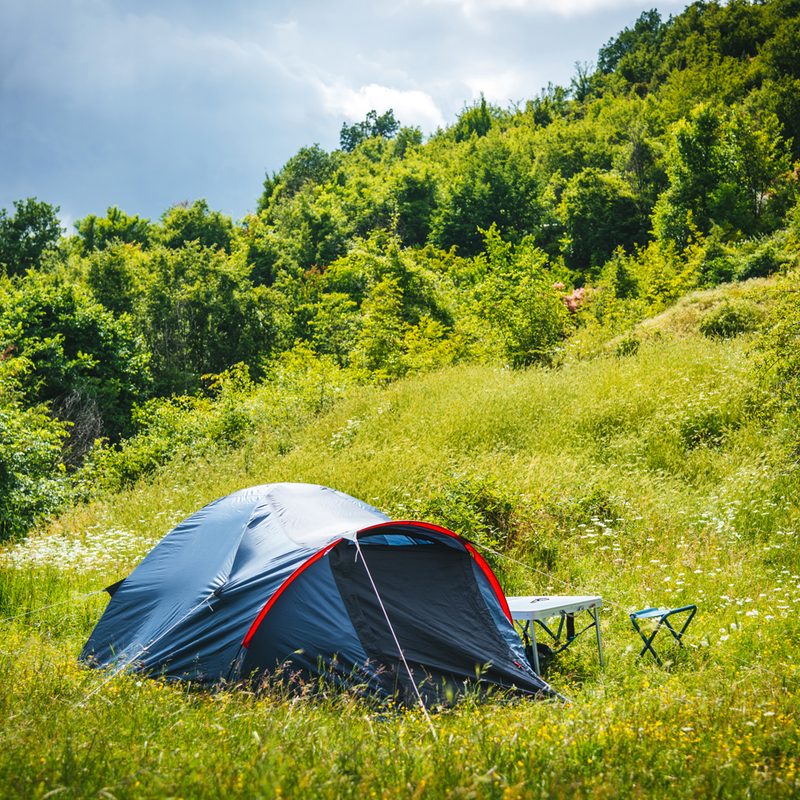
Pitching the Tent
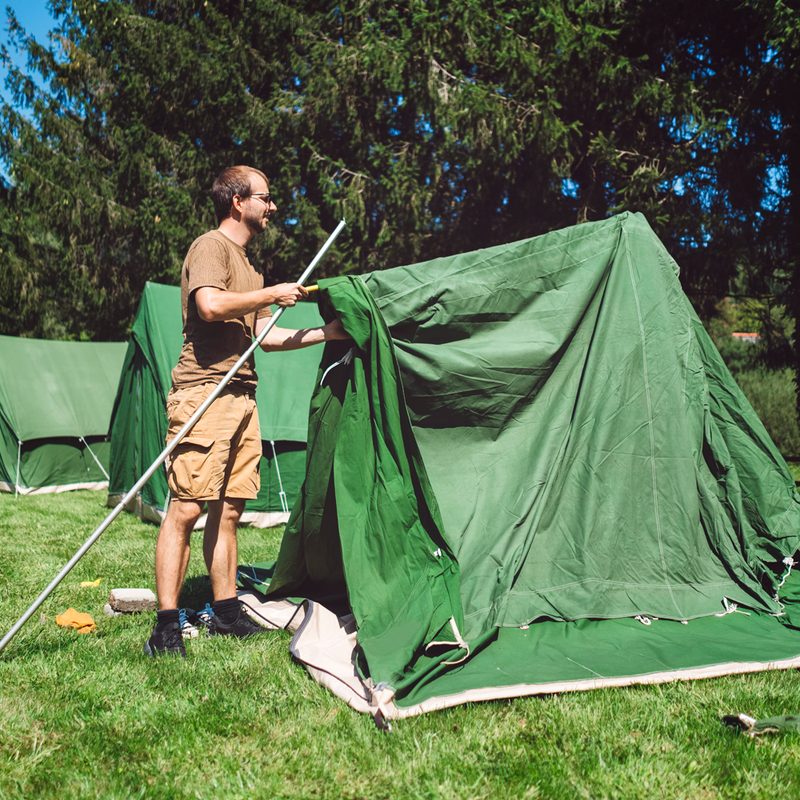
Once you’ve selected a spot, clear debris from the ground — rocks, twigs, and other objects that could damage your tent and lead to an uncomfortable night’s sleep. If the wind is high, stake down your tent corners right away. You can always fine-tune the tent’s position later on, but you don’t want your tent blowing around while trying to set up.
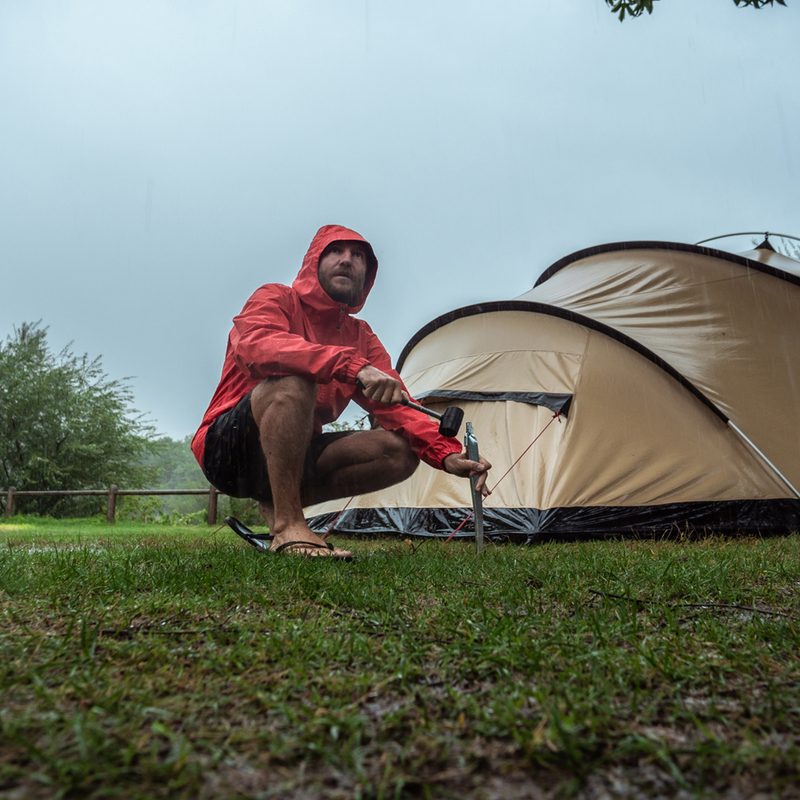
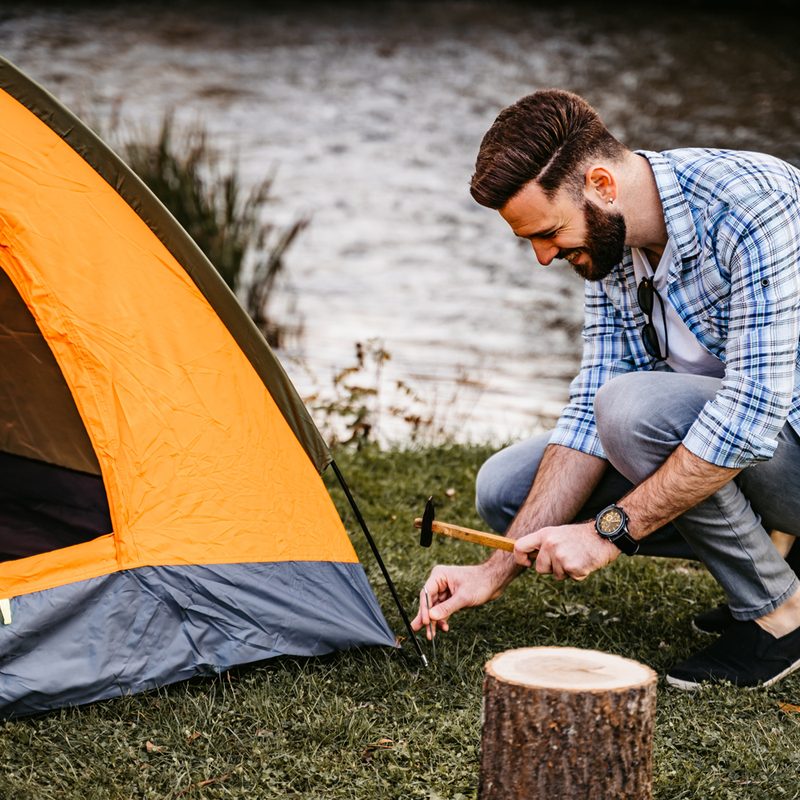
Slowly unfurl your poles, and avoid hasty movements which can cause damage while you’re connecting the poles. Aim to get your stakes in vertically (rather than at an angle), which will give the best holding power for your tent. If you can’t get the stake in with your hand or foot, use a large rock for the job (you can also bring along a special mallet for this). Have extra stakes handy in case one gets damaged or lost.
After you’ve set up the tent, attach the rainfly using the Velcro wraps that typically tie onto the tent poles. This will add stability and strength to your tent. The tent rainfly should be taut. Recheck periodically as changes in weather can cause slackening; always recheck before entering the tent each night.
Guylines
In calm weather, you can consider foregoing the use of guylines. But if strong winds or bad weather is in the forecast, it’s wise to set up guylines. You’ll attach these to strategic points around the rainfly. Guyout points are usually found midway up the tent over a pole. Bring an extra cord for the guyline and additional stakes to anchor the guyline in place. Attach a fixed knot to the tent’s guyout point, then run the guyline out to a stake that’s well away from the tent corner. Make sure the line is taut.