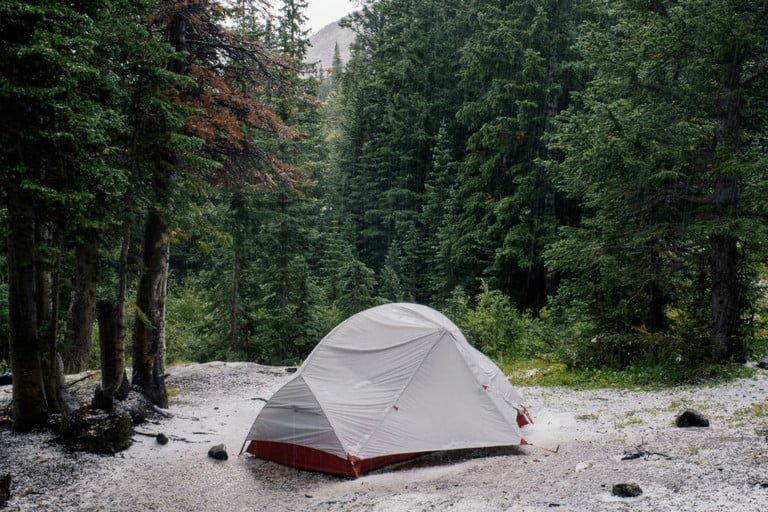
Packing a tent into your backpack might seem straightforward — until you’re on the trail with a sore back, soaked gear, or a pack that just won’t stay balanced. Whether you’re heading out for a weekend hike or a multi-day backpacking trip, knowing how to pack a tent in a backpack properly can make all the difference in comfort, safety, and efficiency.
In this guide, you’ll learn the step-by-step process for packing a tent with both internal and external frame backpacks, plus essential tips for dealing with wet tents, minimizing bulk, and keeping your gear protected. If you want to avoid rookie mistakes and hit the trail fully prepared, read on.
How to pack a tent in a backpack (internal and external frame guide)

Packing a tent correctly is a key part of any successful backpacking trip — and as one of NPS’ camping essentials, you want to make sure your tent (and you) arrive in good condition. A poorly packed tent can throw off your balance, cause back strain, or even get damaged along the trail. Whether you’re using an internal or external frame pack, this guide will show you exactly how to pack a tent in a backpack — the right way.
Packing a tent in an internal frame backpack: Step-by-step
Most backpackers prefer internal frame packs for their comfort and streamlined design. Follow these steps to pack your tent securely and efficiently.
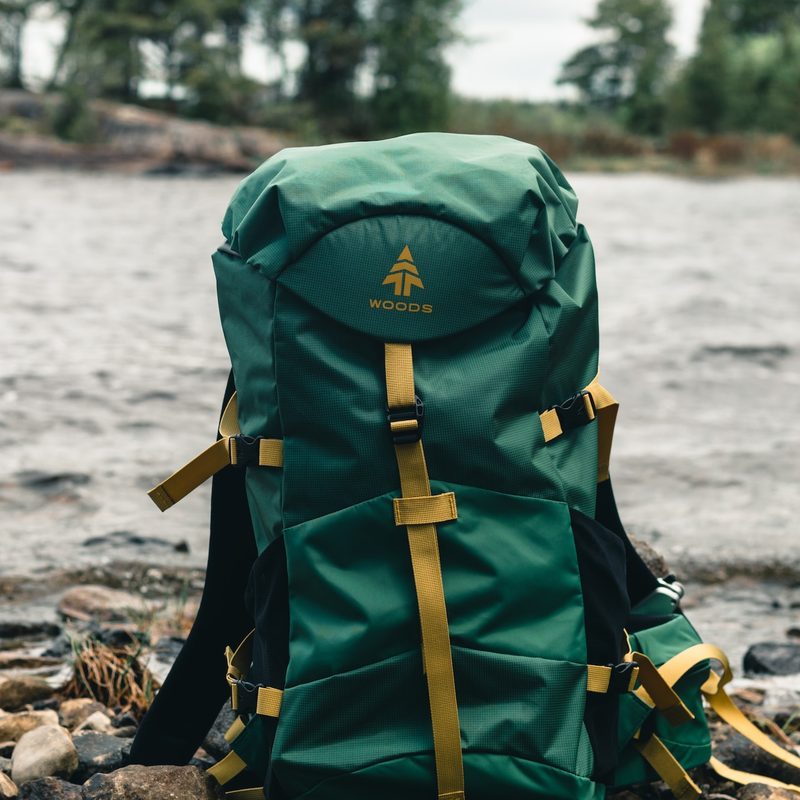
Step 1: Choose a compatible backpack
-
Pick an internal frame backpack with enough capacity for your tent and gear.
-
Use a compression sack if your tent is bulky.
-
Test the fit at home before heading out.
Step 2: Dry and prepare the tent
-
Never pack a wet tent — it adds weight and risks mildew.
-
Air it out in sunlight or wipe it dry.
-
Lay the tent flat and place the pole bag alongside it, matching the width.
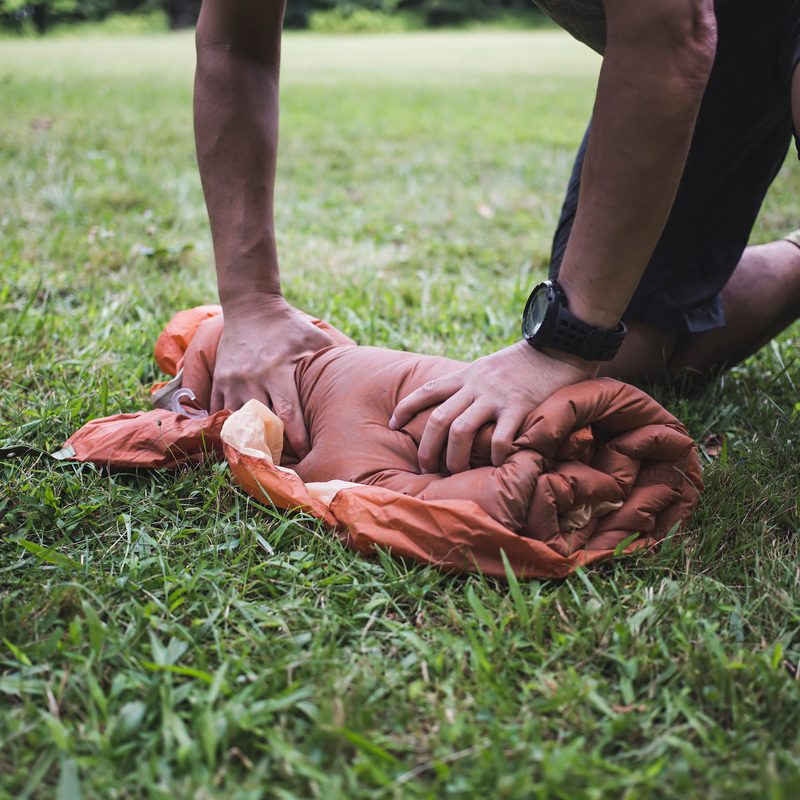
Step 3: Roll the tent into a compact bundle
-
Start rolling with the pole bag at one end.
-
Keep the roll tight and aligned to avoid bulging.
-
Add the stake bag midway through and continue rolling.
Step 4: Store the tent in its bag
-
Place the rolled tent into its storage sack.
-
The poles and stakes inside the roll give it structure and stability.
Step 5: Pack your backpack strategically
-
Start with heavier gear at the bottom (like your sleeping bag).
-
Stack lighter, softer items on top.
-
Keep quick-access items (snacks, map, first aid) near the top or side pockets.
Step 6: Insert the tent into the backpack
-
Place the tent roll in the middle of your backpack to balance the load.
-
Use a vertical orientation for easier access or a horizontal orientation for stacking efficiency.
-
Choose what feels most stable and comfortable for you.
Packing a tent in an external frame backpack
External frame packs are designed to carry bulky items on the outside — including your tent.
How it differs from internal frame packing
-
Roll and prep the tent the same way.
-
Instead of packing it inside, strap the tent to the bottom of the external frame using the provided straps or lash points.
Pros and cons of external tent packing
Pros:
-
Saves internal space
-
Easy access during setup
Cons:
-
Exposes the tent to rain, dirt, and trail snags
-
Risk of the tent shifting or falling off if not secured properly
Tip: Always use a waterproof cover and secure knots or straps to keep the tent in place.
Pro tips for packing your tent efficiently
Split tent components with a partner
-
Divide the tent with your hiking partner — one carries the poles and stakes, the other carries the tent and rainfly.
-
Helps distribute weight and free up space in both backpacks.
Ditch the stuff sack for ultralight packing
-
Some hikers skip the tent bag and pack the tent loosely between other gear.
-
Poles can be strapped to the outside of your pack.
-
Works best with smaller, ultralight tents.
What to do if your tent is wet
Packing a wet tent at the end of your trip? Follow these steps to protect the rest of your gear:
-
Dry it out if you can: Air it out in the sun or towel off any moisture.
-
Shake off excess water: Remove as much as possible before rolling it up.
-
Use a waterproof barrier: Pack the tent in a dry sack or trash bag, opening side up.
-
Dry it out fully at home: Unpack and air-dry the tent completely before storing.
Quick checklist: how to pack a tent in a backpack
- Choose a compatible backpack
- Dry the tent completely
- Roll tightly with poles and stakes inside
- Use compression if needed
- Pack heavier gear low, tent in the middle
- Use waterproof bag for wet tents
- Secure gear tightly if stored externally
Frequently asked questions
Should a tent go inside or outside a backpack?
For internal frame packs, place the tent inside and near the middle. With external frame packs, strap the tent securely to the outside — ideally at the bottom.
Can I pack a wet tent in my backpack?
Yes, but pack it separately in a waterproof bag to protect the rest of your gear. Dry it out as soon as possible.
Do I need a stuff sack for my tent?
Not necessarily. Skipping the stuff sack can save space and help with more efficient packing, especially in ultralight setups.