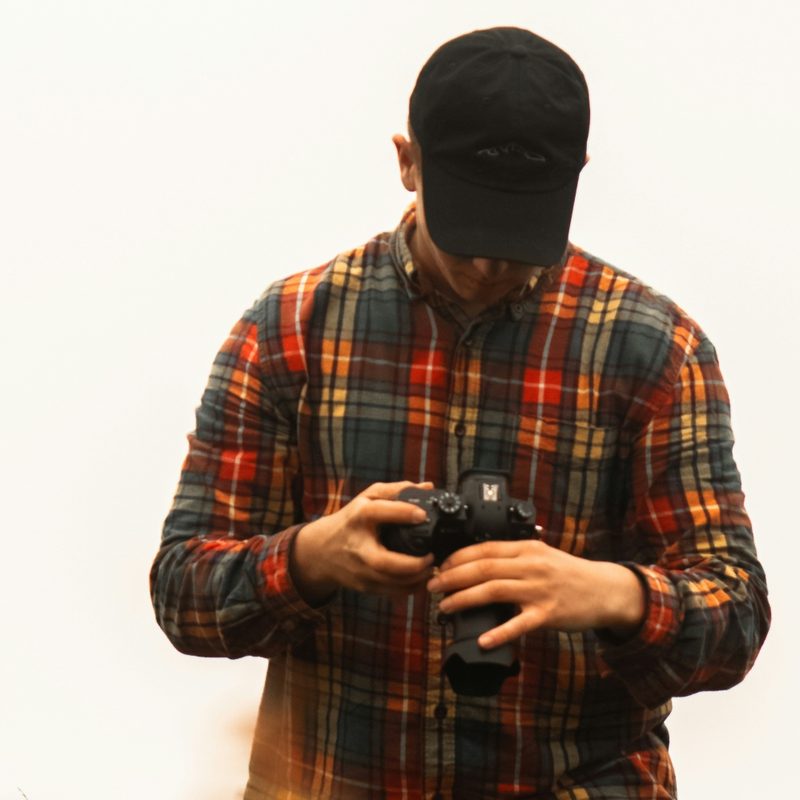
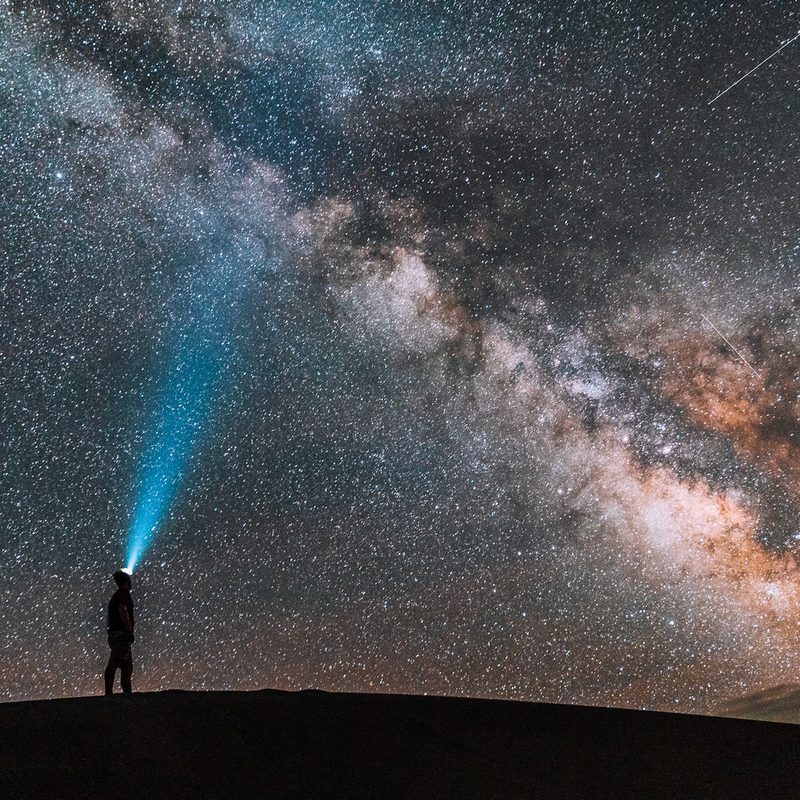
One of the best parts about going on an outdoor adventure is documenting it for your friends and family (and possibly the world) to see. To be honest, my trusty iPhone is pretty great at capturing awesome pics, but a lot of times, the moment calls for some professional gear. Professional equipment often has superior image quality, lens variety, and manual control settings that you wouldn’t otherwise have at your disposal.
If you’re looking to upgrade to professional equipment for your next outdoor trek, here’s your packing list. Whether you’re looking to take magazine-quality photos or just snap a couple good shots to hang in your office, this set of essentials won’t turn you into an expert, like Chas Glatzer, but it will get you on the right path to being an adventure photography pro.
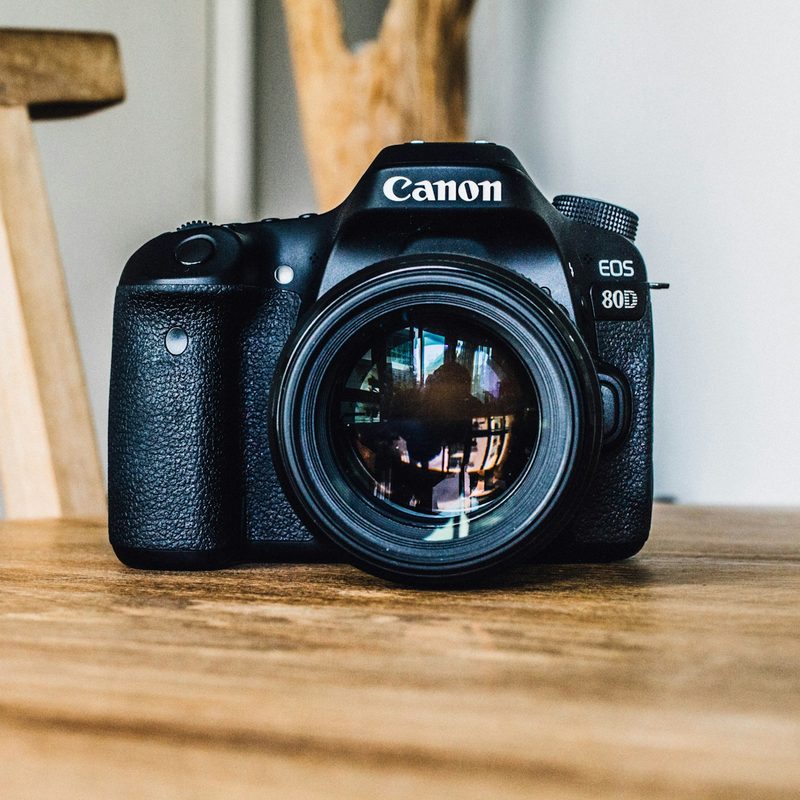
Choose your camera body
Your camera body is the heart of your experience, so it’s a great idea to look at several different options, namely digital single-lens reflex (DSLR) and mirrorless. DSLR cameras are great because of their durability and battery life. They also tend to have a wide variety of lens options, so they’re ideal for compatibility. But because they are on the bulkier side, I tend to go for a mirrorless as long as the weather is good.
Mirrorless cameras are compact and lightweight, so they’re perfect for hiking. Many modern mirrorless cameras also come with advanced features like real-time tracking, autofocus, in-body stabilization, and even good video quality. These tend to have a shorter battery life and often lack weatherproofing.
Choose your camera lens
Since weight is a huge factor in adventure photography, especially during long-haul treks, it’s a good idea to choose a lightweight lens or at least reduce your collection to your favorites. If you have a niche, choose a lens that meets those goals.
For landscapes, choose a wide-angle lens for a dramatic perspective. These allow you to see a wide field of view, so you can capture all those stunning views while emphasizing the foreground. The downside is that it can distort the edges, especially with ultra-wide angles.
For wildlife, experts like Glatzer always choose a telephoto lens. These can capture distant subjects like elk and bison in crystal clear precision. Telephoto lenses are perfect for bringing faraway objects closer to capture fanning feathers or bears at a safe distance. The only downside is that they’re pretty heavy and large, so you might need a tripod for stability.
Macro lenses are perfect for those who want to capture close-ups of small objects like flowers, insects, and the texture of bark. These allow you to capture fine details with a 1:1 magnification or greater, so you’ll be able to grab all of those sharp details in your photos.
If you want the best of everything, shoot for a standard zoom lens. These can handle landscapes and portraits pretty well, but they might not excel in any specific area. Choose a standard zoom lens if you’re just starting out or if you don’t know what you like to photograph yet.
Choose your tripod
Tripods aren’t always necessary, but if you’re expecting to have to camp out for a while to get the perfect shot of the moon, they are definitely helpful. Even the hulkiest of photographers need a tripod to capture star trails or long exposures of waterfalls, so there’s no shame in bringing one along.
If your camera is fairly lightweight, you’ll be able to get away with a lighter travel tripod. These are great for hikers who want to trek light since they’re so compact, and they can easily slide into your favorite camping or hiking backpack.
That said, you might need to grab a heavy-duty tripod if you’re expecting to face some high winds or if you’ve packed heavy gear like a telephoto lens. These tripods sacrifice portability for stability, but depending on your trip, it might just be worth it.
Choose your camera bag
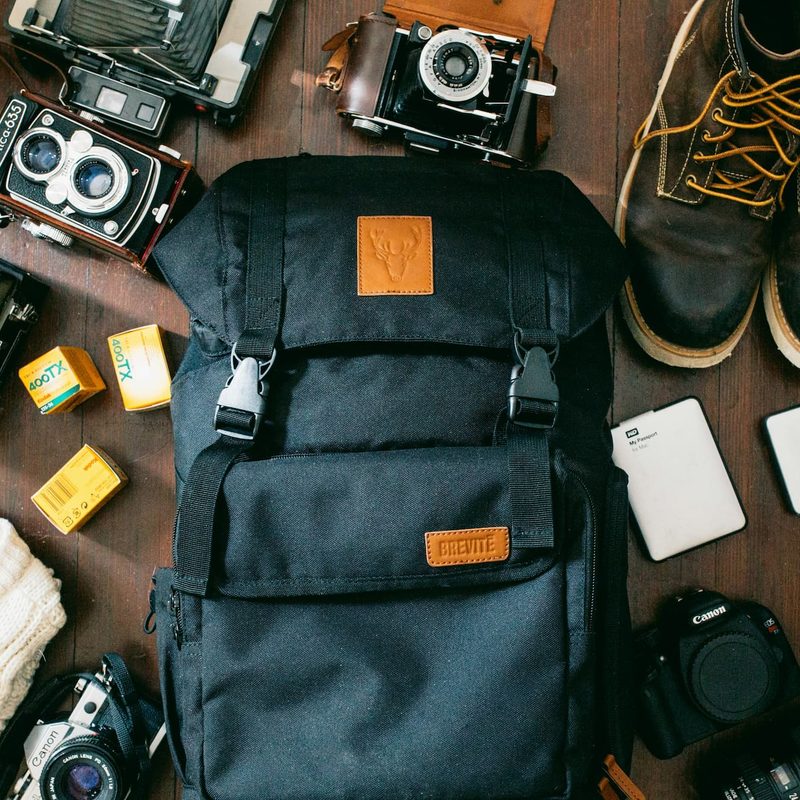
Camera gear can be delicate, so consider your gear before choosing a camera bag. Camera-ready backpacks are great if you’re planning on a shorter day hike or camping trip. Look for a model with padded compartments and extra space for personal items like snacks and safety gear.
For longer hikes, you’ll probably want to find space in your hiking backpack, but make sure that you pack separate protection for your gear, such as padded cases, so that everything stays safe. If you’re expecting some rain, it will be a good idea to choose a camera bag that’s waterproof, but you could also purchase some dry bags if this is the only area where your bag is lacking.
Overall, choose camera gear that you’re comfortable and confident with. Your adventure photography packing list should align with the specific goals of your trip, the destination, and the duration of the trek. With the right gear, you’ll be well equipped to capture all of the amazing adventures that cross your path.