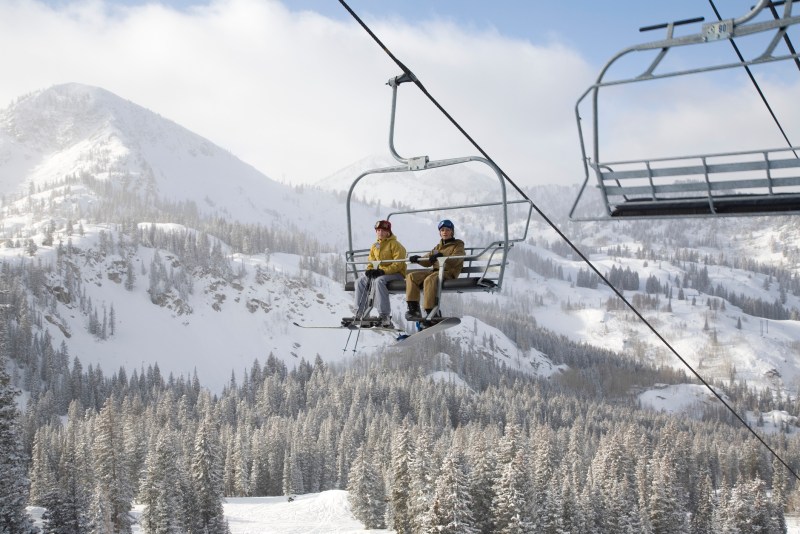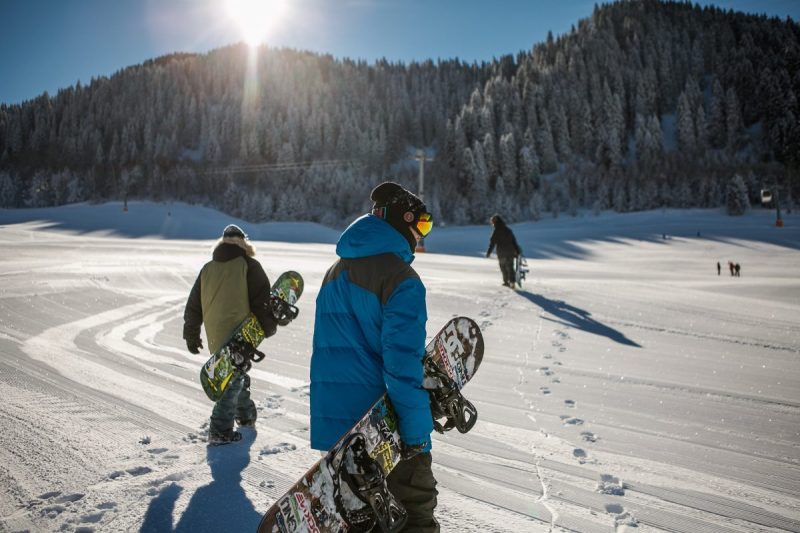
The dreaded ski lift. It’s one of the few moments when you’re snowboarding as a beginner where you envy skiers as they cruise off in a straight line with just a hint of a snowplow. As you see the top of the lift approaching, you lift that bar up, turn yourself sideways, get ready to get off the ski lift chair, and hope that this time you’ll nail it.
Things only get worse as you start riding lifts with strangers — it’s one thing to wipe out your buddies, but another to cling to a stranger like Jack clings to Rose in Titanic as you ride off into the sunset. So how can you master the ski lift and ensure that the next time you hit the summit, you cruise off in style?
The good news regarding lifts is that you’ve probably already got the answers locked up in your skillset. And that’s because snowboarding for beginners usually starts out with at least a little one-footed riding on the bunny hill. Also, if you’ve spent any time at a beginner-friendly ski resort, you’ll most likely have had to scoot yourself along on one foot on a flat green run or cat track.
If you’re not comfortable riding one-footed, now is the time to start. Number one on my list of beginner snowboarding tips is to relax. Most beginners find themselves riding far too rigid when they’re riding off lifts or one-footed in general. Bend your knees a little and allow that front foot to initiate your edges for turns — don’t expect any sharp or major turns here. When starting out, you can hang a little of your toe, or heel, off the side of the snowboard and drag it in the snow to slow you down, especially on steep lifts.
Once you’re comfortable riding one-footed, follow these steps to ski lift success next time you’re out on the slopes:
- Try to position yourself on the outside of the chair — this is especially helpful if you’re riding with skiers who are better in the center.
- When it’s your turn, scoot yourself to the green line that indicates where the lift chair will pick you up.
- Keep your board facing straight, but twist your body a little so that you’re ready to sit down.
- As the chair picks you up, lift your board a little — especially the front edge — to stop it from catching and dragging under the lift.
- As you approach the top of the lift, raise the bar and turn your body sideways a little to line up your snowboard.
- As you feel your snowboard touch down, push yourself up and away from the lift a little to initiate your slide.
- Relax. Let the board ride directly away from the lift.
- Once you are clear of the lift station, use your heel or toe to slow down.
- Move clear of the lift station.

Using a T-bar lift
Not all ski lifts are created equal. Some don’t have chairs at all. They’re known as drag lifts, or more commonly, T-bar lifts. These lifts have just a bar or a round disc (known as a “button”) that goes between your legs and drags you up the hill. They can be a challenge, but just like ski lift chairs, snowboarders can use these successfully with just a little practice.
Here’s what you need to do to ride the T-bar and look like a pro:
- Make sure your back foot is out of the rear binding and keep that foot close to the snowboard.
- Look back to see the lift pole coming toward you. If you miss the bar, don’t panic, just grab the next one.
- Hold the pole in your front hand.
- Lean back on the bar, resting the top of your thighs on the bar. Do not sit on the bar.
- Keep your shoulders lined up with your board.
- Relax on the way up, if you get tense, that could lead to cramps. Keep your knees slightly bent.
- As you get to the top of the hill, make sure you’re leaning forward.
- Let go of the bar and glide away.
Don’t stress if it doesn’t go perfectly. Trust me, we’ve all fallen at the top of a chairlift and have ended up in some weird positions. The best option is to find a lift with a reasonable gradient at the top and lap it multiple times until you perfect it. If you ride at a quiet resort, you can always try to get a less busy lift or ride solo — just don’t do that when there are busy lift lines, or you’ll catch some well-earned flak.
Go shred.


