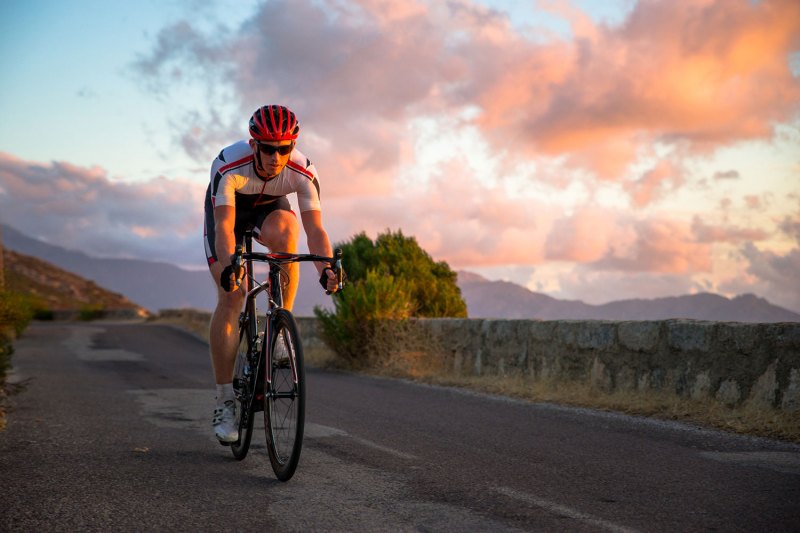
For many cyclists, taking a ride outdoors with a stunning landscape in the background and the sun shining down on a mild day sealed the sport as their new hobby. There’s something about pedaling on your best bicycle as you take in the surroundings that makes cycling so wonderful, no matter how fast or far you plan to go. Before you know it, you’re even enjoying climbing hills and leaning into the challenge.
Road cycling is an excellent form of cardiovascular exercise and has a lot lower impact on your joints than running. Another benefit of road biking is that you can enjoy it completely solo or in a group. While there is an adjustment period, it’s a lifelong sport that will keep you fit and challenged for years to come.
Not to mention, it’s even a great way to see the world as you travel, be it on rails to trails or just hitting the road on two wheels. But before you take off, you need to start from the bottom. With an upfront investment in good gear and some training, you can take off on any road biking adventure that calls you.
Start Indoors
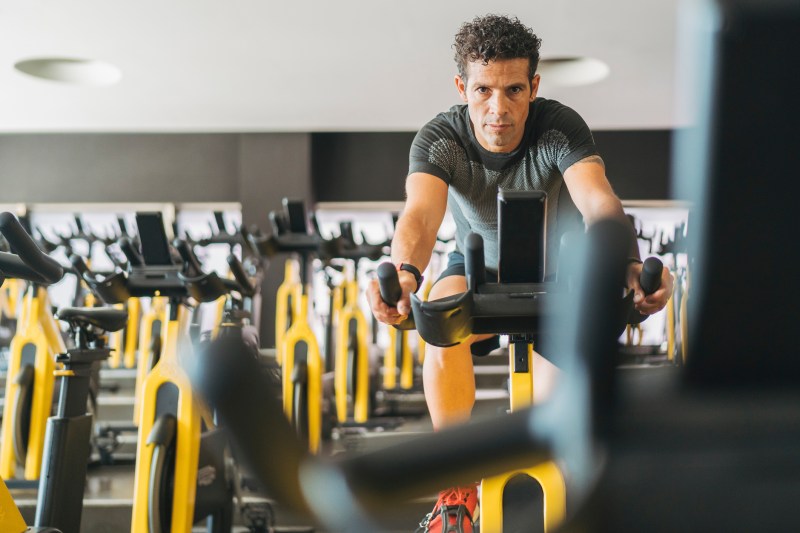
Perhaps it is my bias as an indoor cycling instructor, but I continue to believe that beginning your road biking hobby indoors is a great place to start. For starters, it’s a great place to meet other people who are interested in cycling, so you might be able to find someone to ride with when you do hit the road. But riding indoors is also a great transition to the road bike.
If you are not used to riding a bike often or sitting in the saddle for a long period of time, then a stationary bike gives you some leeway to adjust. By taking a couple of months of indoor cycling classes, you can just focus on getting used to the feeling of being in the saddle and the posture too. As you take the classes, sitting on an indoor bike means you don’t have to worry about falling over if you need to sit up and take a break as you build your endurance. A pair of padded shorts or leggings, known as a chamois, can also alleviate pain as you adjust to the bike.
Starting indoors will also help you to build up some cycling strength before hitting the road. Indoor cycling does not come with the same obstacles, like pavement drag or wind pushing against you. However, you can add resistance and up your strength so you are ready to hit the road with a good fitness base.
Find the Right Bike

If, after a month or two of indoor cycling, you find — or already know — this is a hobby that you’re going to stick with, then the next step is to buy a good bike that fits your body and your needs. Road bikes are pricey, but they can make a huge difference in your rides. The first thing you need to consider is how you will primarily be riding on the road. There are quite a few types of bikes to consider depending on how you will use them: Is it for commuting, road cycling, or long-distance trips?
Related Guides
Once you know how you want to ride most of the time, then it’s time to visit a bike shop, where you can get properly fitted for a bike. Usually, the bike frame should be about one inch below your body when you are standing over the bike. The skilled staff at a bike shop can certainly help you choose the right size of bike for your body as well as fine-tune the fit. You’ll also want to outfit the bike with a comfortable bike saddle and perhaps pedals so you can clip in if you plan to wear cycling shoes. Don’t forget to pick up the best bike helmet, which is an absolute must-have for road cycling, which inherently involves car traffic. You might even want to outfit your helmet or your bike with a mirror so you can safely change lanes and navigate car traffic.
Take a Repair Class
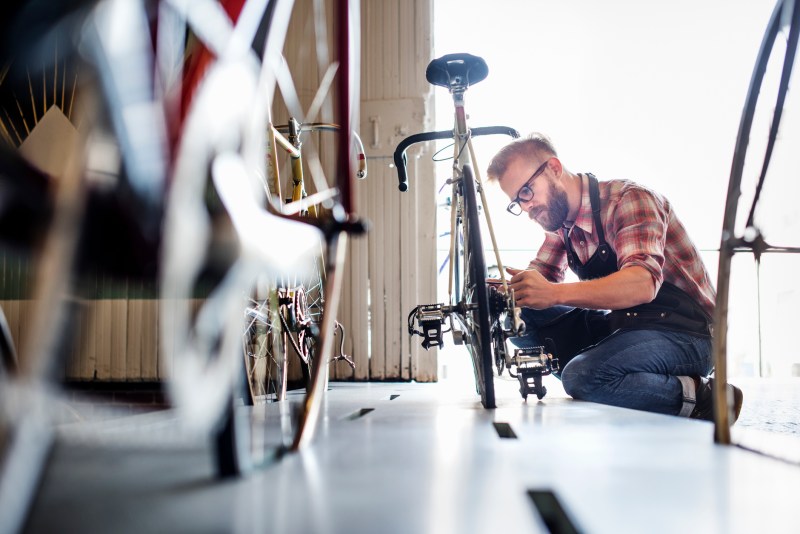
Once you’re outfitted and ready to ride, you can go ahead and hit the road. It is, however, worth attending a repair class early on as you explore your new outdoor activity. Many local bike shops offer such classes or nights where they teach how to fix your own bike. Some outdoor retailers like REI offer bike repair classes too. On occasion, it’s even free to attend. Of course, it is very convenient to pick up the materials you might need to make repairs on the road, such as a portable pump or air cylinder, tire patches, spare tubes, and a multi-tool with Allen wrenches.
Inevitably, and hopefully not soon after buying a new bike, you will have some kind of trouble crop up while you’re out riding. Be it a flat tire or a slipped derailleur that catches your chain, you will undoubtedly want to know how to fix minor problems while out on the road so you can hop on and keep pedaling.
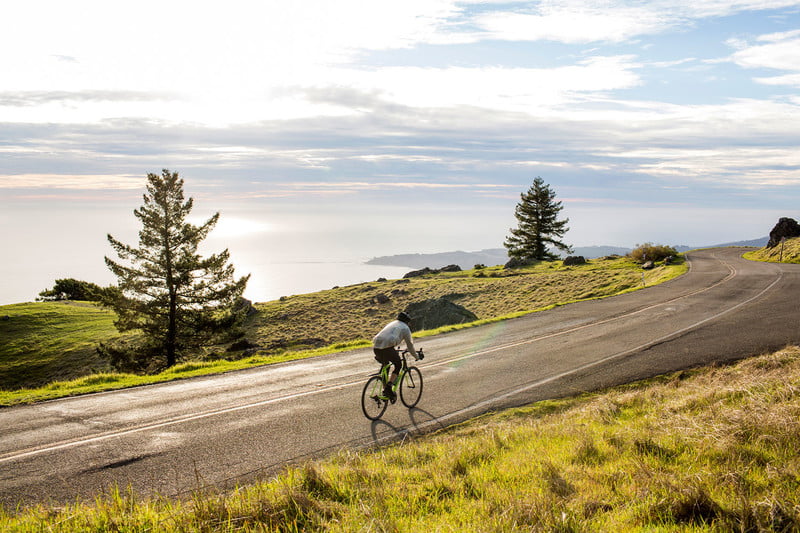
Plan Your Route
With all of your prep complete, you can confidently set out on the road. Some opt to join a cycling group. There are usually several levels or speeds at which the groups ride, and many rides are “no drop,” meaning they won’t leave anyone behind on the ride. It isn’t a race after all. This is a great way to meet people and build your community with the new outdoor activity, but it can also introduce you to regular routes many other cyclists take. If enough cyclists are on the routes, then locals in
You can also use tools like Map My Ride or Strava to plan and map out your routes. These websites and apps allow you to see distance and elevation gain, too, so you’ll know how much climbing your ride entails. Start with a shorter ride, such as 10 to 20 miles, and work your way up. Finding or mapping a nice-sized loop, such as an 8- to 12-mile loop will also allow you to slowly build up to longer rides by simply adding another lap.
So take your time, but be willing to push yourself to add more miles as you become more acquainted with your bike and how your body feels with more time in the saddle. Keep in mind that it’s best to keep your goals based on distance rather than time as factors such as wind can add time to your ride.


