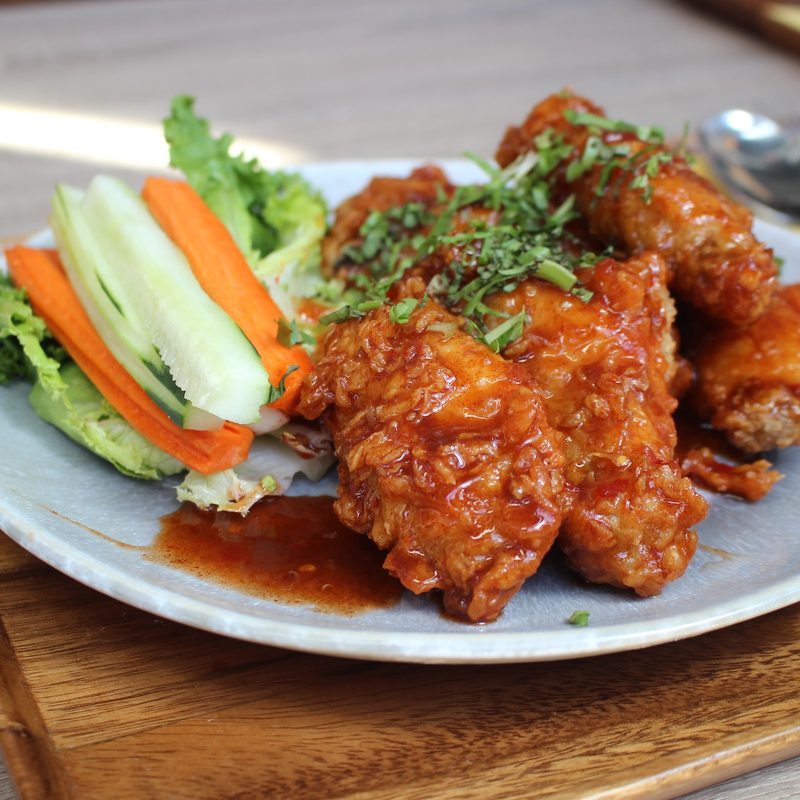
All hail Teressa Bellissimo! If you truly consider yourself a chicken wing junkie, you’d know who that is. If not, you’ve probably guessed by now. Bellissimo was the inventor of the Buffalo wing, back in 1964. Wings have evolved a lot since then. Chefs have concocted creative sauces to coat them in and use other cooking methods like baking and air frying. You can get them naked or with batter, dry-rubbed or sauced, all drums or all flaps. Despite all the changes over the years, two things remain the same. First, they’re delicious! Second, they should always be crispy on the outside and have a juicy, moist inside.
The one problem with this classic finger food is that it can be tricky to replicate the fresh-out-of-the-fryer taste with your leftovers. Although there’s nothing wrong with eating a chicken wing cold and straight out of the fridge, it’s best to enjoy them how Bellissimo intended them — out of respect. Luckily, there are a few ways to reheat chicken wings, even if you’ve only got a kitchenette to work with. Here’s our insider guide on how to reheat your leftover chicken wings without losing any flavor or desirable texture.
How to reheat chicken wings and maintain their flavor and texture
In the microwave
If you happen to be crashing at an apartment stay or a quaint cabin with no more than a microwave to prepare your food (or frankly, if you just want the quickest, easiest way to reheat your wings), then the microwave is your best bet. But a word to the wise: using a microwave might result in slightly softer, soggier wings compared to an oven.
Still, this is a convenient method.
- Take your wings out of the fridge and let them sit in room temperature for up to 15 minutes.
- Place your wings in a single layer on a microwave-safe container. Even better if it has a lid. (Note: Saucy wings might “explode” without a lid.)
- Set the microwave on high for 1 minute.
- Flip the wings to the other side, and pop back into the microwave for 1 more minute.
- Let them cool and enjoy.
In the oven
To keep that oh-so-addictive crunch without drying out the inside of the wing, an oven is a fail-proof reheating method.
Toaster or microwave oven
Toaster ovens might conserve less energy than an in-wall oven, especially if your home has an older model of the latter.
- Thaw wings for up to 15 minutes, or until they reach room temperature.
- Arrange your wings on your cooking tray of choice.
- Set your oven to 350 degrees Fahrenheit.
- Heat the wings for up to 10 minutes, keeping an eye on the skin.
- Remove from the oven, let them cool, and dig in.
Convection (electric or gas) oven
Have a large Tupperware of leftover chicken wings? It’s time to bring out the big guns, and use your oven. The key to crispy wings that won’t stick to the pain is thawing out your wings for up to 15 minutes outside of the refrigerator. For completely frozen wings stored in the freezer, transfer the batch to your refrigerator the night before, giving the wings time to thaw out.
For modern ovens with an optional convection setting, we recommend using the conventional oven setting. The former tends to overheat and dry out wings.
- Let your wings reach room temperature.
- Preheat your oven to 350 degrees Fahrenheit.
- Place the wings on a baking sheet in a single layer.
- Insert the tray(s) into the oven and wait up to 10 minutes. You might also choose to do 5 minutes on each side, depending on your desired crispiness and done-ness.
- Take them out to cool and serve with your favorite side.
Pro tip: Use a non-stick baking sheet, aluminum foil liner, or baking spray to keep the wings from sticking and losing meaty chunks in the process.
Broiler method
The broiler setting on your toaster oven or conventional oven has big potential. Though an uncommon method, broiling is a feasible method that yields great culinary results. Just be careful not to burn your wings, broilers can get super hot very quickly. So, keep an eye on them!
- Let your wings reach room temperature.
- Set your oven or toaster oven to high broil and let it heat up.
- Place your wings on a single layer on your cooking tray.
- Cook for 5 minutes, then turn over.
- Cook for another 5 minutes.
- Eat up!
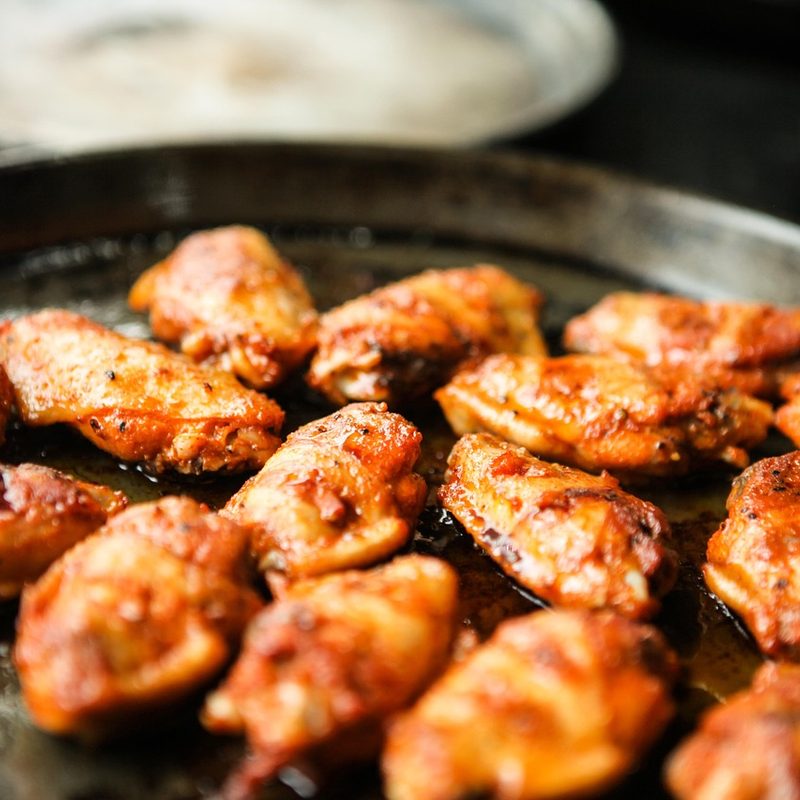
On the stove (frying pan)
This method might take longer than others, depending on the size of your pan/cooking surface and how many wings you want to reheat. However, it’s an efficient method that allows you to carefully monitor your precious leftovers.
- Take out your wings from the refrigerator and let them reach room temperature — about 15 minutes.
- Heat up the pan on medium-high heat.
- Add a conservative amount of oil, just enough to coat the pan.
- Toss in your wings and fry for 3 to 4 minutes on each side.
- Serve.
The frying pan method is also best used for saucy wings. In other words, if you’ve got leftover sauce or have been dying to try out a new hot sauce concoction, now’s the time. While reheating meat on the stovetop might often lead to dryer meat, you’ll be rewarded with an extra crispy exterior.
In an air fryer
Craving that crispy skin, but avoiding excess oil? We get it, sometimes, there’s just no substitute for that satisfying crunch. Nevertheless, an air fryer is probably the closest thing you can get to a pan-fried chicken wing without the actual frying and using cooking oil.
- Remove your chicken wings from the fridge and allow them to reach room temperature. Let sit for 10 minutes.
- Stagger your chicken wings in the fryer, leaving an inch in between the wings for optimal cooking. Crowding your leftover wings might leave you with cold and hot spots instead of evenly reheated surfaces.
- Set the temperature to 350 degrees Fahrenheit.
- Let the wings bathe in the hot air for about 8 minutes.
- Extract the wings and serve.
For thicker wings, you might lower the temperature and leave them in the air fryer longer. Alternatively, you might crank up the heat and take out the wings earlier if you’re in a rush.
How to store leftover chicken wings safely
The quicker you can get leftover wings to a refrigerator, the better. Use airtight, refrigerator-safe containers to keep out bacteria. Most experts recommend leaving leftover chicken in the refrigerator for no more than four days, but they can stay in your freezer for up to three months. Take note of your cook date before storing them in the appropriate containers.
Chicken wings recipe
(From Tastes Better from Scratch)
Ingredients:
- 4 pounds of chicken wings, halved at joints, wingtips discarded
- 2 tablespoons of baking powder
- 3/4 teaspoon of salt
- 1/2 teaspoon of cracked black pepper
- 1 teaspoon of paprika
- 1 teaspoon of garlic powder
- 1/3 cup of Frank’s Wings Hot Sauce
- 1 1/2 cups of light brown sugar
- 1 tablespoon of water
Method:
-
Adjust the oven rack to the upper-middle position. Preheat the oven to 425 degrees Fahrenheit.
- Line a baking sheet with aluminum foil and place a wire rack on top. Spray the rack with nonstick spray.
-
Use paper towels to pat the wings completely dry and place them in a large bowl.
-
Combine the salt, pepper, garlic powder, paprika, and baking powder in a small bowl. Then toss the wings into the mixture, coating evenly.
-
Arrange wings, skin side up, in a single layer on a prepared wire rack.
-
Bake on the upper-middle oven rack, turning every 20 minutes, until the wings are crispy and browned, about 1 hour.
- While the wings are baking, in a medium saucepan over medium heat, stir together the hot sauce, brown sugar, and water. Mix it well until the sugar has dissolved. Remove from the heat and allow it to cool to room temperature, set aside.
-
Remove the wings from the oven and let them stand for 5 minutes. Transfer the wings to the bowl and toss with the sauce.
- Enjoy!