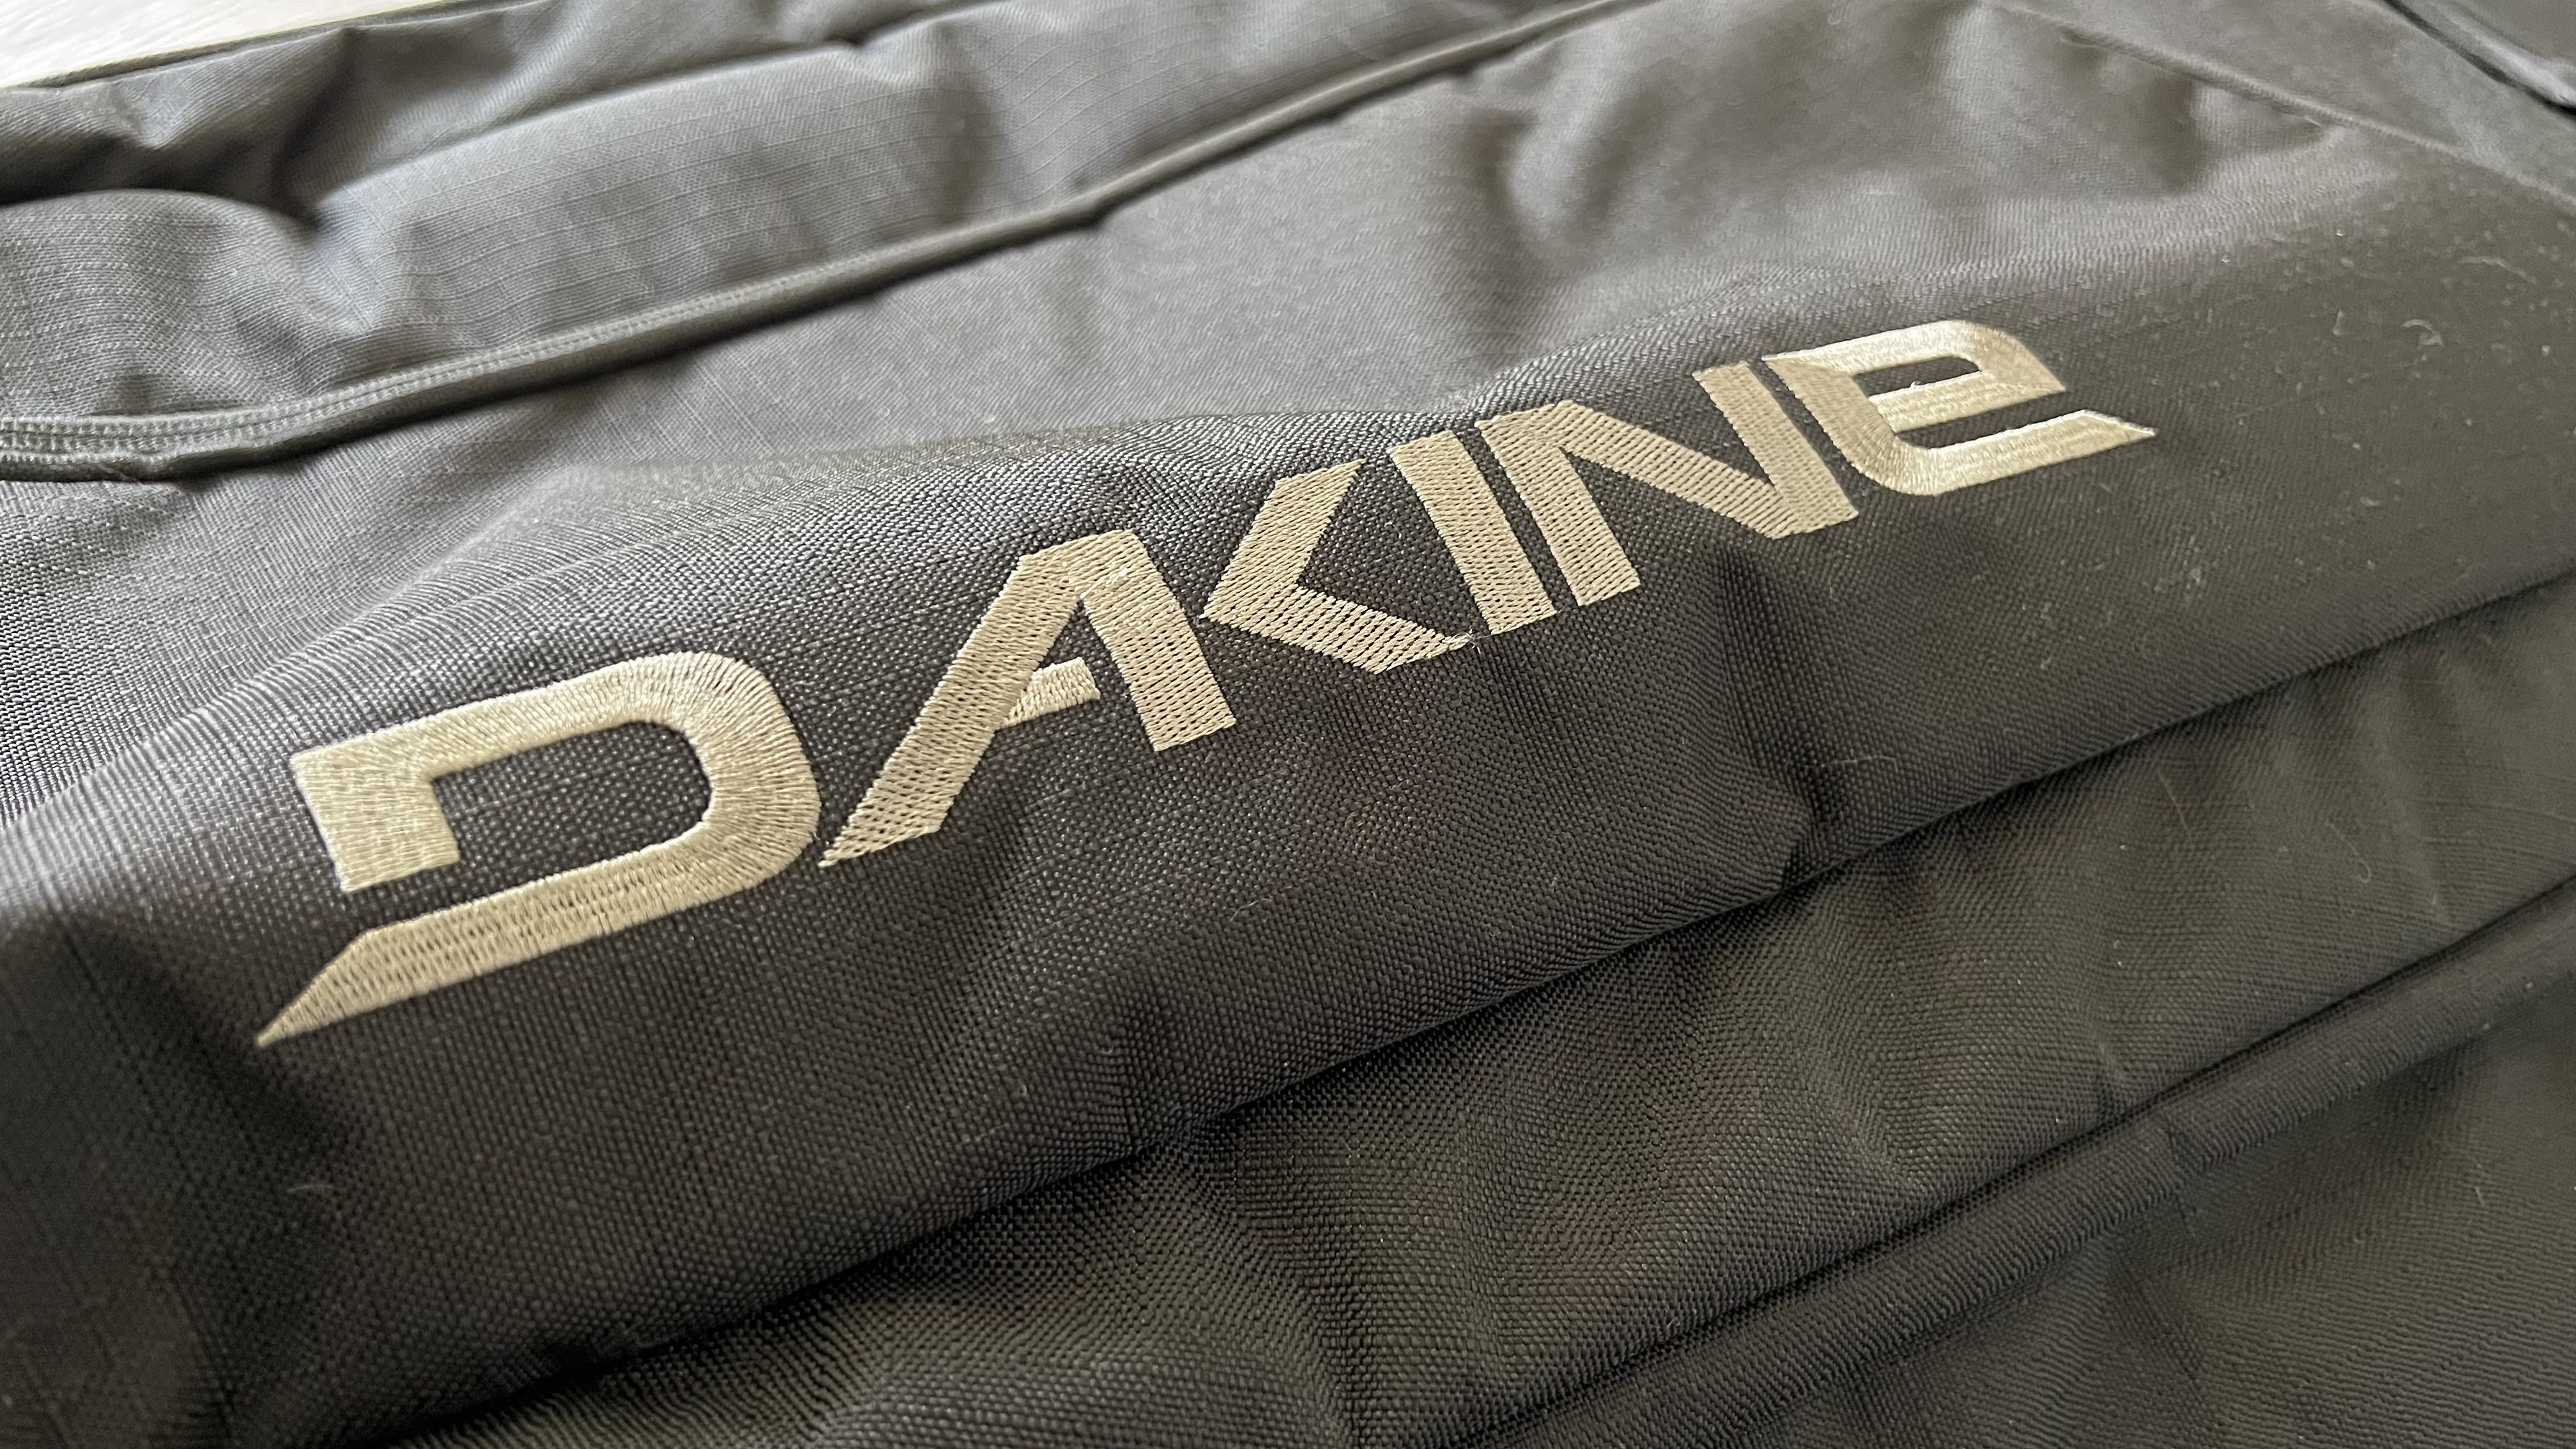
A good ski and/or snowboard bag should meet some critical criteria. Your gear should be protected, it should be pretty easy to tow behind you when walking through an airport, and it should carry all the things you need for your snowboarding or skiing adventure. The DaKine High Roller is one of the best available at meeting all of these needs.
No snowboard gear bag is going to be “comfortable” or “easy” to manage whilst walking through the airport. The model I tested is the 175cm version, one of the longest DaKine offers. It’s too much linear room for just snowboards and bindings, but that’s okay. My boards are usually right around the 160cm mark, and once I had edge protection on my boards, there was still a bit of wiggle room on the top and bottom.
Pro tip: pipe insulation, available at any hardware store, makes great edge protection when traveling. It’s affordable and can be trimmed to fit any size or shaped snowboard.
Before you travel, check with your airline about size and weight restrictions for checked bags. The DaKine High Roller qualified as “oversized” because of its overall dimensions when I traveled; United Airlines has a threshold for the total when adding depth, width, and length of a bag. If a bag passes this threshold, it’s considered oversize. I should note every snowboard bag is considered oversize on all airlines we researched.
Size is unavoidable here, but there’s an important consideration: weight. When traveling with an oversize bag, it typically can’t weigh more than 50 pounds, just like a normal-sized checked bag. Again, check with your airline before traveling, but we found 50 pounds to be pretty standard across the major airlines at the time of publication.
So how did the DaKine High Roller fair? The bag itself is around seven pounds, which cuts into the total weight of my checked bag. Still, this was less weight than many other snowboard bags from other brands and far lighter than a hard-side case. With 42-ish pounds net-weight for gear, I was able to pack:
- Two snowboards with edge protection
- Bindings
- Boots
- Helmet
- Goggles (in its own case)
- 3 pairs of mittens
- 3 base layer gloves
- 2 base layer tops
- 2 base layer bottoms
- 2 balaclavas
- 2 outerwear sets (pants and jacket)
- 3 mid-layer tops
- Impact shorts
- Tools (for attaching bindings)
- Rub-on wax
And I had five pounds to spare!
The DaKine High Roller has plenty of interior room and two removable interior pockets for things like boots or outerwear. I chose to keep outerwear tucked around the outside of my boards — and packed mid-layers between the boards — to ease my mind about aggressive baggage handlers. One interior bag held boots, the other my bindings, wax, tool, and hardware. There are also external pockets, which are more like sleeves than full pockets, in my opinion.
Pro tip: don’t zip-tie or use bag locks on the zipper pulls. TSA inspects all oversize bags.

Toting the High Roller around was about as expected. It’s not comfortable by any means — let’s be real, you’re dragging a long 50 pounds of gear on two small wheels, and that’s just not going to be a great experience with any bag — but I wasn’t left frustrated. The “main” handle on the top end of the bag can be Velcro-ed to the handle of another bag, but that seems clumsier than dragging it behind me, so I didn’t even attempt it. The wheels, though — they hold up. No worries with this bag at all.
With several handles strategically placed on the bag, loading and unloading from a car or the shuttle busses is a breeze.
If you’re like me and worry about soft-side cases not protecting your gear, the DaKine High Roller is padded all the way around. It’s not much padding, so I do recommend protecting your gear. I encountered no issues with damage to my gear or the bag. The recycled polyester ripstop exterior held up great, too.
(I should also note that hard-side cases are far heavier, and I encountered one snowboarder whose hard-side bag had a large gash/break on its side. Soft-side bags might not seem as protective or durable as hard-side cases, but after seeing one broken, I’m rethinking my position.)
The DaKine High Roller comes in two sizes, 165cm and 175cm, and black, coated black, and camo colorways. The price difference is about $30 between the two, depending on where you buy, and I suggest giving yourself plenty of bag space. Both will be considered “oversize,” and given how much I was able to pack into my bag for a trip, weight shouldn’t be an issue.


