Let’s address the elephant in the room: $450 is a lot to spend on snowboarding goggles. You can get a top-end snowboarding jacket or pants for about that price, but Smith Optics thinks you should invest in its I/O Mag Imprint 3D Goggles, too. So, I did. Here’s my review.
Ordering the Smith I/O Mag Imprint 3D Goggle
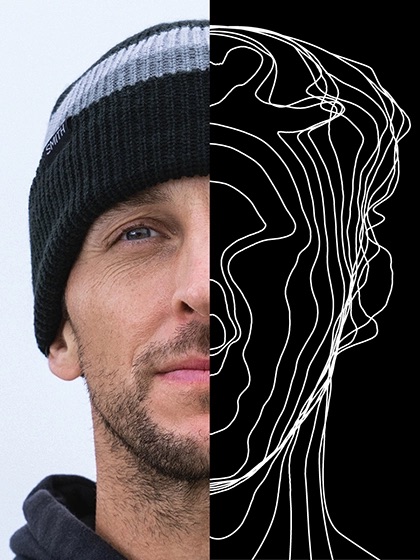
Smith requires you to download a bespoke app to be “fitted” for the goggles. This app scans your face using the device camera, a process that’s a bit like setting up Face ID on an iPhone for the first time. You hold the phone at a distance, move it around your face and head, and the app creates a 3D model of your face.
Once you approve your own face in the app, Smith works on printing a custom frame for your goggles. It’s worth noting that the app has a single purpose — scanning your face and sending the order to Smith — so there’s no reason to keep the app on your phone once that process is completed.
Smith I/O Mag Imprint 3D Goggle fit and features
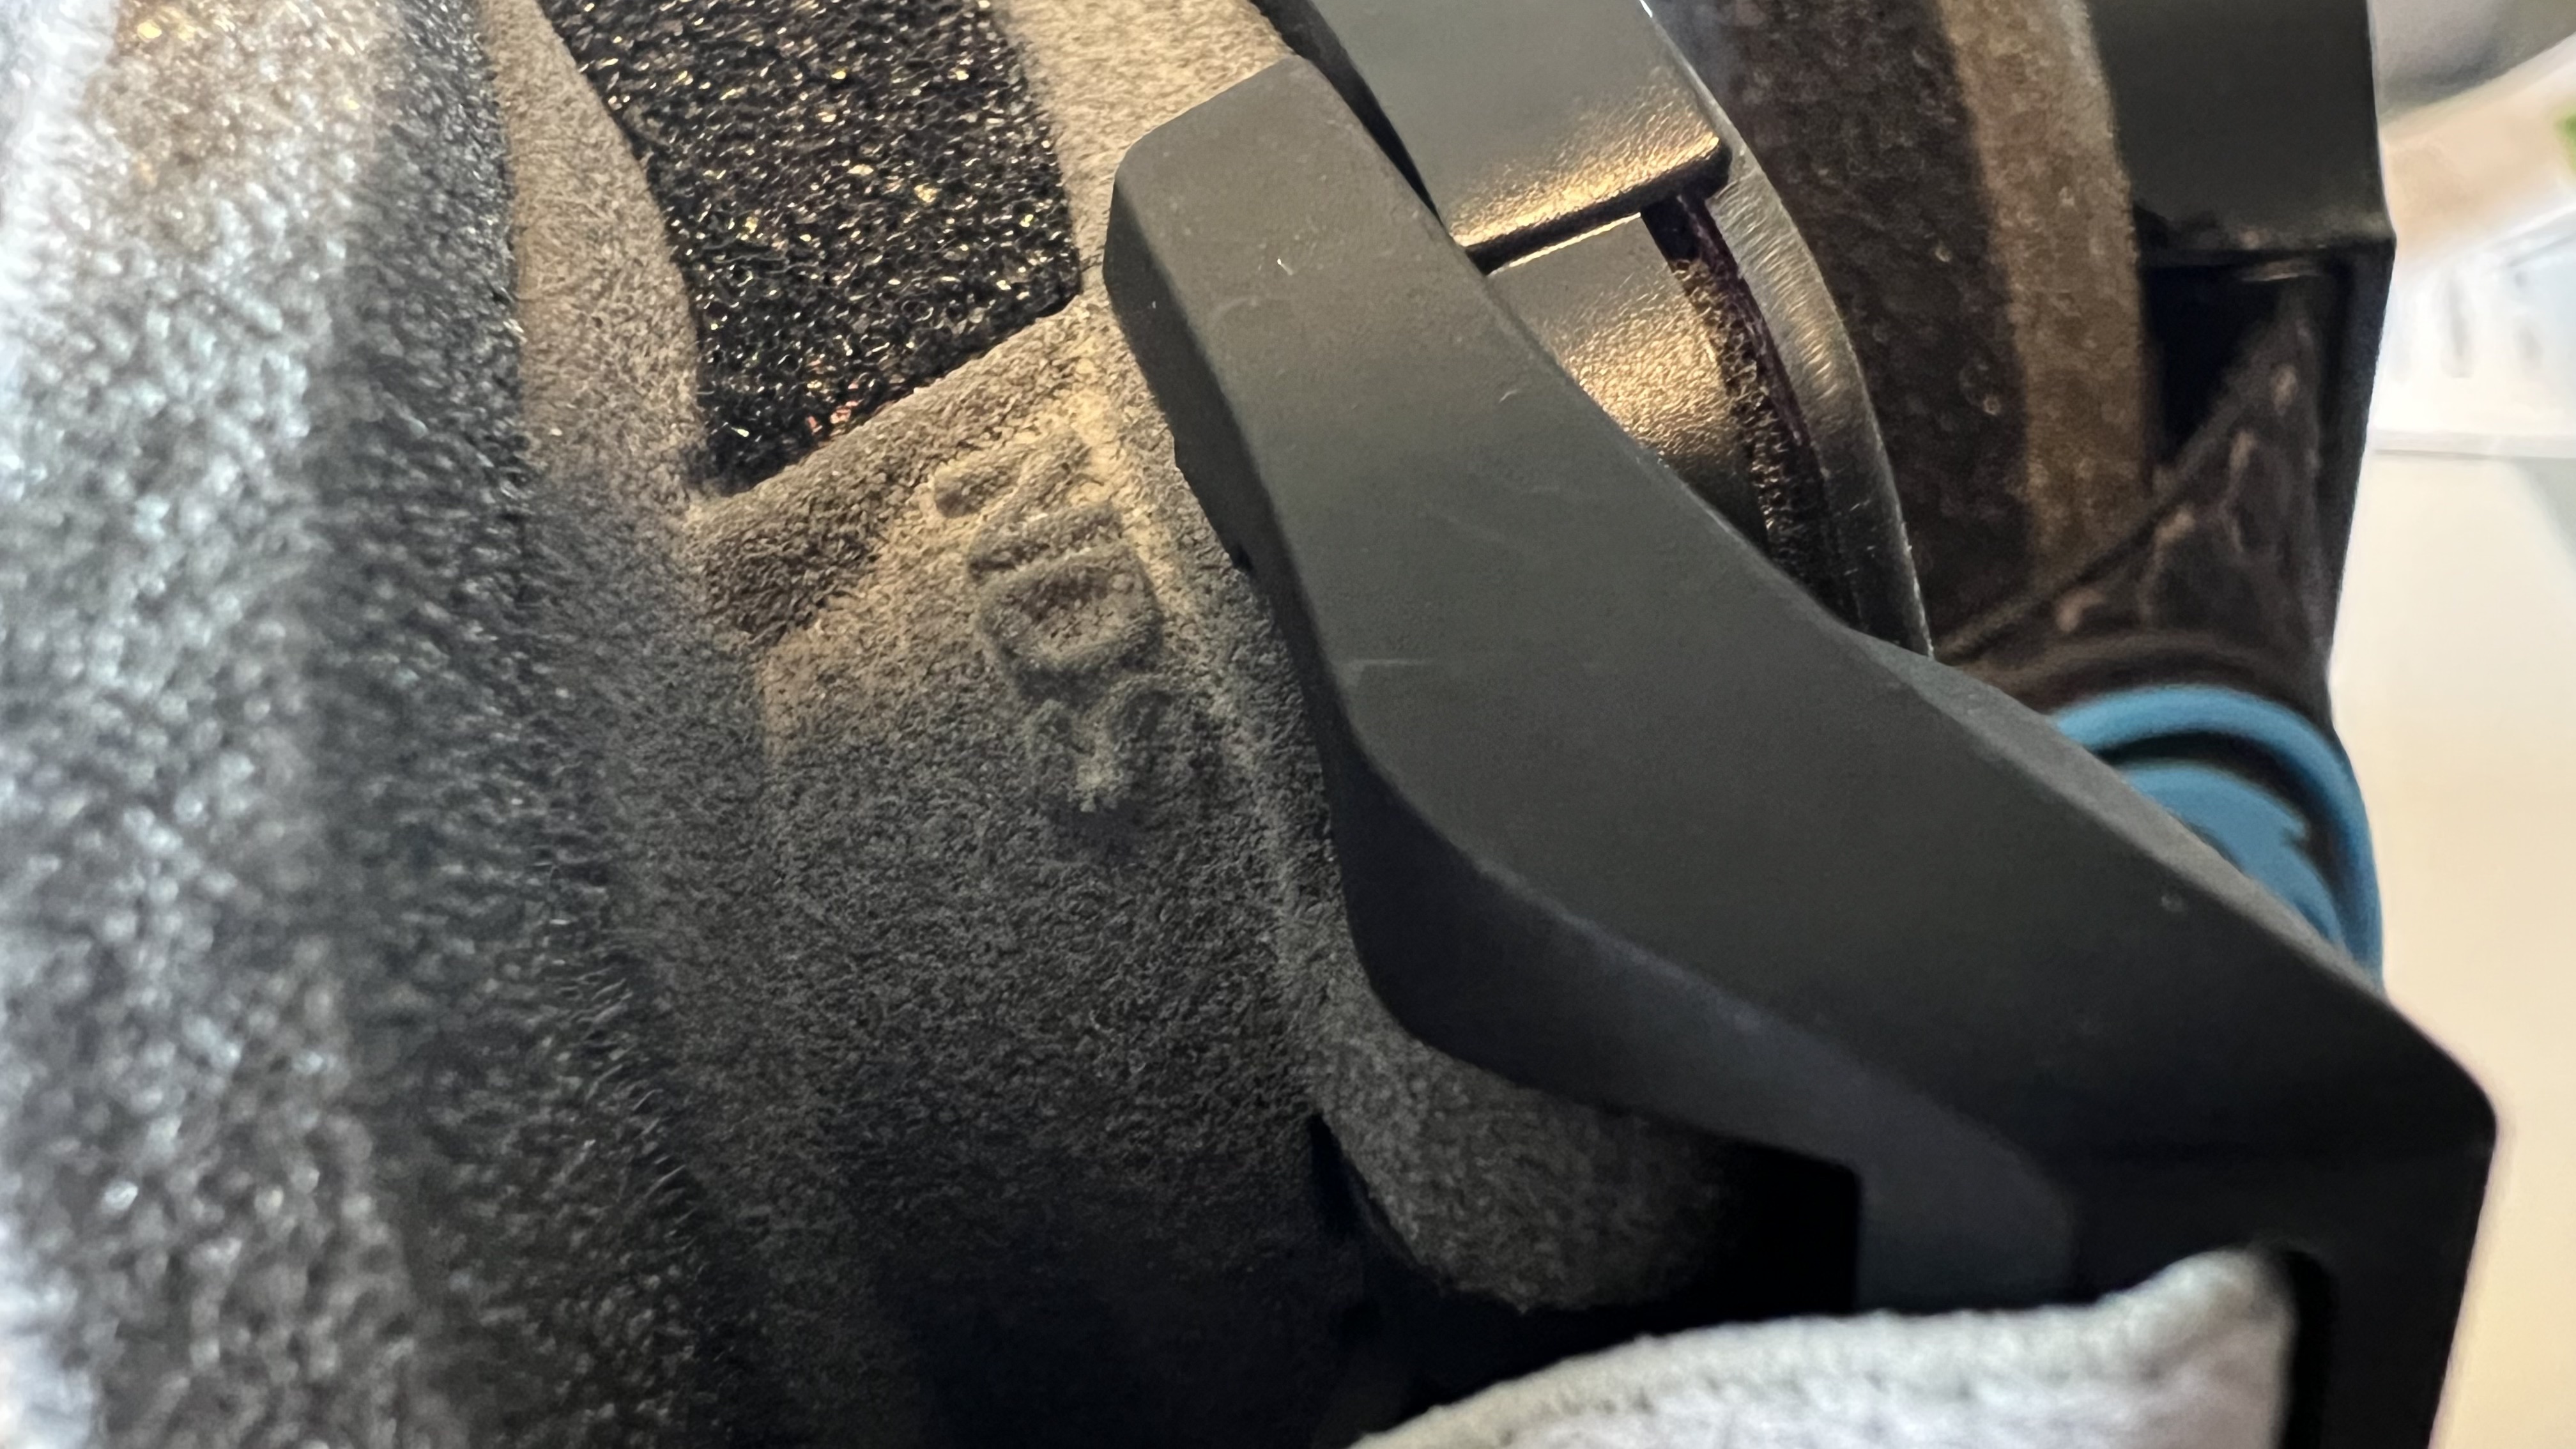
Smith notes its custom frames mean less foam on the goggles, which holds up. Compared to another favorite google of ours, the Dragon RVX Mag OTC, we see the Smith I/O Mag Imprint 3D Goggle has none of the “comfort” foam the Dragon does.
When I first put the Smith goggles on, nothing stood out. The fit didn’t wow me; there was no a-ha moment where I immediately understood why anyone should spend $450 on 3d-printed goggles. That moment came later.
In addition to a custom frame and less foam, I/O Mag Imprint 3D Goggle has interchangeable lenses, which are ChromaPop and “spherical carbonic-x for distortion-free optics and impact resistance.” There’s also an anti-fog inner lens, and the 3D goggles are compatible with any I/O Mag lens.
The foam is moisture-wicking, and the strap embraces Smith’s Quick-Fit system for a better fit and integration with its helmets. I will say the quick-release buckle in the back of the strap may make wearing these goggles without a helmet uncomfortable.

Smith I/O Mag Imprint 3D Goggle performance
The Smith I/O Mag Imprint 3D Goggle seems like any other goggle until you put them on to use. Then the magic happens.
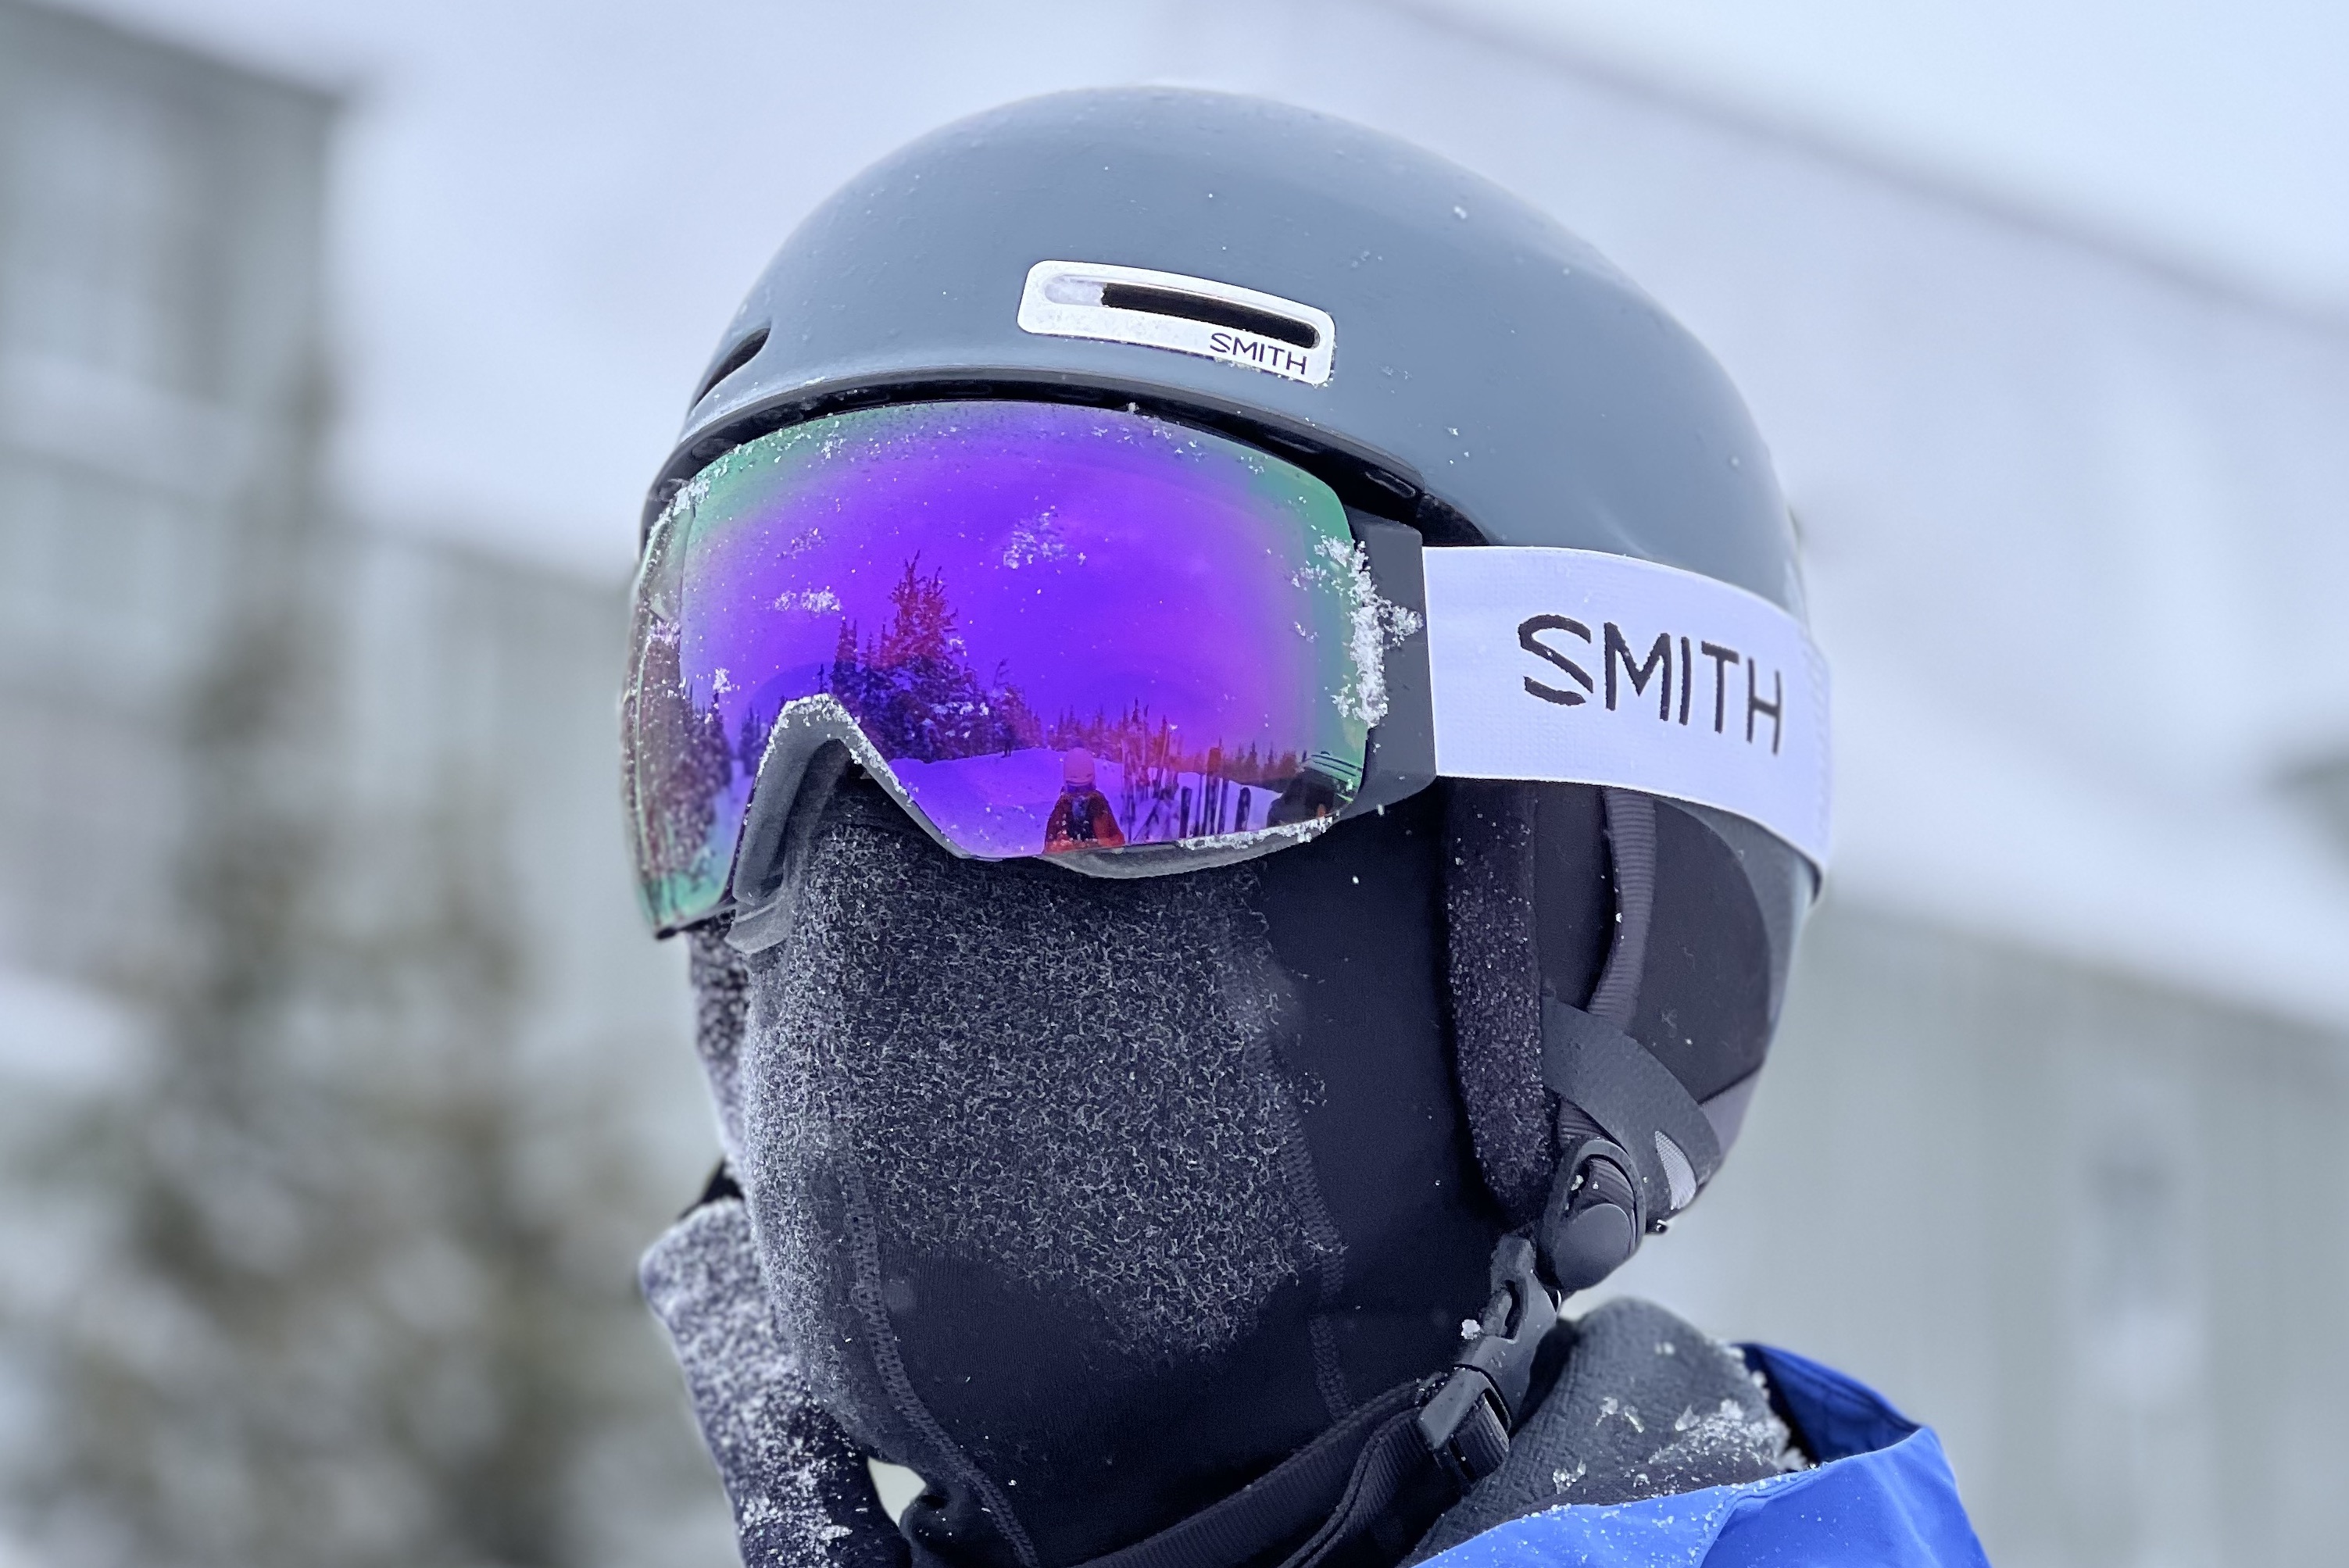
I reviewed the Smith I/O Mag Imprint 3D Goggle on a frigid day at Timberline Lodge in Oregon. It was about 20 degrees and incredibly windy, with a good amount of snowfall. This felt like a good day to put $450 goggles through their paces. Slap on the helmet, drop the goggles over my eyes, and it’s a normal start to my day. Once I got going – and ate it hard down the Pucci run – I could see (pun intended) why you should invest in great goggles.
The I/O Mag Imprint 3D Goggle is easily the most comfortable goggle I’ve worn, a realization I only had after a full day of wearing them. I experienced zero fatigue, which I attribute to the goggle fitting so close to my face. After this bit of self-awareness, I realized that many goggles with added foam feel like they’re sitting away from your face and are a bit wobbly. The more you tighten them to eliminate that feeling, the more fatigue you feel from the goggles pressing into your face.
This is all eliminated with the Smith I/O Mag Imprint 3D Goggle. Like me, you may only recognize this after 4-ish runs, but once you do realize it, it’s an a-ha moment.
Smith says, “In a traditional goggle, 12-15mm of face foam does most of the work establishing fit by adjusting between the frame and the contours of your face. With I/O MAG Imprint 3D, the frame itself is tailored to your face. This, in combination with a much thinner foam, acts to reduce pressure points, as well as light and air leaks, while allowing for lower strap tension.”
Another one of those a-ha moments? Breathability and fog. Cold, windy days often mean too much fog on goggles. Body heat and a cold atmosphere can produce enough fog for goggles. Mix in plenty of snowboarding activity, and it can be downright obnoxious. I never had a single moment of fog on the I/O Mag Imprint 3D Goggle, though.
Combine an incredibly comfortable fit with zero fog, and I didn’t want to take the I/O Mag Imprint 3D Goggle off. Mix in the incredible field of vision, and that snow stuck on the lens wipes away quickly, and I just didn’t need to take them off. These are the first goggles I’ve worn that I forgot I was wearing.
Bonus features of the Smith I/O Mag 3D Goggle
I want to highlight two things: the case for Smith goggles, and a personalized touch.
Smith’s case for its 3D Goggle is incredible. It’s minimal, has a vent on the bottom in case you put them away with a touch of snow on them, and secures extra lenses. The case is soft touch but rigid, and you get a lens protector as well. I also like that the case is meant specifically for Smith goggles and doesn’t take up more room in my bag than is necessary.
Smith also prints your initials on the frame, a clever touch that personalizes your custom-built goggle.
Verdict: is the Smith I/O Mag 3D Goggle worth $450?
So, let’s start with all the things I don’t like about these goggles. The list is short: I am not crazy about the buckle on the strap.
Swapping lenses is easy. The goggle is comfortable. There’s no fogging. They’re lightweight, which means no fatigue. The lenses are great; visibility is as good as any other goggle we’ve tested or tried. A big, obnoxious fly-eyed lens doesn’t always mean more visibility.
When I fell – which I did, really hard while going very fast – the Smith I/O Mag Imprint 3D Goggle didn’t budge. It was one of those falls where you quickly assess your health and well-being before getting up. I’ve fallen hard before and had to re-adjust my goggle and helmet before taking off. Not this time. Once I realized I hadn’t broken any bones, I shot up and kept going. I didn’t realize until I was in line for the lift that my goggles hadn’t budged.
No damage, either. My ego, however, was bruised. (Is bruised? Maybe I should stop telling the world how bad I am at snowboarding.)
$450 is a lot to spend on snowboarding goggles, but you should when they’re custom-made to your face and pack as many features as Smith I/O Mag Imprint 3D Goggle. I was dubious, but after a day of riding in harsh conditions, I wouldn’t want to go out on the mountain with any other goggle.