
Going on a solo hiking trip? Here’s how to stay safe while hiking alone

Know these safety tips for solo hiking

A hiker standing atop a mountain and looking out over the landscape
Shutterstock /everst

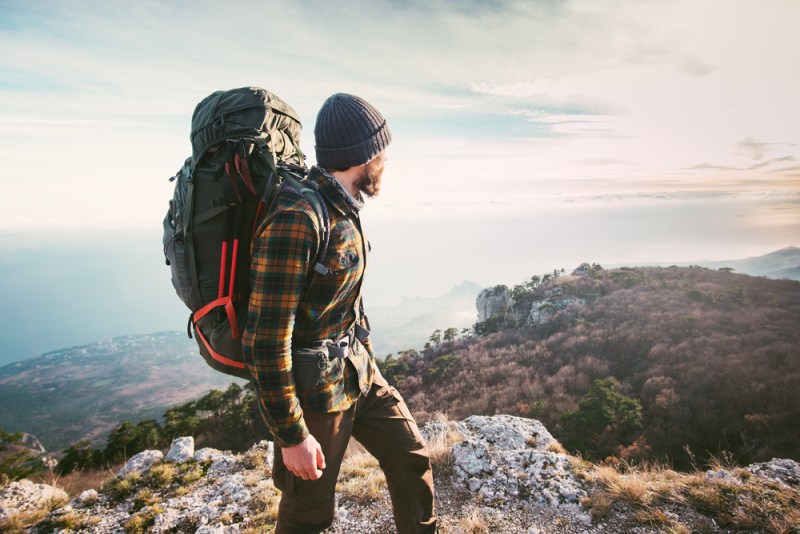
Solo hiking is a great way to challenge yourself and enjoy nature. While it can be a thrilling and rewarding experience, let’s not forget that solo hiking also comes with its own set of challenges and risks.

If you’re planning a hiking trip, especially if you’re going alone, it’s crucial to prioritize safety because you likely won’t have a helping hand unless the trail you choose is well-traveled.  The last thing you want is to be stranded out in the wilderness with a twisted ankle and no bear spray.

But no worries — we’ve got you covered with some helpful tips on how to plan and stay safe on your solo hiking trip.

A smiling man carrying a backpack.

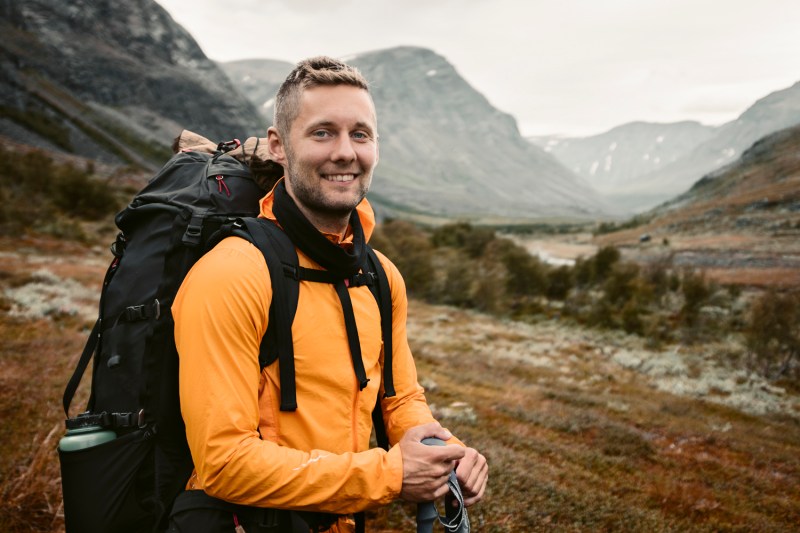
Prepare before you go 

Planning for a solo hiking trip requires careful thought. Not only should you be familiar with the trail, but you should also think about any potential accidents that might happen along the way. Before heading out, make sure to prepare yourself physically and mentally. That way, you’ll be able to combat anything that might pop up along the way. Let’s look at some helpful tips for planning your solo hike.

Share your itinerary 

If something happens along the trail, no one’s going to know where to look for you if you don’t tell someone. Let someone know where you’re going and when you expect to return. This could be a friend or family member, or you can leave your itinerary at a ranger station or with a hiking club. Make sure to include your planned route, expected start and end times, and any contingency plans in case of an emergency. If something happens, it could save your life.

Check the weather

Don’t be caught off guard by Mother Nature’s mood swings! Check the weather forecast before you hit the trail, and pack gear suitable for whatever she throws your way. Especially if you’re hiking alone, consider packing appropriate gear for rain, wind, and temperature changes, even if it’s not on the forecast.

Be aware of local plants and animals

When it comes to hiking alone, knowledge is power. Take some time to research the area you’ll be hiking in and study up on the local flora and fauna. Get to know which plants are poisonous, what animals you should steer clear of, and what’s harmless. By educating yourself beforehand, you’ll be far better equipped to recognize and avoid hazards along the way. 

Train before you hike

Solo hiking can be physically demanding, especially if you’re tackling a challenging trail. If you fall and hurt yourself, you might be hard-pressed to get out of that pickle without a helping hand. Make sure you’re in good physical shape before you go, and if you’re not there yet, gradually build up your endurance and strength so you’re easily able to handle the difficulty of your trail.

Invest in quality gear

Quality hiking gear is essential for any hiking trip, but it’s even more important when you’re hiking alone. Be sure to invest in appropriate footwear, a sturdy backpack, a headlamp, and other necessary gear. Plan your meals and snacks ahead of time, and choose your food wisely. Bring food items that won’t spoil or attract animals, and make sure that you bring enough. 

No matter how short your hike is, bring a first-aid kit that hasn’t expired. These items can help ensure a comfortable and safe hiking experience when unexpected challenges arise. Remember, prevention is always better than the cure, so don’t skimp on this step.

A man going on an early-morning hike in the mountain.

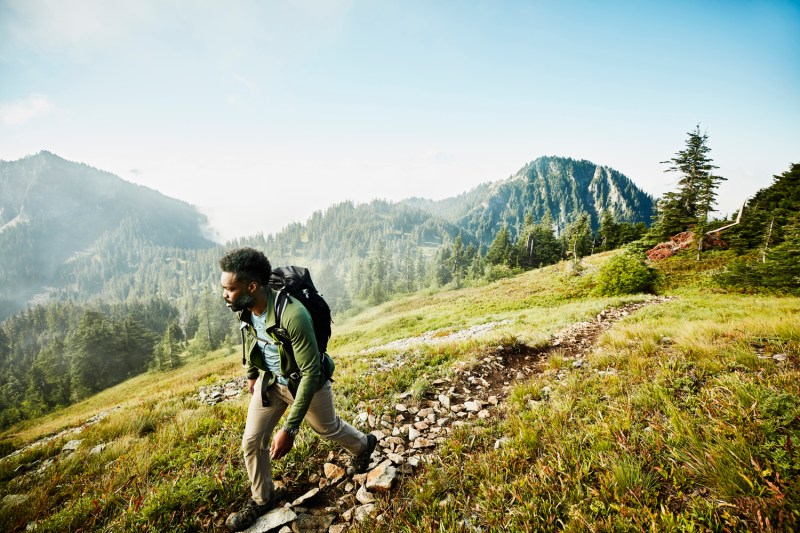
Staying safe on the trail

By being proactive about your safety, you can enjoy the many rewards of solo hiking while staying out of harm’s way. There’s still plenty that you can do to reduce the risks of hiking alone once you’re on the trail. Here are some tips: 

Don’t stray from trail markings

Plan your route and stick to marked trails, especially if you’re hiking alone. While it may be tempting to go off and freely explore the great outdoors, turning off-trail can increase the risk of getting lost or injured. This will make it far more difficult to find you if you’re in trouble, and it can also disrupt the natural balance of the environment.

Bring a map or GPS

Knowing where you are is one of the best ways to stay safe on the trail. Make sure you have a detailed map or a GPS device, and know how to use it. Bring extra batteries or a portable charger for your GPS device, and familiarize yourself with the terrain before you go. On the trail, note and follow any landmarks.

Avoid hiking at night

Hiking at night can be hazardous due to low visibility and an increased risk of injuries. Therefore, it’s best to avoid hiking after dark if possible. Plan your route and make sure to give yourself enough time to complete the hike before it gets dark. If you find yourself deep in the trail as the sun sets, find a safe spot to camp or make your way back to your starting point as quickly and as safely as you can. 

Bring a whistle

Bring a whistle or other signaling device that can help you get the attention of other hikers or rescuers in the event of an emergency. Make sure you know how to use it, and keep it easily accessible, such as putting it around your neck or tucking it into a jacket pocket.

Wear bright colors

Wearing bright colors can also help you stay visible on the trail, especially if you need to signal for help. Avoid wearing camouflaged or dark clothing, which can make it harder for rescuers to find you. Instead, choose clothing that stands out, such as neon or fluorescent colors. If you have clothing with reflective neon strips, wear it! This will make you visible from a greater distance. 

A pair of hiking boots stepping onto a rock in the woods.

Final takeaways

Solo hiking can be a rewarding and exhilarating experience, but it’s important to take the necessary precautions to stay safe. By preparing before you go, staying aware of potential hazards, and taking steps to stay safe on the trail, you can enjoy a successful and memorable solo hiking trip. Remember: Always prioritize safety, and have fun exploring the great outdoors!

Editors' Recommendations

Topics
Sarah Joseph
Contributor
Sarah is a lover of all things outdoors. With a bright sense of adventure and a heart for the mountains, she is always…
Get the right hiking boot fit for long days on the trail
A well fitted pair of hiking boots lets you enjoy your day on the trail and not focus on sore feet
Hiking boots on the trail.

If you're only going to go overboard on one piece of hiking gear, it really has to be your hiking boots. Get these right, and you will barely notice that you're wearing anything on your feet. But get them wrong, and you're in for a world of discomfort, blisters, sore points, and a long day of complaining. Sure, you can go out and buy the best pair of hiking boots on the market and spend hundreds of dollars, but unless they're properly fitted then you'll hurl them into the back of a cupboard and swear off hiking forever.

I can't tell you how many people I have guided and met on the hill who have had their day ruined by poorly fitted boots. If you're serious about hitting the trails this spring, then you need a pair of boots that fits your feet perfectly and for that. But how should hiking boots fit? Your best bet for a perfect hiking boot fit is still to hit the store and try them out. Wherever you buy your hiking boots from, test them at home around the house for a few days before heading outside in them to make sure you've got the right pair before it's too late. Here's how to test your boots.
Try your hiking boots as you would use them
You’ll want to test your hiking boots at the end of the day when your feet will be the most swollen from walking and standing all day. Your feet will get swollen when you’re hiking, so this is very important. Wear them exactly as you’ll be wearing them out on the trail. Wear the socks you’ll be using, and don’t forget sock liners if you wear them. If you have special orthotics or other insoles, try them with the boots, too. All of these factors will affect the fit. 

Read more
The 5 best scary movies about hiking (and the lessons you can learn from them)
The best scary movies about being on the trail
A Haunted, scary trail

When a scary movie takes away all the trappings of modern life and places its characters in the woods, the stakes are higher. There are no police to call or cozy neighborhoods to hide in. It is man versus nature, even if nature is a scary monster or deranged murderer. An emergency on the trail is scary enough without supernatural or psychopathic terrors hiding in the trees.

However, many of the problems in the best horror movies about hiking, camping, and outdoor sports start long before the monsters hit the screen. When the most knowledgeable and experienced member of the group takes a risk, the entire group often winds up suffering, and the monsters are simply exacerbating a problem that could have been avoided.

Read more
Hydrate safely with the best portable water filters
Stay safe on the trail and avoid unwanted waterborne illnesses
Using a water filter

If you've ever fallen foul of dirty water, you'll know exactly how valuable a quality portable water filter truly is. If you've not, then congratulations, but it's time to get your filtration system sorted before you do. The dangers of dirty water are widely recognized — harmful germs and pathogens can cause serious illnesses — and as outdoorsmen, proper hydration key to our safety on the trail. We need to know that the water we're drinking is clean and safe.

Unless you're built like the Hulk or just plain love suffering, then you're not going to want to haul all the water you need for multiple days on a hike. Remember, every liter of water weighs 2.2 pounds, and with hikers needing at least a liter of water every 2 hours, this starts to rack up quickly. Instead, take one of these portable water filters next time you're out thru-hiking or headed to the campsite with your family. That way, you'll have all the clean drinking water you need without the excess weight.

Read more