
There’s no greater feeling for any mountain biker than flowing down the trails or crushing long-distance rides, but few worse feelings than a sudden crunch bringing your ride to a premature end. Sure, we can’t negate all potential mechanical issues, but with a pre-ride bike check, you can often catch problems before they become a trailside repair. Whether you’re a beginner mountain biker or a seasoned pro, you should check your bike for safety and mechanical issues before every ride.
The good news is that this doesn’t mean you have to become a bike mechanic overnight. As you spend more time on your bike, upgrading your components, and picking your local bike store mechanics’ brains, you’ll better understand what keeps your wheels spinning. Until you’re sure how to repair your bike, though, it’s best to get a mechanic to work on your bike.
No matter your technical level or style of mountain bike, there is a straightforward check that you can perform in under five minutes every time you ride. Let me introduce you to the M-check.

What is the M-check?
The M-check is a long-established bike safety check that anyone can perform. The M-check is so named because it roughly follows the shape of your bike in an M pattern, starting at the front of your bike and finishing at the rear wheel. It can go the other way, but most people find it easier to get into a routine of front to back. The bike check focuses on moving components, but in the transition periods, it also promotes a check of the frame for damage.
M-checking a bike doesn’t require in-depth mechanical knowledge, just an ability to check for damage and components that aren’t working as they should; all of this will be explained as we work through the check. Bike schools and rental stores worldwide rely on the M-check as their pre-ride system, and you should too. At first, this list looks extensive; you may think it will eat into your riding time. In reality, it only takes a few minutes and can save you the anguish of a trailside repair.
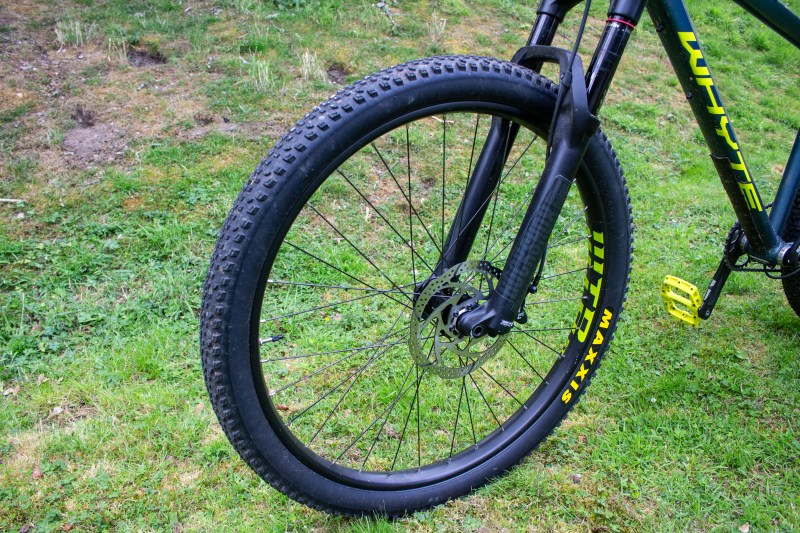
Start with your front wheel
- Check that your wheel is attached properly and that your thru-axle is secure without being overly tight, which can damage your axle.
- Hold your front brake and try to move your front wheel side-to-side. There may be a slight movement, but noticeable movement may indicate movement in the axle or hub.
- Check that your spokes are tight by pinching the pairs together. Loose spokes should be tightened at the nipple — where they attach to the rim.
- Spin your wheel and pull the brake. Does the wheel stop? Check the brake pads to ensure they haven’t worn down to the metal. For disk brakes, look down into the caliper from above to see your pads.
- Check your tire condition and the pressure using a pressure gauge. The right tire pressure will depend on rider weight, bike weight, riding style, tire width, and wheel size, so we recommend using a tire pressure guide as a starting point.
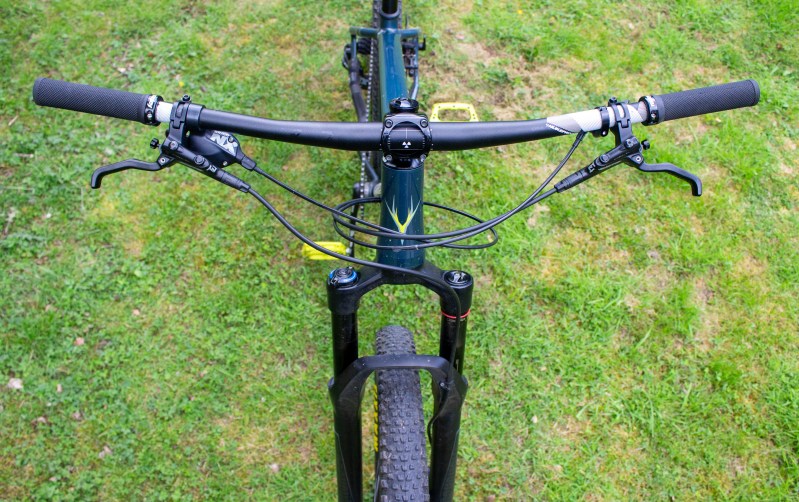
Move up to your handlebars
- Check that your suspension is working, and use a pressure gauge to ensure your suspension is set correctly. Recommended pressure will vary for individuals, so use a suspension pressure chart.
- Hold your headset — the ring component connecting the top of your suspension forks into your frame — with your front brake on, and push your bike forwards and backward a little. There should be no movement from your headset.
- Check that your handlebars are lined up properly; the stem should line up directly with your front wheel. Hold your front wheel between your knees and try to turn your handlebars to make sure they are fully secure.
- Hold your grips and check that your brake levers and gear shifters are in comfortable and easy-to-reach positions.
- Try to spin your grips to ensure they’re firmly attached to the handlebars.
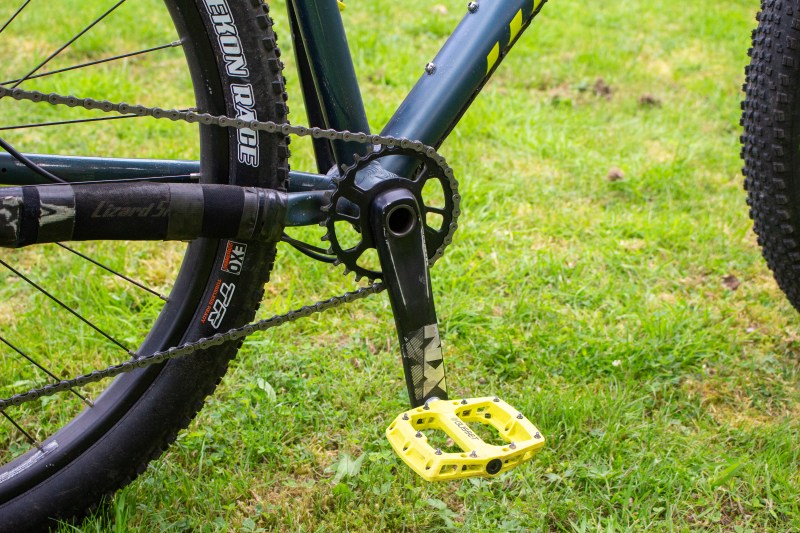
Down to your cranks, pedals, and bottom bracket
- Move down the frame and check for damage. If you have internally routed cables, make sure they’re not rubbing on their way into the frame.
- Check your pedals. Your pedals should spin without any grinding or crunching sounds, which may indicate that the bearings are damaged. Check for lost pins in your pedals and replace any that are missing.
- Hold your crank arm and try to move it directly in and out from the frame; there should be no movement. For a tougher test, put your pedals into the 12/6 position — up and down — and weight the bottom pedal before trying to move it in and out.

Move up to your saddle
- If you’re riding a full-suspension bike, check your rear suspension and the bearings that hold the parts of the frame together. Lift your bike and check that the bearings move freely and remain secure. Check that your rear suspension is holding air and the pressure is set correctly for you with a pressure sensor; like the front suspension, this depends on your weight and riding style, so use a pressure chart.
- Check that your seatpost is secure and won’t move side to side or up and down. Check that your saddle is set at riding height — usually around hip height. When you’re sitting on your bike, place your heel on your pedal at the 6 o’clock position. Your leg should be almost straight but without your knee being locked.
- If you have a dropper post, check that it moves up and down easily and isn’t dropping when you put your weight on it.
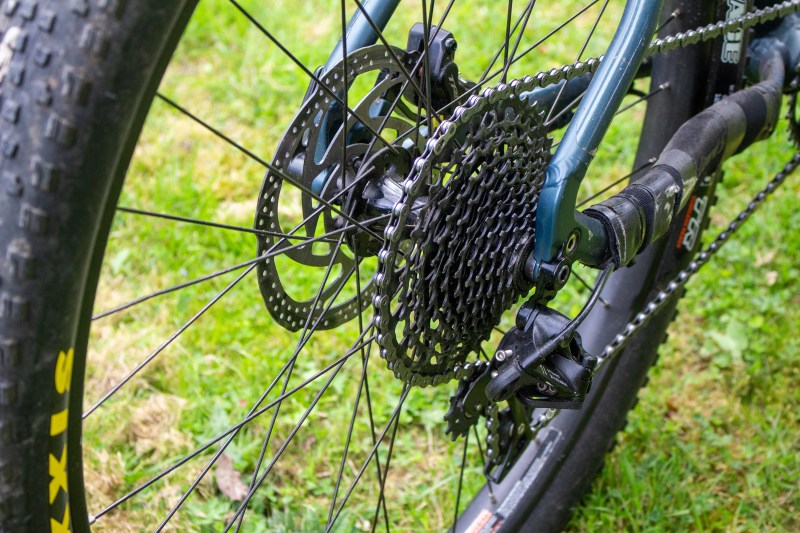
Finish at the rear wheel
- Rear wheel checks should be almost identical to the front wheel. Check your wheel for lateral movement, tire pressure and condition, and spokes and brakes.
- Check that your gears shift properly by lifting your back wheel and spinning the pedals while periodically changing gears.
- Give your chain a visual check. The chain links should move freely, and the chain — and other gearing components — should be free of dirt and rust.