There’s a reason chicken is the most popular meat in America. Whether fried, broiled, sauteed, poached, braised, or boiled, it remains delicious. Roasting chicken is one of the more ancient forms of cooking chicken that is still used today. When man first started cooking the bountiful birds, they didn’t have boiling pots or saute pans, just some sticks and an open fire. This radiant heat form of cooking is today more widely known as rotisserie.
How to roast a chicken is commonly answered by roasting it over an open fire, which is still a perfectly acceptable method of preparing your poultry. But it’s now most commonly done in an oven with dry heat. If you prefer calling cooking in the oven baking, that’s fine since the terms baked and roasted are often used interchangeably. However, if you want to split hairs, the term baking typically implies some other sort of carb-based ingredients, such as breading. Think classic shake and bake. With roasting, it’s typically just the meat and some seasonings or perhaps a glaze.
If you plan to roast your chicken in the oven, you have some options for the vessel in which you cook it. A classic roasting pan is suggested, but you can use a large cast-iron skillet, saute pan, baking dish, or even a pie plate. You just want to make sure it’s deep enough to contain all the juices from the chicken.
Top tips for roasting a chicken
Even though roasting most commonly occurs in an oven, you can use many other appliances such as a grill, electric skillet, Instant Pot, or even a large air fryer. The most crucial factors for cooking a classic roasted chicken are the following four things.
Dry-season oil
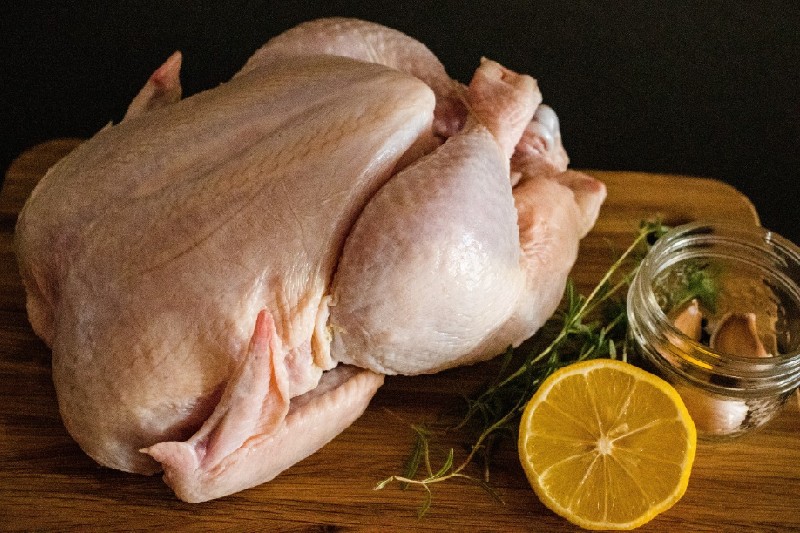
Before you roast your chicken, make sure the skin is dry and seasoned. Simply patting the chicken down with paper towels once you take it out of the packaging is enough. Once the chicken is dry, we suggest seasoning with a healthy portion of salt, combined with seasonings of your choice, to the skin and internal cavity.
Allow the chicken to cure overnight, uncovered in your fridge. This will let the salt permeate the chicken better, making it juicer, and giving you that deliciously crispy skin. When you’re ready to cook the chicken, oil it up with about a tablespoon of olive oil or melted butter. This will give your chicken an even crispier, golden-brown finish.
Truss the chicken
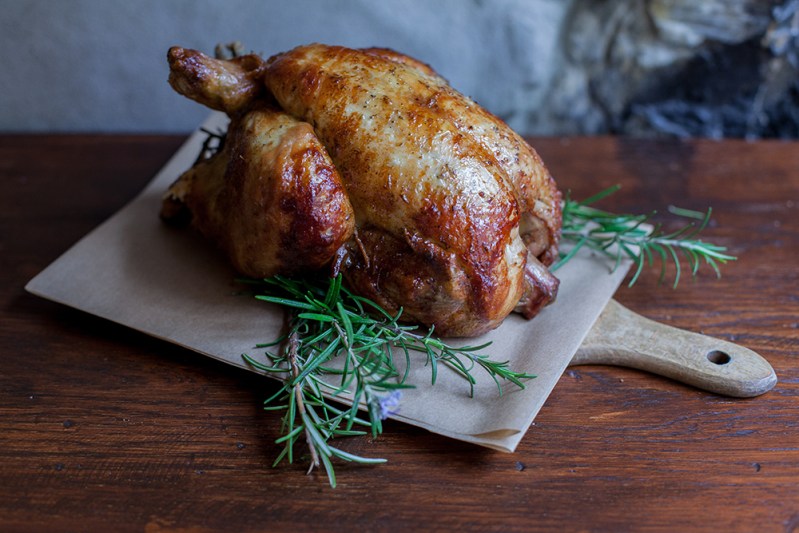
All those images of a chicken appearing to be hog-tied before it gets roasted aren’t just for visual effect. Once you secure the wings and legs close to the body with string, the chicken will cook more evenly and retain more juices.
This also helps protect the smaller, more exposed legs and wings from overcooking while the larger breasts and thighs reach temperature (165 degrees Fahrenheit). Always cook your trusted chicken breast up for crispy skin.
Cook at the right temperature
Although roasting a chicken takes a little patience, it’s not done at a low temperature typical for wet cooking like braising carnitas. You’ll want to preheat your oven (or other cooking appliance) to 450 degrees. Place the chicken in the heat source and immediately turn it down to 375 degrees Fahrenheit. By doing this, you get a nice initial sear on the skin.
Cooking times vary based on the weight of the chicken, but an hour to an hour and a half is average for a five to six-pound broiler chicken. After an hour or so, check the temperature with a meat thermometer in the thickest part of the breast.
Let the chicken rest
Just like a prime rib, you want to let the chicken rest for about 15 minutes before carving it up. Whenever you roast something, it continues to cook even after you take it out of the oven. This is called carry-over cooking, and temperatures can increase by 5 degrees or so. That’s why you can take a chicken or large roast out of the oven 5 degrees shy of its target temperature.
During the carry-over cooking process, the chicken’s internal juices are still moving throughout the meat. So, if you cut into it too soon, you’ll lose a lot of those flavorful juices. Resting the flesh for about 15 minutes retains more juices, making for a more moist and tasty meal.
Other chicken roasting tips
Here are a few more chicken roasting tips that aren’t completely necessary but can make for a slightly more delicious end product.
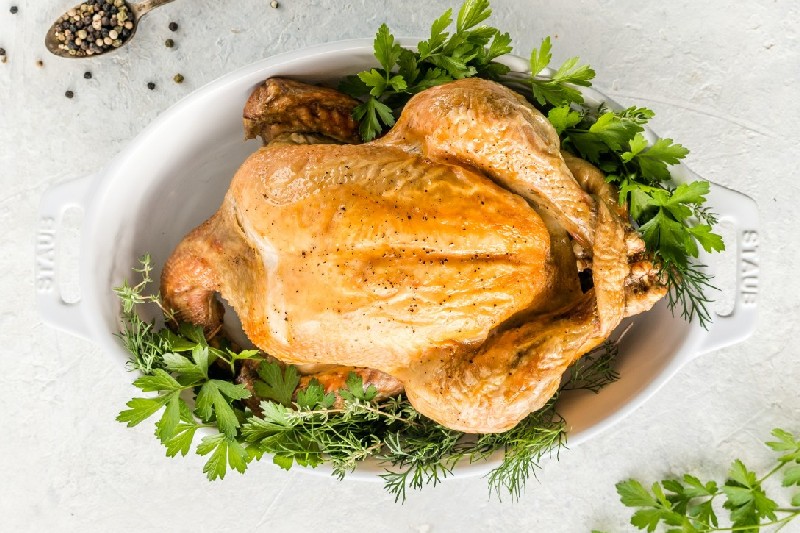
- Elevate the chicken: By using a roasting pan with a rack, you will allow the dry heat to circulate around the entire bird, giving you crispier skin throughout.
- Stuff the chicken: Stuffing the chicken with aromatic veggies and herbs can transfer even more flavor into the chicken and the run-off juices, which can be used for chicken stock. Carrots, onions, celery, garlic, rosemary, thyme, and lemon are commonly used to stuff a roasted chicken.
- Baste the chicken: Basting a chicken with melted butter or the run-off chicken juice itself every 20 minutes or so can result in a crispier and more golden-brown bird. If you follow the steps above, your chicken will be delicious, but this extra TLC can really take your poultry to new heights.
- Brine the chicken: Soak the chicken in a saltwater solution (brine) for a few hours or overnight. This helps tenderize the meat and keeps it juicy.
- Spatchcock the chicken: This technique involves removing the backbone and flattening the chicken, which allows for even cooking and faster roasting time.


