One would be hard-pressed to find anything as comforting and as deliciously wonderful as a fresh loaf of homemade bread. A slice of sourdough, warm from the oven, topped with melting, velvety butter, is just soothing to the soul. Freshly baking bread fills our homes not only with exquisite scents, but also, somehow, with peace and warmth that may not have been there before.
While it may be fun to flex our muscles, both figuratively and literally, all of that kneading, rolling, and sweating just isn't necessary to make your own bread. Did you know you can use your KitchenAid mixer to make a (much easier) loaf of homemade goodness?
While people have been making bread for millennia without the convenience of modern-day technology, there's just no need for that silliness anymore. Sure, some purists may claim that "it's just not the same" if done with more ease, less mess, and fewer muscle aches. But we'll let you in on a little secret: It tastes the same. The only difference is now you won't need a full body massage after creating your home-baked loaf of love. Sorry purists, hope you enjoy churning your own butter, too.
There are so many conveniences to using a stand mixer for your bread. Of course, you won't find yourself exhausted before the thing is even ready to bake. That's huge. There are many reasons using a mixer is actually better than mixing everything by hand. For starters, you can adjust to multiple speed settings, according to your recipe and the bread you're making. Not to mention the wide variety of attachments and accessories you can use to mix ingredients more quickly and efficiently. It really is just a matter of combining your ingredients in the bowl and letting that dough hook do its thing.
No matter what bread you're baking, be it a classic, white sandwich bread, a buttery brioche, or a new vegan recipe you've been drying to try, bread making with a mixer is definitely the way to go. So sit back, grab a cocktail, and let the mixer do all the hard work for you.

How to make bread using a KitchenAid mixer
Orange cardamom bread recipe
Here's a KitchenAid mixer bread recipe from La Fuji Mama.
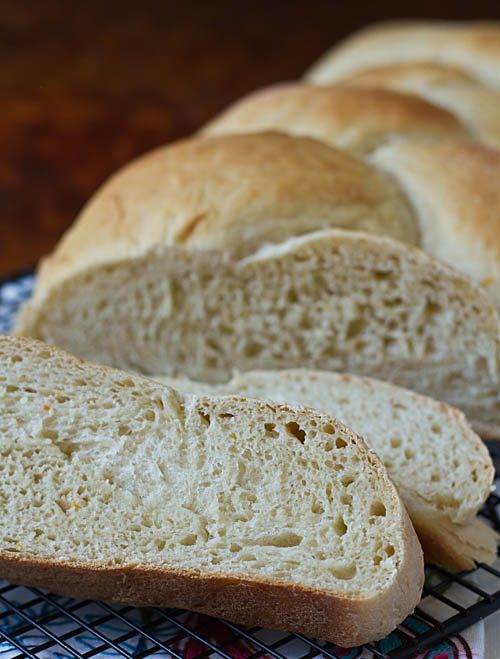
This bread tastes like a giant hug with its fresh orange flavor, paired with the nutty, peppery warmth of cardamom. It's particularly lovely fresh from the oven, slathered in butter. Toast it the next morning with a smear of marmalade for a breakfast that's sure to make everyone happy.
Step 1: Preheat the oven to 350 degrees Fahrenheit.
Step 2: In the KitchenAid mixing bowl, combine flour, sugar, salt, yeast, and cardamom.
Step 3: Add the water, orange juice, oil, and orange zest and mix it for 1 minute at medium-high speed until the dough has a sticky consistency. If it's too dry, add 1 tablespoon of water at a time until it reaches the correct consistency.
Step 4: Mix for 5 minutes at a medium speed.
Step 5: Spray a smooth kneading surface with cooking spray and turn the dough out on to the surface. Divide the dough into three equal portions.
Step 6: Knead each portion briefly until it has a smooth, even consistency.
Step 7: Roll the pieces out into three strands of the same length and braid them together. Place the braid on a greased baking sheet, cover with a large dish towel, and let it rise for 25 minutes.
Step 8: Bake the braid in the preheated oven for 25 minutes, or until it's golden brown. Remove from the oven and place on a wire rack to cool.
What is cardamom bread?
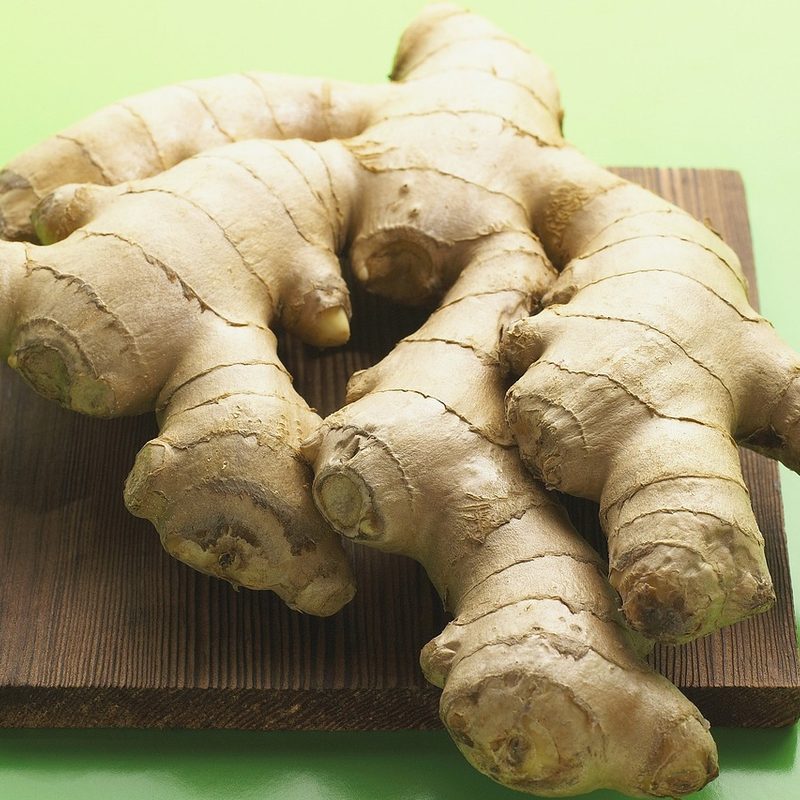
You might wonder what exactly cardamom bread is. So we’re here to tell you. Cardamom bread is a type of enriched bread or sweet pastry flavored with cardamom. And cardamom is a spice made from the seeds of the cardamom plant, a member of the ginger family that is native to South India and Sri Lanka,
Cardamom bread is popular in many countries around the world, including Finland, Sweden, Norway, and Denmark. And there are many variations of cardamom bread, but they all share some common characteristics. The dough is usually made with flour, milk, sugar, butter, yeast, and cardamom and shaped into loaves, buns, or braids and baked until golden brown. It’s tradition to eat this type of bread with coffee or tea as a sweet snack or dessert. You could also serve it butter or jam.
So whether you're desperate for a warm, cozy feeling that will make the world feel like a better place, or you're just hungry for some incredible bread, dust off the old stand mixer and give this recipe a try. You'll be amazed at how easy it actually is to create something so wonderful. Whip up a few loaves for your friends and family, reminding them that even though the world has a little more hope now, spreading the love is still more important than ever.


