Let me guess — you’ve forgotten to take the butter out of the refrigerator. Don’t worry, it happens to the best of us. Softening butter is a crucial step in many recipes, and if you’ve forgotten to take it out of the fridge soon enough, your batter or dough will be full of gross lumps and chunks. The most common solution to this is to go straight to the microwave. That said, what if you don’t have one or prefer not to use it?
Fortunately, there are several ways to soften butter quickly without one. With just a few common household items, it can be done in a blink of an eye.
Let’s get to it and save your recipe!
Softening refrigerated butter without a microwave isn’t as hard as you think
When butter is kept in the refrigerator, it becomes hard and difficult to spread, which can be inconvenient when you need to use it in a recipe or on toast. What if I told you that you could soften your refrigerated butter? Here are my favorite ways:
Use a mesh strainer for instant results
The key to softening butter without a microwave is to get it into pieces that are as small as possible. This increases the surface area of the butter, enabling the air to help warm it up. A metal mesh strainer is definitely the easiest way to do this.
- First, take your refrigerated butter out and fold open the wrapper. Don’t take it completely off, though! Leave the wrapper along three of the longer sides. That way, you won’t get any butter on your hands.
- With one hand, hold the butter by the wrapper and run the bottom of the mesh strainer along the exposed side of your butter. You might need to press down a little bit, but strands of butter will collect inside of the mesh strainer.
- When you’ve collected enough butter, flip the strainer over a bowl and tap so that the butter falls in.
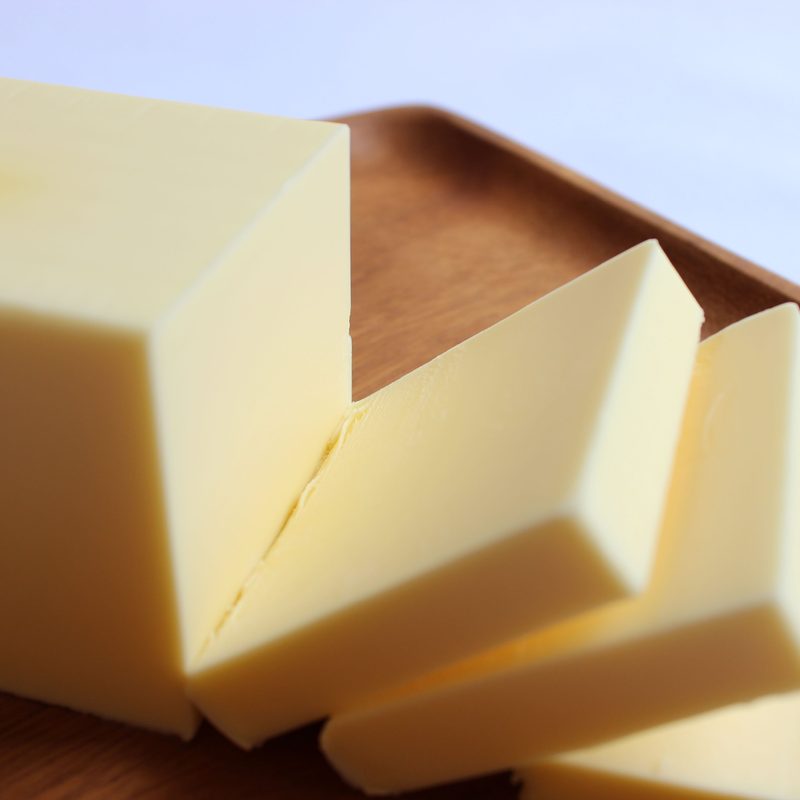
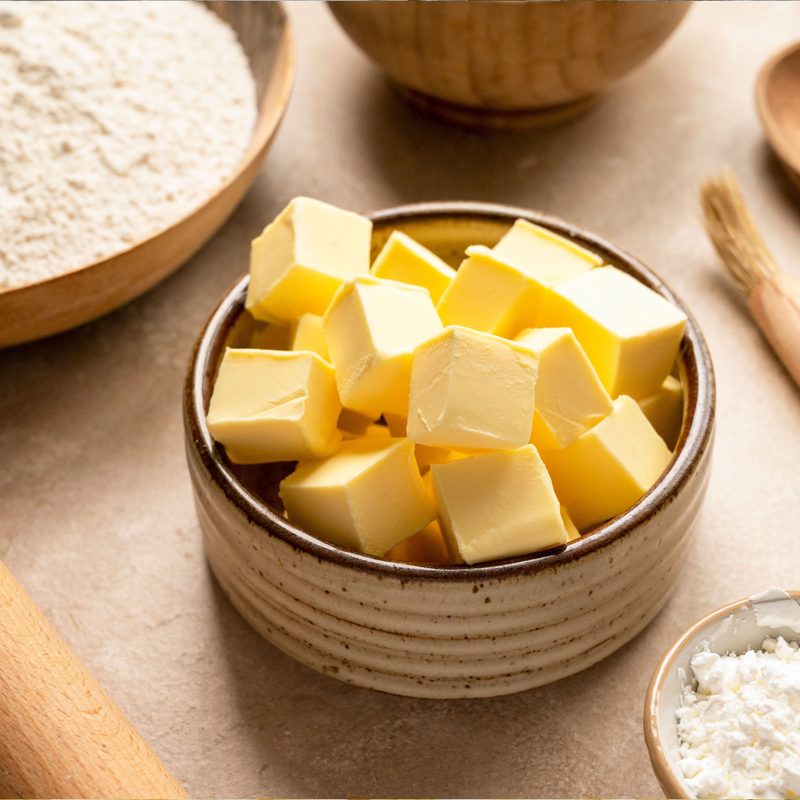
Cube the butter to soften in 15 minutes
If you don’t have a mesh strainer, a handy knife and cutting board will also do the trick. That said, be careful which knife you pick! A bench knife is a lot safer for cutting butter due to its broad blade, which allows you to put even pressure as you cut. Here’s how:
- Unwrap your butter and place it onto your cutting board. It’s a good idea to place a layer of parchment over your cutting board first so that your butter won’t stick to it. Alternatively, you could use the very wrapper the butter came in, but that won’t give you much space to work with.
- After that, it’s time to start cubing! Use your bench knife to cut the butter lengthwise, then rotate the butter so you can cut it lengthwise again. Then, make slices from one end and work your way up.
- Let the slices sit in a warm spot in the kitchen for about 10 more minutes, and your butter should be ready to go!
How to soften frozen butter
If you’ve ever tried to use frozen butter for a recipe, you know how difficult it can be to work with. Frozen butter is incredibly hard, and it can feel like you’re scraping a rock when you try to cut it. However, there are a few methods you can use to quickly soften frozen butter and make it easier to work with.
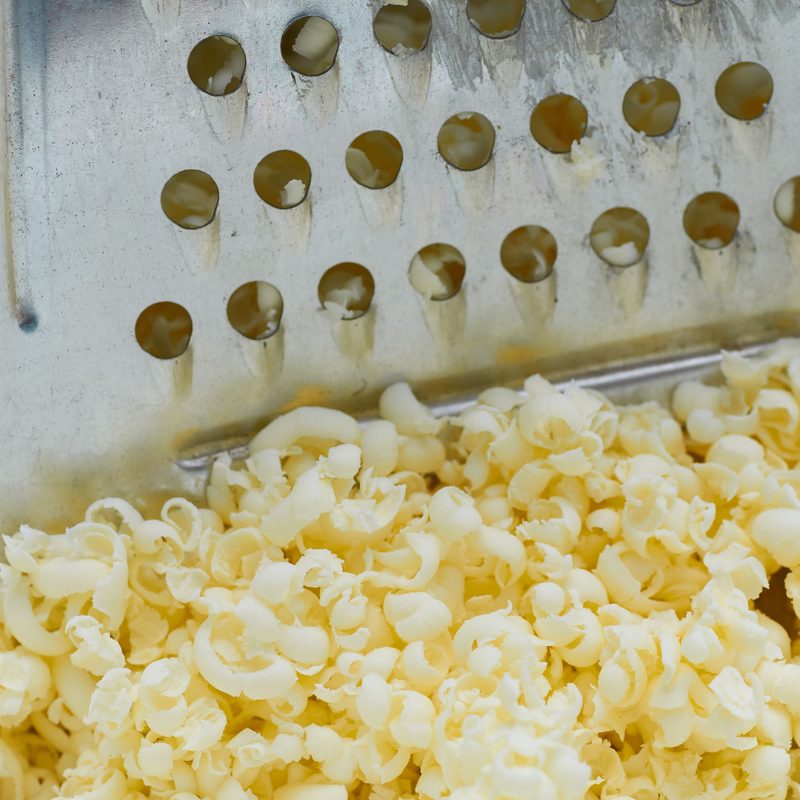
Grate the butter to soften in 10 minutes
Unsure of how to soften frozen butter? Try grating it like cheese. This could work with refrigerated butter as well, but you might end up with some greasy hands afterward.
- First, look through your kitchen and find a box grater or a handheld cheese grater. I highly recommend finding a bowl or a cutting board to collect your butter as well.
- Unwrap one end of your butter and run that along the grater. As you work, let the butter fall onto your cutting board or into your bowl, then let it sit there for a few minutes to warm up at room temperature.
The hot glass method
One of the quickest and most effective methods for softening butter is to use a hot glass.
- To get started, fill a glass with hot water and let it sit for a minute or so to allow the heat to warm the glass. This glass should be sturdy, such as a glass measuring cup, and able to withstand heat.
- Carefully dump out the water and place the warm glass upside down over the cold butter, which should be standing upright on a plate. The warmth from the glass will create a small, enclosed space around the butter that will trap the heat and help the butter soften more quickly.
- Wait for about 10 minutes and then check to see if the butter is ready. If it’s not completely softened yet, cube the butter using the instructions above and let it sit in a warm spot in the kitchen for a few more minutes.
Final thoughts
Softening butter without a microwave is not only possible, but also easy with the right techniques. Whether you’re making cookies or cakes or you just want to enjoy some buttered toast, these methods will come in handy when you need to soften cold or frozen butter quickly. Give these methods a try and enjoy perfectly softened butter every time.