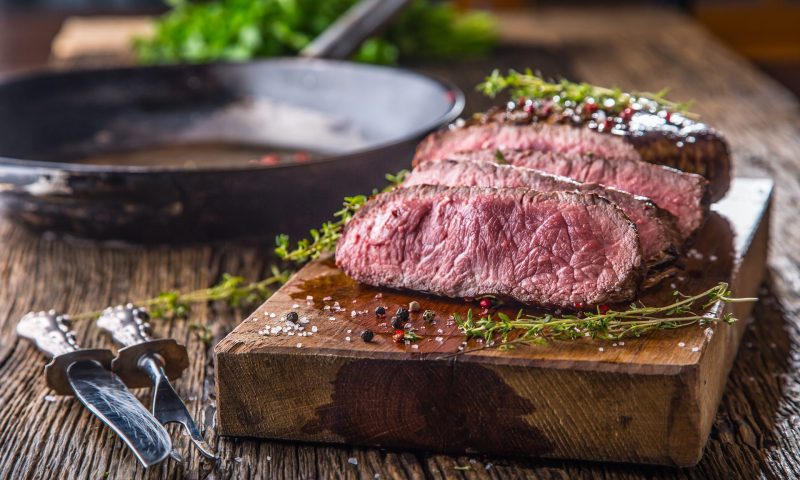
It seems that every day, there’s a new method of cooking that seems, honestly, pretty superfluous compared to the old-fashioned way of doing things. As a cooking purist myself, I sometimes find it difficult not to roll my eyes at many of the new techniques and culinary trends or methods that promise to be “easier than ever” or the “best” way to cook something. Usually, I like to cook the way my Grandmother did. Give me a wooden spoon, a good cast iron pan, an oven, and some fire, and I’ll be good to go. Admittedly, I’ve been pulled out of this way of thinking once or twice – like the time I finally dropped my pride and tried sous vide ribs. Good lord. That one delicious experience showed me that – just maybe – there’s still a little room for modern cooking upgrades every now and then. Reverse searing is one of those modern upgrades. And for those of us who still cringe a bit when trying out a new cooking gadget, worry not. Only the process itself is modern. This method requires absolutely no specialized equipment – just an oven and a good-quality pan.
Reverse searing steak allows for a better handle on temperature control, decreasing your chances of overcooking that beautiful ribeye. This method also creates a gorgeously caramelized crust on the outside of your steak. When placed in the oven first, the surface of the meat will dry more thoroughly and make for a better pan-sear later on.
How to reverse sear a steak

Many people cook steaks at home by searing them in a pan and then finishing the cooking process in the oven. Essentially, reverse searing is just the opposite. Instead of starting in the pan, the steak begins its cooking journey in a warm oven —usually around 275F—and is seared in a hot pan afterward.
It’s worth noting that this method works best when used on thicker cuts of steak with good marbling. If your cut is too thin, there’s a high risk of over-cooking your steak, which, let’s be honest, is just about the biggest culinary crime one can commit. 1 1/2 – 2-inch-thick cuts like ribeye, porterhouse, filet mignon, or top sirloin are all perfect choices for a reverse sear.
Reverse seared steak method
- Preheat oven to 275F
- Cook steak for 10-15 minutes, checking the internal temperature with a meat thermometer. Continue checking every five minutes until reaching your desired temperature, keeping in mind that the steaks will continue to cook later in the pan. At this stage of cooking, the temperature should read as follows:
- Rare: 85 to 90F
- Medium rare: 90 to 95F
- Medium: 100 to 105F
- Well done: No.
- While the steaks are in the oven, preheat vegetable oil in a cast iron skillet until the pan is hot and the oil shimmers.
- Sear the steaks in the pan for about 1-2 minutes per side, until they reach your desired doneness.
- Rest the steaks for at least 10 minutes to allow the juices to redistribute throughout the meat.


