An Instant Pot can make almost anything, but did you know that it can be used to make wine at home?
Instead of getting out a giant bucket, a bunch of grapes, and something to cover your feet so you can stomp on fruit, making wine in your Instant Pot gives you the satisfaction and feeling of making fresh wine without worrying about a giant mess (or dying those tootsies purple ).
Related Reading
- How to Make Hard Apple Cider
- How to Make Short Mead
- How to Make Cinnamon Whiskey
- Most Popular Wines to Buy
Food Blogger David Murphy from FoodnService successfully made wine in his Instant Pot, and we decided we’d give it a try too. We’ve learned a few tips and tricks during our adventures that can help you out. For one, we realized making white wine or rose wine is “possible,” but red wine holds up better in the heat, so it tends to come out better.
We made a few tweaks during each of our wine-making attempts until we came out with what we thought was the best-tasting end product. Grab your glasses people! Here’s how to make wine in an Instant Pot.
Ingredients
- Wine yeast
- A large bottle of grape juice (64 ounces)
- A small bottle of grape juice (32 ounces)
- Sugar
- Cheesecloth
- Plastic wrap
- A 6-quart or larger Instant Pot (or similar)
- A heck of a lot of patience
Step 1: Gather your ingredients. The most important ingredient is your yeast. Some people make the mistake of using regular old yeast they have lying around in their baking cabinet, like the kind you’d use to make bread or pizza. This might produce something (sort of) alcoholic, but it won’t be very tasty, nor will it give you that great of a buzz.
Wine yeast, however, thrives on fruit nutrients and allows you to obtain higher alcohol content and better taste when you use it to make wine. We recommend Red Star Premium Rouge Dried Wine Yeast. It’s formulated for red wine, it’s especially heat-tolerant.
The second most important ingredient is grape juice. You’ll want to choose a dark grape juice that’s 100 percent juice and doesn’t have a bunch of added sugar. Welch’s 100 percent grape juice will do the trick.
Step 2: Clean your Instant Pot. Clean your pot thoroughly, inside and out. Take a paper towel and wipe around the brim where the lid meets the pot as well as the entire surface of the pot with a small amount of dish soap. Remove the sealing ring, soak it in soapy water for a few minutes, rinse the ring completely, and dry it with a paper towel.
Clean the inside of the lid with soap and water. Finally, re-assemble the pot, fill the inner pot with a cup of water, and pressure cook the water on high for three minutes. This should make the pot clean and reduce residual smells and flavors.
Step 3: Mix the sugar and grape juice. Pour two cups of the juice out of the bottle to make room for the sugar. Add 1 1/3 cups of sugar to the bottle, put the cap back on tightly, and shake the crap out of it (like you’d shake a protein shake). Make sure all of the sugar fully dissolves.
Step 4: Add yeast to the mixture. Open the grape juice and sugar mixture and add 1 1/2 teaspoons of wine yeast. Gently swish around the bottle again to mix the yeast, but don’t shake it as vigorously as you did when you were mixing the sugar.

Step 5: Add the mixture to your Instant Pot. Pour the mixture into your Instant Pot’s inner pot, and add an additional two cups of plain grape juice. Gently stir the mixture.
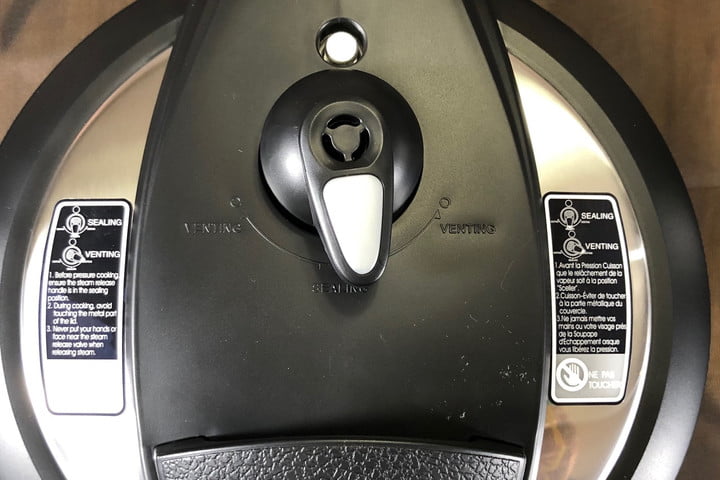
Step 6: Start cooking your wine. Press the “yogurt” button, and then press the button again until it’s on the lowest yogurt setting. Leave the sealing valve in the “VENT” position. This is vital, as it allows air to escape, so the yeast can start to release carbon dioxide. Leave it alone for six hours.
Step 7: Close the sealing valve, and alternate opening and closing the valve. After the initial six hours, close the sealing valve on your Instant pot, placing it in the “seal” position. Leave it closed for another six hours, as this will allow the yeast to activate even more. When that’s completed, open the valve to “vent” again; and in six more hours, close the valve back to the “seal” position again (see a trend happening here?).
Continue to open and close the sealing valve every six hours until 48 hours have passed.
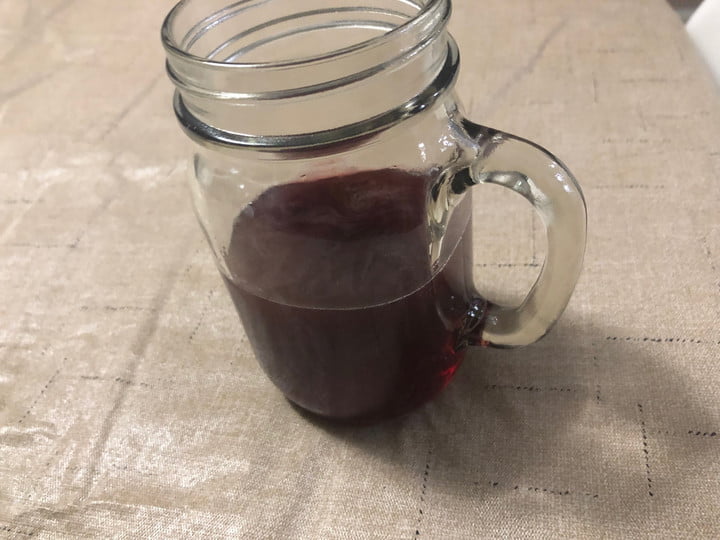
Step 8: Open the pot. Make sure the sealing valve is in the “vent” position, wait about 10 minutes, and turn off your Instant Pot. Open your Instant Pot, and transfer the wine mixture into a large pitcher. You can also use the containers the grape juice came in.
So, you may think the wine is ready. This is where patience comes in.
Unfortunately, at this point, the wine is only partly-fermented. It won’t taste very good, and it might even upset your stomach a bit if you try to drink large quantities of it (we learned this the hard way).
To finish your wine, cover your containers of wine with cheesecloth, and then gently set plastic wrap over the top of them. By wrapping them gently, you’re providing room for the yeast to release carbon dioxide.
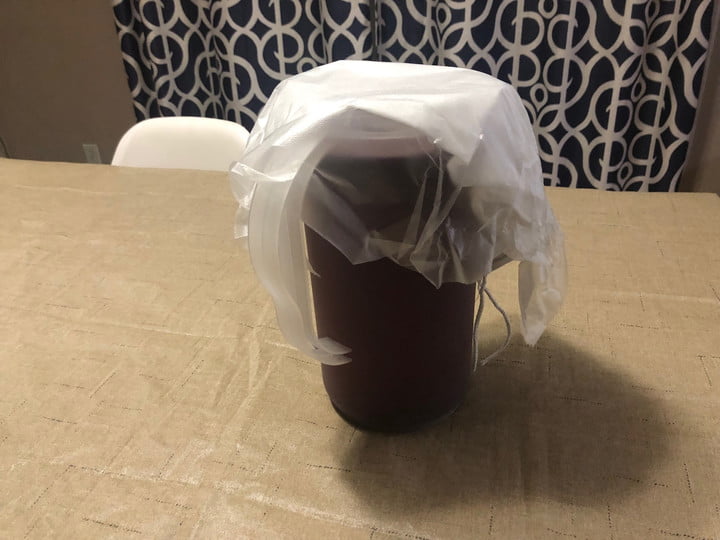
Step 9: Wait, and then wait some more. To allow your wine to finish, you’ll need to let it sit at room temperature in a place where there’s not too much light (in a cabinet, perhaps?) After about 10 days, your wine should be ready to drink.
Step 10: Drink up. Enjoy your homemade booze, and impress your friends with your wine-making skills.
Tips
- Have a pressure cooker without a “yogurt” button? You can still make wine even without it. The lowest “keep warm” setting can maintain a steady and warm temperature for the wine to do its thing. The temperature will likely be higher than if you were using the low yogurt setting, so reduce the “cooking” time to 24 hours and leave the sealing valve open for six hours, closed for three hours, open for six hours, closed for three hours, alternating until you’ve reached 24 hours. Store the wine in a covered container for 10 days.
- For 48 hours, it can be tough to open and close the sealing valve right at the six-hour mark while the wine is cooking. It’s okay to extend any of the six-hour windows to nine if you need to run errands, sleep, or work. However, you don’t want to go longer than nine hours for any of the alternating seal and vent time windows.
- If you don’t plan on drinking your red all at once, pick up some glass brewing bottles to store your homemade booze.
- If you want, you can test the alcohol content in your wine using a hydrometer. You Buy Now for less than $30.