
The term après-ski, made popular in the Alps during the 1950s, brings with it a certain air of sophistication and expectation. Gorgeously furnished, rusticly chic mountain lodges, complete with roaring fires and expensive cocktails, come to mind. The faintest sound of Sinatra crooning from well-placed hidden sound systems, clinking glassware, and lilting laughter coming from tables full of old friends and older money seems to be the very soundtrack of the term après-ski.
Of course, with this ambiance comes beautiful cuisine. What is après-ski without perfect dishes? Dishes that must be elegant yet satisfyingly hearty to the youthful yet exhausted skier or snowboarder. Dishes that – if prepared by yourself and not the personal chef – must be simple enough to make with a glass of wine in one hand and friends gathered in the kitchen.
This is the perfect après-ski menu for just such an occasion. These four courses are balanced, comforting, and elegant, perfect after a day on the mountain.
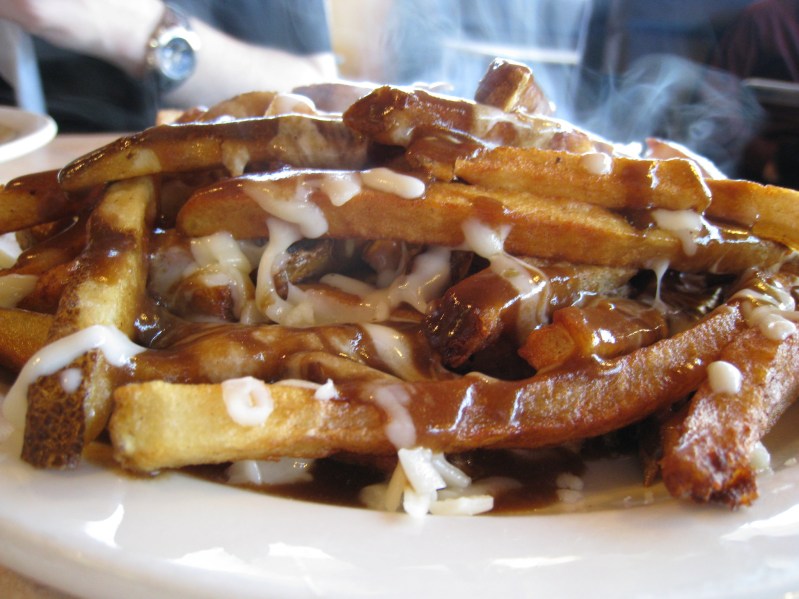
Poutine recipe
Is it indulgent? Yes. Do you deserve it? Also, yes.
Fries
Ingredients:
- 3 – 4 large russet potatoes, peeled and cut into 1/3-inch strips
- 2 tablespoons extra virgin olive oil
- Salt and pepper to taste
- 10 ounces white cheddar cheese curds, at room temperature
Method:
- Prepare fries and hold them in a large bowl of cold water until ready to use.
- Line 2 large baking sheets with parchment paper and preheat oven to 425F.
- Using a clean kitchen towel, dry the fries completely, then toss with olive oil, salt, and pepper.
- Spread fries in a single layer on the two prepared pans.
- Bake for 20 minutes, stopping to toss fries and rotate pans halfway through baking.
- Keeping the pans in the oven, broil the fries for an additional 5-10 minutes, until golden brown and cooked through.
Gravy
Ingredients:
- 6 tablespoons butter
- 1/2 cup flour
- 2 cups beef broth
- 1 tablespoon Worcestershire sauce
- 1 beef bouillon cube
- 1 teaspoon unfiltered apple cider vinegar
- Salt and pepper to taste
Method:
- In a large saucepan set over medium heat, melt butter. Add flour and cook until golden, 1-2 minutes.
- To the roux, slowly add broth, whisking to incorporate.
- Increase the heat to medium-high and bring the mixture to a boil. Reduce the heat to low and simmer until thickened.
- Stir in Worcestershire, beef bouillon, and vinegar.
- To serve, distribute fries evenly onto four plates, covering in cheese curds and topping with gravy.

French onion soup with roasted poblanos recipe
After a day on the slopes, dinner absolutely must include a soup that warms down to the bones.
Ingredients:
- 6 tablespoons butter
- 4-6 yellow onions, sliced
- 4 bay leaves
- 2-4 sprigs fresh thyme
- 2-3 fresh poblano chiles
- 1/3 cup balsamic vinegar
- 2 tablespoons flour
- 8 cups beef broth
- 1 cup dry red wine
- 1/4 cup sherry
- 1 baguette, sliced into 12 1/2-inch pieces
- 2 cups Gruyère cheese, shredded
Method:
- Melt butter butter in a large pot over medium heat.
- Add onions, bay leaves, and thyme sprigs, stirring to coat. Cover pot and cook until onions are translucent and have cooked down to about half of their original volume, 20 to 25 minutes.
- Uncover and cook, stirring occasionally, until most of the liquid has evaporated and onions begin to stick to the bottom of the pot, 35 to 40 minutes.
- Add red wine and sherry and bring to a boil. Reduce heat to low and simmer and cook until the alcohol has cooked off, about 15 minutes.
- Roast the poblano chiles over a medium gas flame or grill, turning occasionally, until completely blackened, about 10 to 12 minutes. Place charred chiles in a small bowl, and cover with plastic wrap to steam for 10 minutes.
- Rub charred skin off chiles, then cut chiles in half, removing and discarding the seeds. Slice chile halves into thin strips, set aside.
- Preheat oven to 400F.
- Add balsamic vinegar to the onions and reduce heat to medium-low.
- Cook, stirring often, until onions have absorbed vinegar, about 5 minutes.
- Remove and discard bay leaves and thyme sprigs.
- Add flour to the onions and cook, for about 10 minutes, stirring often.
- Stir in broth, and bring to a boil. Reduce heat to medium-low and simmer for about 10 minutes.
- Remove soup from heat and stir in roasted poblano strips.
- Ladle soup evenly into 4 ovenproof bowls and place on a baking sheet.
- Top each bowl with 2 baguette slices and 1/3 cup cheese.
- Bake until cheese is melted, about 8 minutes.
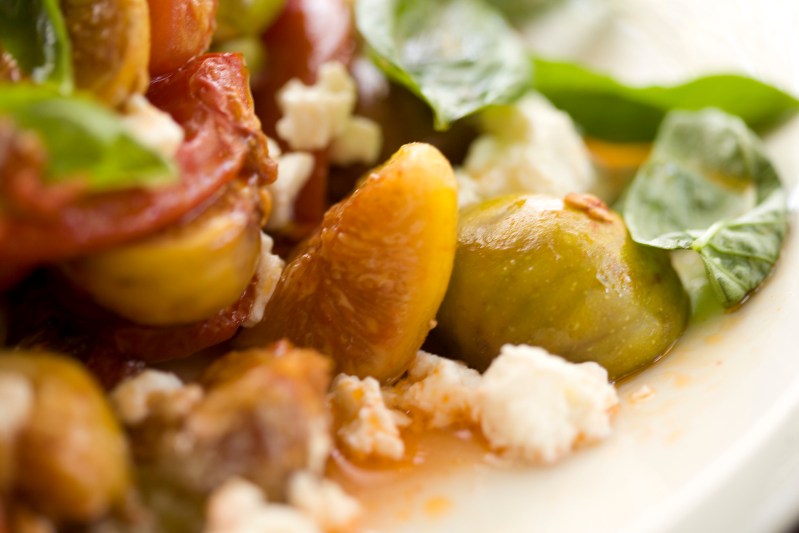
Orange and fig salad with gorgonzola recipe
After two rich and cheesy dishes, this salad is a beautifully light palate cleanser while still feeling hearty enough to enjoy on its own.
Ingredients:
- 1 head romaine lettuce, chopped
- 1 head butter lettuce, chopped
- 1/2 cup fresh basil leaves, chopped
- 2 oranges, peeled, pith removed, and cut into segments
- 4 figs, sliced
- 1/2 cup Gorgonzola cheese
- Vinaigrette dressing, to taste
- Salt and pepper, to taste
Method:
- Combine all ingredients in a large bowl, tossing gently to combine.
- Serve immediately.
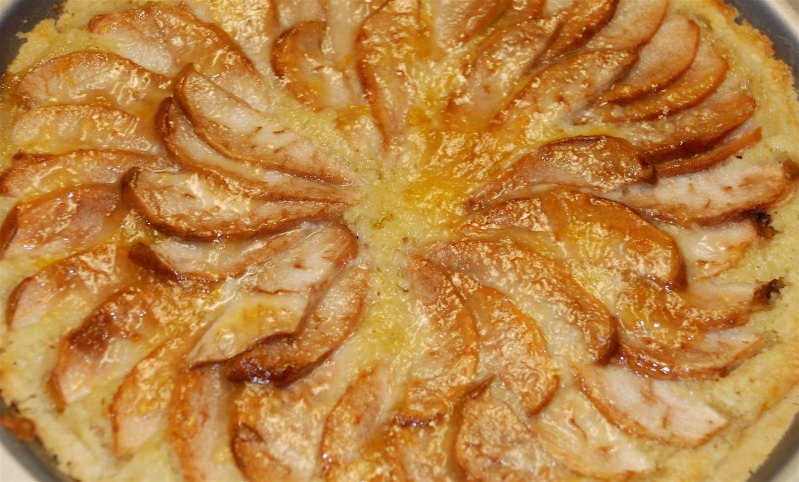
10-minute classic pear tart recipe
This dessert is the perfect combination of decadently satisfying yet easy to throw together even in an exhausted state. It’s even better the next morning with a cup of coffee.
Crust
Ingredients:
- 1 1/2 cup flour
- 1/2 teaspoon salt
- 1 teaspoon sugar
- 1/2 cup butter, melted
- 2 tablespoons milk
- 1 teaspoon vanilla
Method:
- In a medium bowl, mix flour, salt, and sugar, whisking to combine. In a separate bowl, whisk butter, milk, and vanilla.
- Combine wet and dry ingredients and mix gently.
- Press the dough into an 11-inch tart pan until it covers the bottom and about halfway up the side of the pan.
Filling
Ingredients:
- 3-4 large ripe pears, cored and sliced 1/3-inch thick
- 3/4 cups sugar
- 1/2 teaspoon salt
- 2 tablespoons flour
- 3 tablespoons butter, melted
Method:
- Preheat oven to 425F.
- In a large bowl, toss pear slices with all of the filling ingredients.
- Assemble coated pears in concentric circles, pouring any juice that remains in the bowl over the top of the pears.
- Bake 35-45 minutes until the filling is bubbly and browned.

Bonus cocktail recipe: Bourbon hot chocolate
If you must choose only one, this is the recipe to keep in your back pocket after a long, active, snowy day.
Ingredients:
- 1/3 cup unsweetened cocoa powder
- 1/2 cup granulated sugar
- 1/3 cup water
- 1/2 teaspoon salt
- 3 1/2 cups milk
- 1 teaspoon vanilla
- 1/2 cup bourbon
- Whipped cream for garnish
Method:
- Whisk together cocoa powder, sugar, and salt in a medium saucepan. Add water and cook until the sugar has dissolved and the mixture is smooth.
- Add the milk and continue to cook, taking care not to scald the milk.
- Remove from heat and stir in vanilla and bourbon.
- Top with whipped cream and enjoy.


