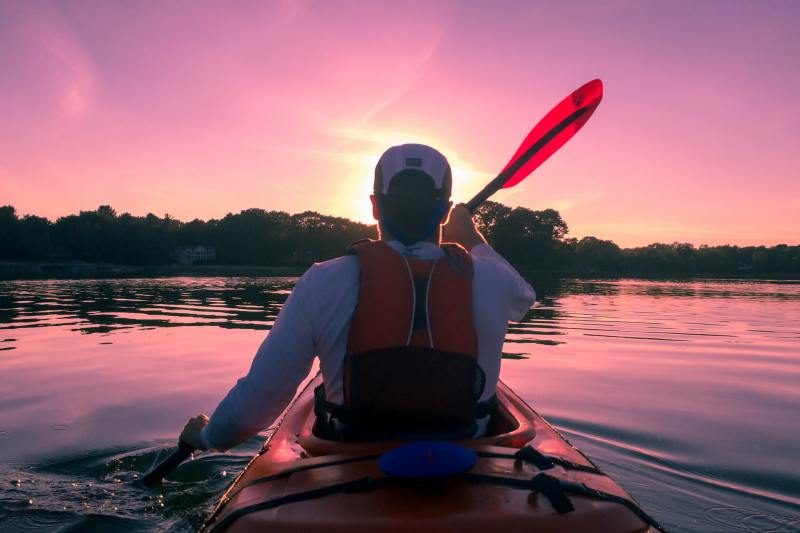
Is there a better time than now to start thinking about spring plans? It’s springtime! Spending long, hazy days down by the water, lounging on the beach — what about dipping your toes into the water and learning how to kayak? Now is the time to plan spring adventures to ensure the warm weather doesn’t pass you by. This guide to kayaking for beginners is the perfect read to rekindle our favorite outdoor pastime.
Few things are more relaxing than a day on the water, whether it’s upright on a stand-up paddleboard (SUP) or from inside a canoe or kayak. If you’ve been dying to take up the latter, here’s the low-down on getting started with kayaking.
Prepping for the water
Gear up
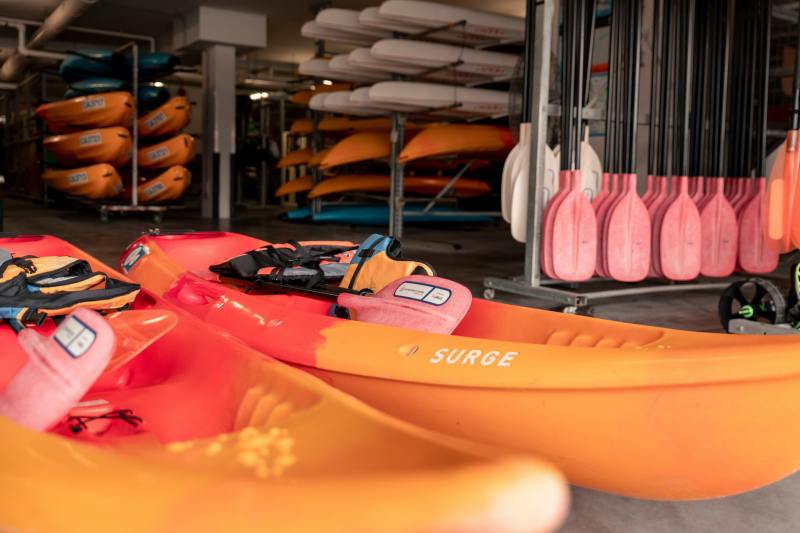
Whether you’re getting into free diving, snowboarding, or hiking, any new sport requires essential gear to get started. But first-time kayakers don’t need to — and probably shouldn’t — buy the best, most expensive boats, paddles, and accessories. Figure out your budget and start small with affordable gear. As with all the sports above, there are plenty of entry-level and mid-range brands that are perfect for beginners. It’s best to talk with a professional, even if you ultimately intend to buy online. At a minimum, you’ll need:
- Kayak (since this is the most significant investment, consider borrowing or renting a few different kayaks to determine the length, style, and features that work for you before buying your own)
- Paddle (be sure to find the right size for you)
- Coast Guard-approved PFD (personal flotation device)
- Bilge pump (optional but recommended)
- Spray skirt (optional,but recommended for sit-in kayaks)
- Dry bag (for keeping your personal effects dry)
Get dressed
We’ll assume you’re (wisely) planning your first few paddles in calm water and mild weather. Dressing the part for your inaugural kayak outing is fairly straightforward. In fact, it’s not much different than dressing for a day at the beach. You should always be prepared to get wet and have sun protection applied and be ready to reapply. Here are the essentials:
- Swim trunks or board shorts (non-cotton in a relaxed, comfortable fit)
- Rashguard top (for sun and bug protection)
- Waterproof footwear (sport sandals or neoprene slip-ons are best)
- Sun-shielding hat (optional, but recommend, especially for longer paddling days)
- Polarized sport sunglasses
Know your limits
Even well-seasoned athletes can find themselves in trouble by biting off more than they can chew. Brush up on any personal weak spots. Work on your core and arm movement and strength before hitting the water. Be realistic about your swimming ability and get a feel for floating in your PFD, to prepare for the inevitable capsizing. For all of these reasons, we also recommend that beginners paddle with a buddy and don’t stray far from the shore. Consider setting a turn-back time for yourself, and limit your first few kayaking adventures to 1-2 hours tops to avoid fatigue leading to mishaps.
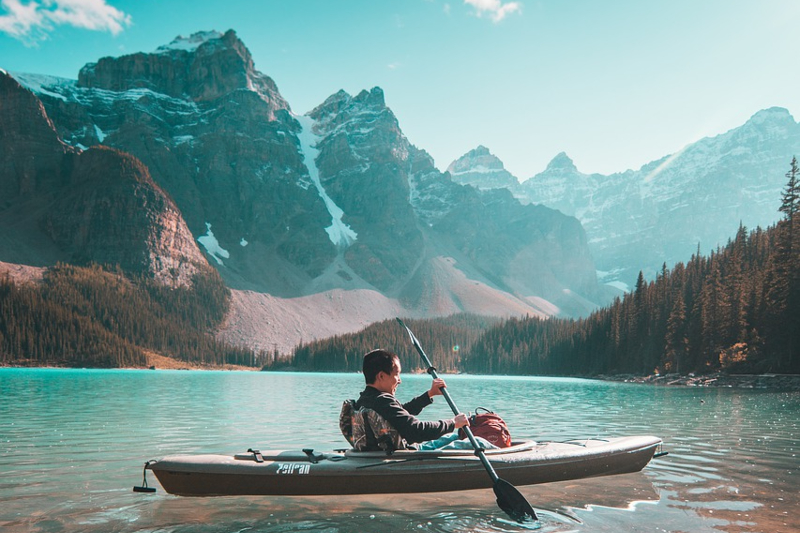
Your first day on the water
Protect yourself (and your stuff)
The relaxed nature of kayaking (assuming you’re not jumping paddle first into open-ocean kayaking) can lead to a false sense of safety. But exposing your body to the elements for hours or a full day at a time can wreak havoc on your skin, eyes, and more.
Take care of your most exposed parts by donning a hat, a lightweight long-sleeve shirt, and plenty of eco-conscious sunscreens. Pack plenty of water — twice what you think you’ll need — in an insulated water bottle. Don’t forget to protect your smartphone, wallet, and other personal effects, too, by stashing them in a waterproof dry bag.
Adjust your ride
Fitting your kayak to your body shape, size, and paddling style is key to ensuring a comfortable day on the water. You should feel upright and snug in your kayak, but be able to exit safely if you capsize. With your boat on dry land, start by focusing on your three main points of contact. Start by adjusting the backrest until it is comfortable and supportive.
The footpegs should be adjusted so that the ball of your foot rests on the pegs and you have a slight bend in your knees. Your knees or thighs should have contact with the outside of the cockpit or in the thigh straps, if you are paddling a sit-on-top kayak. These will limit side-to-side “wobble” as you paddle.
Go for launch
Your first launch might look intimidating, but there are some easy steps to make sure you get it right. Start on a slightly sloped shoreline in an area clear of rocks or other hard debris. Set the boat down perpendicular to the shoreline in shallow water — deep enough that it’s mostly “in” the water, but shallow enough that you can safely step in and it won’t drift away.
Secure your paddle by sliding one of the blades under the deck line in front of the cockpit. Straddle the kayak directly over the cockpit with one foot on either side in the water. Place your hands firmly on either side of the cockpit opening and lower your butt onto the seat. Lastly, slide your legs into the kayak and your feet down toward the footpegs. It’s almost impossible to do this gracefully, so don’t stress that you’re somehow doing it wrong. Use your paddle to propel your kayak away from shore, and attach your spray skirt if you’ll be using one.
Paddle power
Properly holding your kayak paddle is as important as proper stroke technique. Grab your paddle with both hands and hold it up, centered just over the top of your head. You’ll know your hands are positioned correctly when your elbows are bent at around 90 degrees.
Make sure your paddle blades are parallel to one another. If not, they may be slightly offset or “feathered.” This is ideal for seasoned kayakers but can be difficult for novices to use. To reorient the blades, find the twist or push button near the center of the paddle shaft. Activating that will allow you to twist each end of the paddle to realign the blades.
To correctly orient the blades of your paddle, hold the paddle out in front of you with the blades facing toward you. Your knuckles should align with the top of the blade. Be sure the longer edge of the blades is at the top, and the shorter edge is closer to the water. (Uniform or symmetrical paddles are not tapered in this manner, so there is no “correct” orientation for them.)
The scooped side of each blade should also be facing toward you. Hook your thumbs under the paddle shaft and close your hand over the top. Don’t grip too hard, or you’ll find your forearms pumping and worn out quickly, and your stroke technique will suffer.
Different strokes
Paddling is deceptively simple, but mastering good technique is key to maintaining power, balance, and maneuverability on the water. Your core’s strength and smooth movement are more important than your arms. Use your hands and arms only to guide your paddle while allowing your shoulders and core to drive the blades actively through the water.
There are three main stroke types to master: Forward stroke, reverse stroke, and sweep strokes for turning. For beginners and general touring purposes, the majority of paddling relies on a forward stroke.
Pack it up, pack it in

Winding down
Stick to your agreed time limit for the day as best you can. If your first kayaking adventure tracks an out-and-back route, remember that however far you paddle out, you’ll have to paddle that same distance back. So, it’s best to head back well before you start feeling tired.
Mastering the perfect exit
Exiting your kayak is almost a mirror copy of the launch — only in reverse. For shore landings, line your kayak perpendicular to the shoreline. Paddle toward the shore hard enough to drive the front end of your boat up and onto the sand or dirt. The key is to “stick” the boat so that it stays put before you make your exit.
With your kayak firmly against the shore, free your hands by securing the paddle blade under the deck line. Place both hands on the cockpit, by your hips, for support. Pull your knees and feet back toward you. Lift one foot out of the cockpit and into the shallows next to your boat. This helps stabilize the boat before standing up. Balance on your planted foot, and stand up slowly, taking care not to tip the kayak. With both feet in the water, stand up straight and away from the kayak. Don’t let your kayak drift off now that your weight isn’t holding it against the sand.
Congratulations — you’re officially a kayaker!
More tips for beginner kayakers
Here are a few more tips to keep in mind when you’re heading out for your first kayak session. Begin with short paddling excursions to avoid fatigue, since you don’t know your limits yet. Gradually increase the duration and difficulty of your trips as you gain experience and become comfortable in your kayak and on the water. Paddle with the wind, which will help you avoid becoming tired too quickly. This will also make the return journey easier with the wind at your back. Lastly, respect the environment and be mindful of the local wildlife. Avoid disturbing nesting birds or animals that live on, in, or near the water you’re adventuring in.


