In the summertime, the call of the wild demands to be answered. Whether you’re hiking, camping, enjoying your backyard, or you just live in Florida, there’s a small chance that answering that call will be met with some aggressive fauna. The usually silent slithering of a snake can ruin a day spent basking in nature, but a snake bite doesn’t have to ruin your life. Keep reading to learn hot to treat a snake bite.

What to do immediately after a snake bite
“The first thing to do is get away from the snake — don’t try to capture it, that’s just going to provide the potential for more people to get hurt,” Dr. Nicholas Kman, professor of emergency medicine at The Ohio State University Wexner Medical Center, told Live Science.
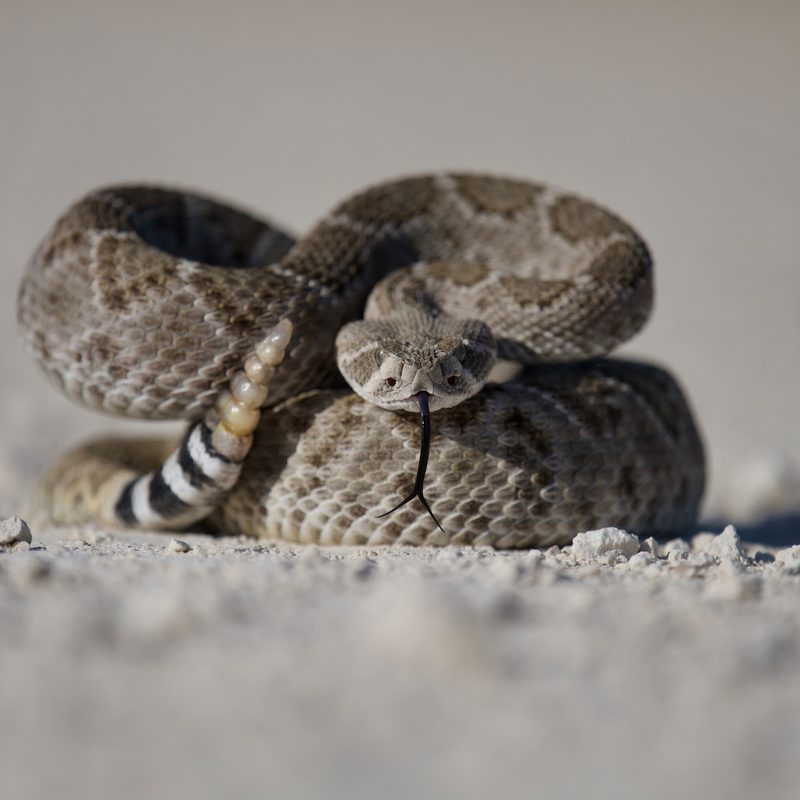
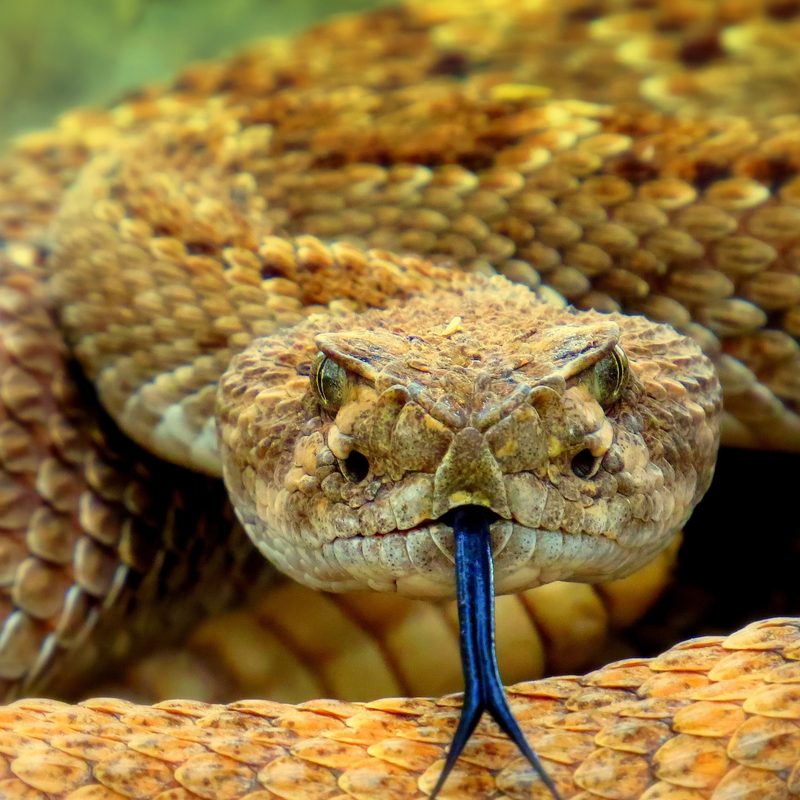
In the moment, you should try to remember what the snake looked like or take a picture. Markings are beneficial, but the eyes are the window to the venom. Most venomous snakes in North America have eyes like slits as well as triangular heads and visible fangs. The exception to this pit viper physiology is the coral snake, which is often confused for the less dangerous king snake.
Your main priority should be to get to a hospital or an area where first responders can intercept you.
Once you’re out of striking distance, call 911 and note the time of the bite. Move as little as possible to avoid helping the venom along, and ideally, you should have someone carry you or transport you by car. You should also remove any restrictive clothing or jewelry; at best, they’ll get stuck due to swelling, or at worst, they’ll form a tourniquet. Your main priority should be to get to a hospital or an area where first responders can intercept you.
“When the venom from a pit viper goes into your body, it treats it the same way it would treat a meal,” Dr. Leslie V. Boyer, founding director of the Venom Immunochemistry, Pharmacology and Emergency Response (VIPER) Institute at the University of Arizona’s College of Medicine in Tucson, explained to Good Housekeeping. “[The venom is] starting to damage the protein and the fat. The longer you let it marinate, the more damage it is going to do.”
Signs and symptoms of a snake bite
Occasionally, people get bitten by a nonvenomous snake and don’t realize it immediately. If people feel anything at all, they shrug it off as a bug bite or a feeling akin to static shock. Luckily, there are some telltale signs that you’ve been bitten by a snake and they can even help you tell whether it was incapacitating.
The easiest sign would be the presence of puncture wounds (though sometimes only one fang breaks the skin). Nonvenomous snake bites will typically just result in some pain and irritation at the wound, according to the Mayo Clinic.
Venomous snake bites yield severe pain within 15 to 30 minutes, which can be accompanied by swelling, labored breathing, dizziness, nausea, and fatigue. Symptoms will vary slightly from snake to snake with some causing tingling sensations, changes in skin color, and/or extreme thirst, according to Healthline.
“We watch for redness, swelling, blistering, warmth, and then signs of nausea, vomiting, muscle pain, and low blood pressure,” Dr. Kman told Live Science. “If we start to see those, we administer the antivenom.”
Additional first aid tips for a snake bite
No matter what, treat every snake bite like a lethal one. Even nonvenomous snake bites can pose a serious health risk due to the possibility of infection. One of the first things you should do is clean and protect the wound, if possible. Make a permanent marker part of your survival kit so you can circle snake bite marks and track the spread of infection with additional, time-stamped circles. This guide will help medical professionals later on.

What not to do
There are several misconceptions about what you should do in the event of a snake bite. All the foremost experts and agencies urge you not to attempt any of the following:
- Do not apply a tourniquet. “A decision to put on a tourniquet is a decision to amputate everything from the tourniquet down,” Dr. Boyer said. Coral snakes and snakes in Asia, Africa, and Australia can lead to respiratory issues that could benefit from a tourniquet, but coral snakes only make up about 1% of annual venomous bites, according to Live Science. Basically, 99% of the time you would be setting yourself up to lose a part of you.
- Do not elevate the affected limb. Let the doctors do that. Elevating the limb prematurely can accelerate the spread of the venom, so just try to keep it in a neutral position where it’s at or below heart level.
- Do not apply ice or a cold compress. The cold temperature will create more trauma at the site and could make the situation worse.
- Do not try to suck the venom out. This is just futile, whether you use your mouth or a pump marketed for this purpose, because venom spreads into tissue within a minute.
- Do not cut the wound. Though survival guides used to recommend cutting an X into the wound, both Drs. Boyer and Kman agree that’s a bad idea. In addition to the potential of further physical injury, like cutting a tendon, the tips of the X will become necrotic, leave a nasty scar, and slow the healing process.
- Do not drink caffeine or alcohol. It’s obviously tempting to reach for the whiskey in your hour of despair, but you’ll just get your heart pumping…that venom everywhere. Just keep calm and be carried on.
How to prevent snake bites
Remember, prevention is always the best strategy when it comes to snake bites. Preventing snake bites requires a combination of awareness, caution, and knowledge about the environment you are in. Here are some tips to help you minimize the risk of snake bites:
- Stay aware of your surroundings. Pay attention to your surroundings, especially when you are in natural areas or places where snakes may be more common, such as wooded areas, tall grass, and rocky terrain.
- Stick to well-trodden paths. As tempting as it is, avoid walking through dense vegetation or tall grass where snakes may be hiding.
- Wear appropriate clothing. When venturing into snake-prone areas, wear long pants, sturdy boots, and high socks to minimize the exposure of your skin. This can offer some protection in case of a potential bite.
- Use a flashlight at night. If you’re out exploring in the dark, use a flashlight to help you see and avoid snakes on the ground. Especially in hot climates like Arizona, snakes like to come out onto cement or pavement, which stays hot long after the sun has gone down.
- Avoid disturbing snakes. If you see a snake, don’t go near it. Many snake bites occur when people attempt to handle or kill snakes. Leave snakes alone and give them space to move away.
- Stay away from dead snakes. Even dead snakes can still bite reflexively. Avoid handling or touching any dead snakes you come across.
- Keep your campsite clean. Snakes may be attracted to food scraps and the presence of rodents. Keep your campsite clean and store food securely.
- Know the local snakes. Familiarize yourself with the types of snakes that are common in your area. Knowledge about venomous snakes in the region can help you be more cautious and prepared.

Final thoughts
Educating oneself about the local snake species, wearing protective clothing, and exercising caution in snake-prone areas are essential safety practices. By staying informed and prepared, you can minimize the risks associated with snake bites and ensure the safety and well-being of yourself and everyone around you.