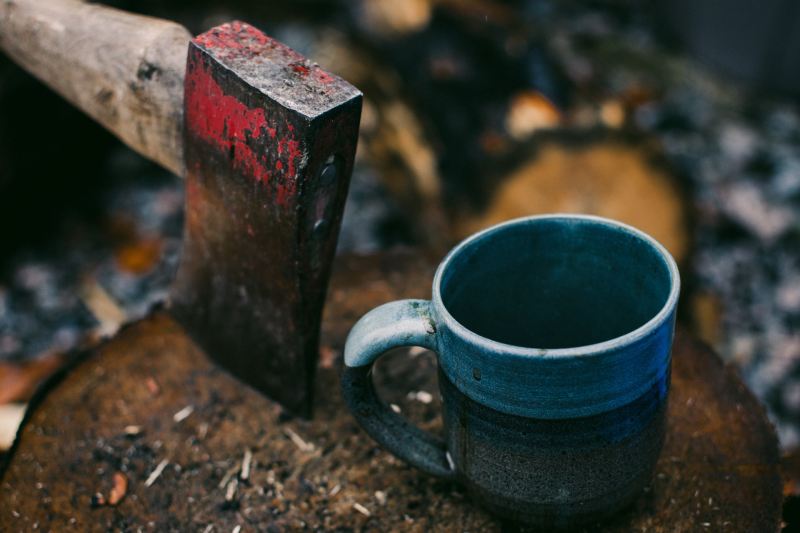
We’re overcomplicating coffee-making these days. From Aeropresses and French presses to Chemex pour-over coffee makers and high-end, Bluetooth-enabled espresso machines that cost as much as a used Corolla, there are just too many damn ways to brew a cup oo’joe. It’s easy to get lost in the proverbial sauce, thinking that you need to invest hundreds, even thousands, of dollars to make a decent cup of coffee.
But we’re firm believers that simpler is often better. When it comes to coffee-making, there is no simpler way than the cowboy coffee method. As the name implies, it’s a field-tested process that dates back to, well, ye olden days. Unfortunately, that’s as specific as we can get with the timeline because no one’s quite sure who first devised it. But we do know that it’s simple, and it works. Combine ground coffee and hot water. Add a little bit of time, stirring, and a few dashes of cold water, and you’re morning fuel is ready to go.
We’re not going to lie, though. The process is simple, but it’s also easy to screw up. Unfortunately, most campers who’ve tried cowboy coffee and failed think it’s a terrible method. Those who’ve only heard of it probably think it’s awful, too, because they’ve listened to the campers who made it wrong. We promise that made right, cowboy coffee tastes just as good as any drip- or pour-over-style coffee you make at home. Here’s how.
How to make cowboy coffee
Short of instant coffee packets, cowboy coffee is by far the simplest method of making coffee. It’s the perfect method for campsite coffee with minimal tools and ingredients and zero waste. This is your perfect cowboy coffee recipe.
Step 1: Using eight-ounce increments of water, pour into a small, not-too-shallow metal saucepan. A pan with a small pouring spot (typical of many camp kitchen pots) that’s deep enough to allow the brewed coffee grounds to settle to the bottom is ideal.
Adding a little more water than you think you’ll need is best, as any extra liquid will help “contain” the grounds at the bottom of the pot. For example, 16 ounces of water is ideal for 12 ounces of coffee.
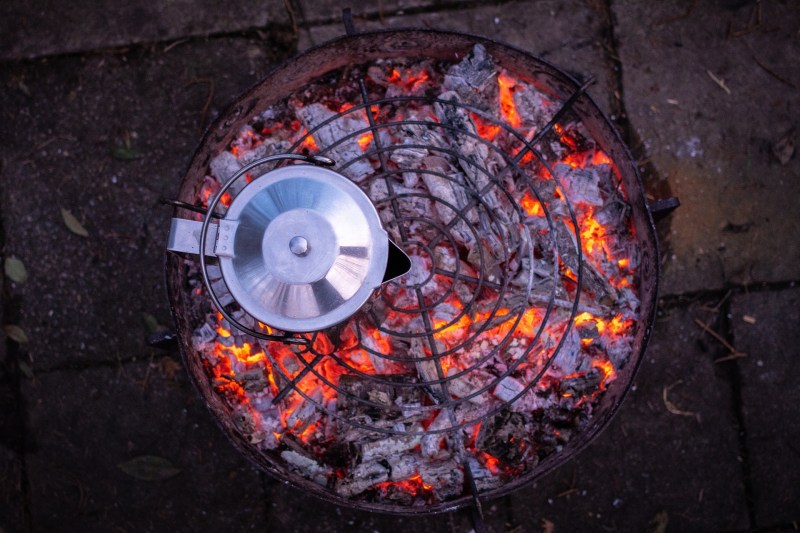
Step 2: Using any available heat source — a residential cooktop, a portable camp stove, or even a campfire works just fine — bring your water to a boil. Once boiling, remove from heat and let sit for 30 seconds. This will bring the temperature down to a more reasonable 200°F. This is the ideal temp for brewing, but not burning, your coffee.
Step 3: Add two tablespoons of finely ground coffee for every eight ounces of water, and stir well. Any blend will work, from your basic Dunkin Donuts pumpkin spice to the darkest Peet’s espresso roast. You do you.
Step 4: Let the mixture sit for two minutes, and give it another stir.
Step 5: Let sit for a final two minutes.
Step 6: Once the four minutes are up, wet your hands with cool or cold water, and sprinkle the water over the top of the pot. Repeat two or three times. This step is essential, as it helps settle the grounds to the bottom of the pot.
Step 7: Slowly pour the fresh cowboy coffee into your best coffee mug.
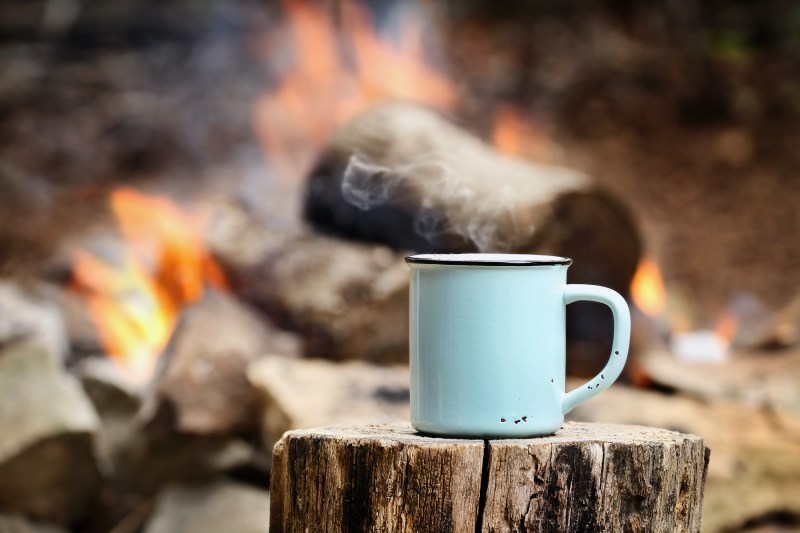
Step 8: Enjoy! (Pro tip: Coffee grounds left in a pot of hot water quickly become bitter. So, it’s best to drink cowboy coffee immediately. Pour any leftovers into a thermal mug, or just make a fresh batch if you need a second cup.)
What is cowboy coffee?
Cowboy coffee is the simplest method of making coffee. It’s time- and field-tested, requires less than 10 minutes (including boiling the water), and makes almost no waste, except for used coffee grounds, which can be safely discarded in the wild.
Tips for making the best cowboy coffee
Making cowboy coffee is easy. Unfortunately, making bad cowboy coffee is even easier. That’s why many campers try it once and abandon all hope because their final product is, frankly, undrinkable.
There are three keys to making a good cowboy coffee pot: The right temperature, the right ratio of coffee grounds to water, and remembering to settle the grounds before pouring. If you miss or half-ass any of these steps, you’re almost guaranteed to wind up pitching your entire pot of brown goop into the woods.
- A rolling boil is less than ideal for brewing good coffee. That’s why removing your pot of boiling water from the heat source for a bit is important. You want hot, but not scorching, water.
- Adding too much or too little coffee grounds is the most common place most campers go awry. Two tablespoons of finely ground coffee for every eight ounces of hot water is the “golden ratio.” If you’re planning to camp, consider bringing a lightweight plastic tablespoon scoop.
- Lastly, if you don’t settle the grounds with a sprinkle of water before pouring, they’ll stay floating on top, and you’ll likely wind up chewing your coffee rather than drinking it. And, no matter how much you love coffee, that’s never a good thing.
The right heat and the perfect ratio of grounds to water, plus a little time and stirring — that’s really all there is to it. Cowboy coffee making is just that simple. If you love camping and the outdoors, it’s the easy, eco-friendly, and traditional way to brew a good cuppa just about anywhere.


