Coffee can be more than just that extra boost to kick-start your day. Often, it’s also a ritual that many of us look forward to. While standard drip coffee is a great option in a pinch, if time allows, a pour-over is a divine treat to indulge in.
Also known as a hand brew, this method allows you to take control of all the variables of the brewing process to craft it precisely to your taste. Making your cup of coffee this way can be an almost meditative addition to your morning routine. Whether you’re just dipping your toes into the world of coffee or you’re a seasoned professional, read on to learn more about how to make pour-over coffee right from the comfort of your own home.
Must-have equipment to make pour-over coffee
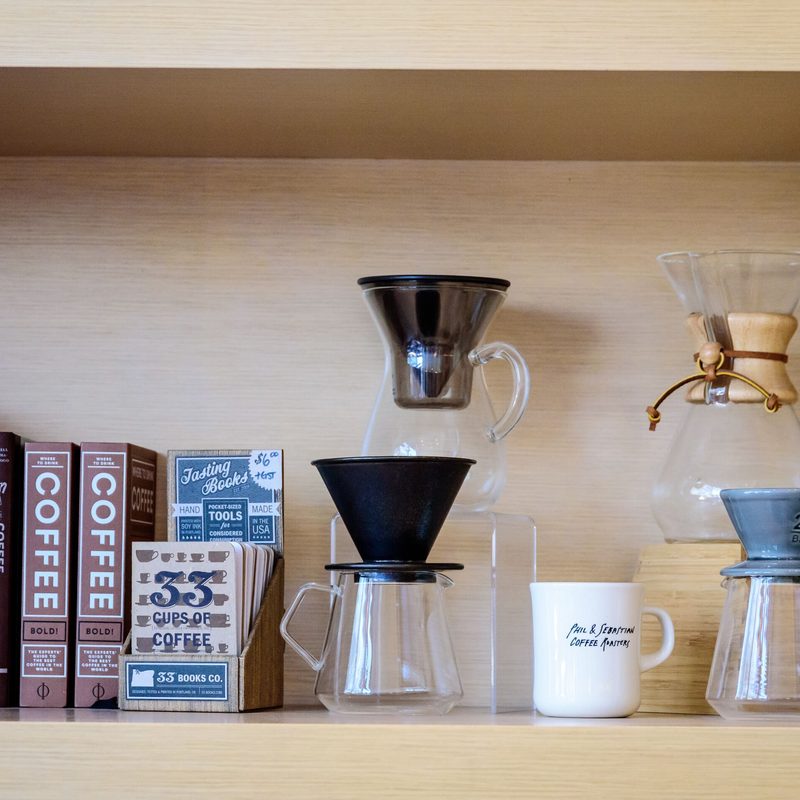
Any great pour-over will hinge on the equipment you use to achieve it. Here are the must-haves.
Brewing device
First and foremost, you should pick out a pour-over brewing device. Several options will all lend nicely to a smooth brewing process. You really can’t go wrong if you have a great brewing method, but if you want to optimize your brew, consider buying a Buy at Amazon . This plastic brewer doesn’t feature the three holes flat bottom pour-over brewers have, so it offers a faster, more efficient drawdown.
Another popular coffee brewing device to make a great pour over coffee is the Buy at Amazon Pour Over Dripper. This device features a patented wave design that reduces contact between the brewing space and the filter itself, leading to a more balanced extraction. The dripper design and filter are easy to use for beginners and pros.
Digital scale
A digital scale aids in measuring out precise amounts of coffee grounds and water. This is critical when making a pour-over cup. As you shop around for a digital scale, be sure it’s capable of measuring to 0.1 grams. For example, the Buy at Amazon is a solid option that simplifies weighing your coffee.
Spoon
This one is not that hard — any old spoon will do. This tool will be helpful at the end of the brewing process.
Filtered water
Water will determine a lot when it comes to the taste of your brew. Filtered water offers the best results. You can either use bottled water or a water filtering device such as a Brita filter.
Kettle
Water temperature is key when it comes to crafting a pour-over brew. Ideally, you should look into getting a goose-neck electric kettle. A normal electric kettle will work, too; it will just be more challenging to get a consistent pour. A pouring kettle is not recommended as you may lose valuable temperature as you transfer the hot water from its source.
Coffee beans
This is by far the most important factor when making any cup of coffee. Even if you brew your cup to perfection, it will be lackluster if you use low-quality beans. There’s a lot that goes into sourcing coffee beans, your personal taste included. Start by looking into local coffee roasters if you’re still learning your preferences.
Grinder
A burr grinder offers even, uniform grounds. An electric burr grinder will cut down on time but if you’re looking for a cheaper option, you can also use a hand grinder.
Filters
Purchase paper filters specifically made for pour-over cones. Fast papers aid in the drawdown process, but they’re not a requirement.
How to make pour-over coffee

- Start by weighing your beans. A good rule of thumb is to maintain a 15:1 to 17:1 coffee ground-to-water ratio. For example, 20g of coffee to 300g of water would be a 15:1 ratio. Simply weigh out your coffee beans and multiply by your preferred ratio.
- Grind your coffee beans to the slightly finer end of medium. This lends well to a smooth, strong brew. As you continue to fine-tune your preferences, you may find you like a finer or coarser grind depending on how you want your coffee to taste.
- Rinse your paper filter with hot water. This will remove the papery taste while also pre-heating your decanter. A pre-heated vessel makes for a better overall brew. If you’re using a plastic cone, you can use hot tap water for this but if your cone is metal, ceramic, or glass, you need to use the hottest water possible.
- Zero out the scale with your brewing device on it and add your desired amount of grounds to the cone. Be sure to create a small well in the center. This assists in evenly saturating all of the grounds in the next step.
- Zero out the scale again and pour hot water over the grounds to bloom. Use a 2:1 grounds-to-water ratio to determine how much water to use for the bloom. For example, if your overall coffee amount is 60g, you will use 120g of water. Swirl the pour-over to saturate all of the grounds. Some people use a spoon for this step, but swirling provides a better taste. Keep swirling if the slurry looks lumpy. Let it rest for no longer than 30-45 seconds. This allows the CO2 to escape for an easier extraction.
- Pour 60% of the rest of your hot water into the cone. For instance, if your brew requires 500 total grams (17 ounces) of water, you’ll need to pour in about 300g (10 ounces). As you pour, try to hit a happy medium between disrupting the coffee bed and not aggravating it too much. Pour in a slow, steady stream. At this point, the cone should be full.
- Gently pour in the rest of your water weight. Use a spoon to swirl around the sides in one direction and the opposite direction to knock off any grounds from the side. Take care not to over-stir or you may create a dome. This will lead to an uneven extraction.
- Allow the water to drain into your vessel. This portion of the process is called the drawdown. As the water works to extract the last bit of the coffee from the grounds, it should hopefully settle into a flat bed. Once you see this, your coffee will be ready to enjoy.
Finishing considerations for the perfect pour-over

Hopefully, at this point, you’re more tuned into the intricacies that go into a perfect cup of pour-over coffee. As you fine-tune your process, keep these final tips in mind to take your brew to the next level.
- Make sure to use the hottest water possible. A lower temperature will lead to a slower drawdown. The slower your drawdown, the more bitter and unpleasant your result. You’ll want to use the hottest water possible directly from your kettle, especially if you’re working with a light roast. You can stand to lose a few degrees of temperature if you’re using a dark roast.
- When pouring hot water into the cone during the bloom phase, don’t be afraid to disrupt the grounds. Some coffee experts will say to only wet the paper and allow the water to spill into the grounds. This isn’t necessary and may actually lead to a less rich taste.
- Move through the process quickly. You don’t want much lag time between heating your water, blooming, and pouring the rest of your brew weight into the cone. Again, this can reduce the overall temperature.
- Use fast paper filters for the best results. While this won’t make or break your brew, fast papers will speed up your drawdown. Coffee experts agree that this leads to a smoother, more tasty cup of coffee.