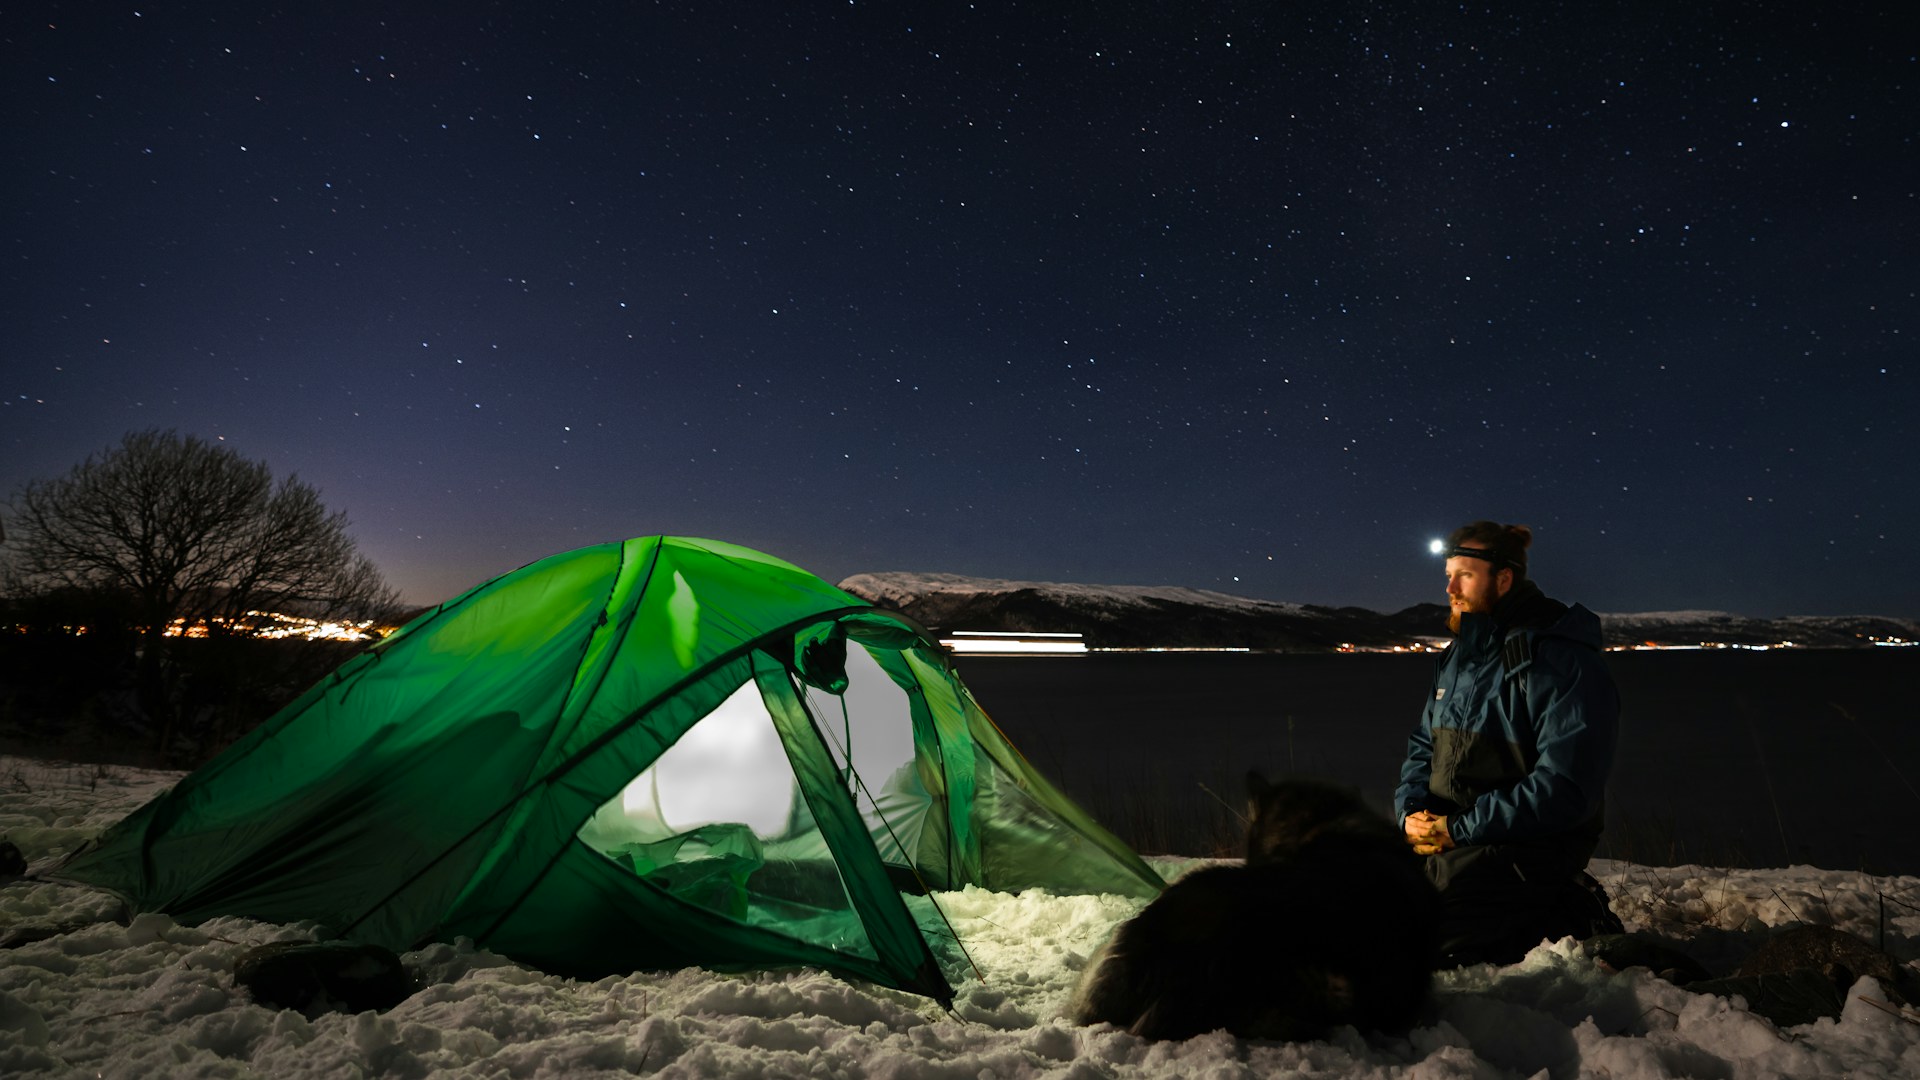
When temperatures drop, and the wind starts howling, heat loss while winter camping can quickly turn a cozy night into a frosty one. The secret to keeping your tent warm isn’t about getting the most high-tech gear. Actually, it lies in understanding how heat escapes. From the cold ground beneath you to the sneaky drafts around your tent, each type of heat loss plays a role in how well your tent holds onto warmth. In this article, we’ll explore the various ways that heat can sneak away from your tent, as well as how to insulate a tent for winter camping.
Types of heat loss while winter camping and how to avoid them

There are several ways your body and tent lose heat: conduction, convection, radiation, and evaporation. Here’s how to avoid all four:
Ways to avoid heat loss due to conduction
Conduction occurs when heat is transferred from your body to colder surfaces, like the ground. To prevent heat loss through conduction, focus on insulating surfaces that come into direct contact with your body.
When setting up your tent, put down a reflective or thermal groundsheet to help block the transfer of heat. Next, add extra blankets, foam tiles, or rugs. Your sleeping space has the most risk for heat loss due to conduction, so elevate your sleeping area using an air mattress or a cot. If that’s not possible, consider using an insulated sleeping pad or a closed-cell foam pad to help keep you off the ground.
Ways to avoid heat loss due to convection
Convection happens when moving air (wind or drafts) carries heat away. Reducing airflow and creating windbreaks can help prevent this.
Believe it or not, snow is actually incredibly insulating, and the best part is that you won’t have to haul it with you! Once you’ve set up your tent, pack the snow high in walls around the edges of your tent. If the snow isn’t sticky enough, you can still use a rainfly or reflective tarp to help block out the wind. Then, seal your gaps. You’ll still want to open your vents slightly for ventilation, but make sure that your tent doesn’t have any holes or tears and keep the zipper is entirely closed.
Ways to avoid heat loss due to radiation
Radiation occurs when your body emits heat, and that heat radiates out into the environment. Reflecting body heat back to you is key to minimizing heat loss by radiation.
You can do this by utilizing reflective emergency blankets. Line your tent with them, or hang them from the walls to reflect your body heat. Double check and make sure that your tent is a four-season one. Those tend to be more robust, and can handle the harsh winter environments. Additionally, you’ll want to use a sleeping bag with a low temperature rating or purchase a thermal sleeping bag liner. Wear insulating layers like merino wool, which helps keep radiated heat closer to your body.
Ways to avoid heat loss due to evaporation
Lastly, evaporation happens when moisture (from sweat or breath) evaporates and carries heat away. While fantastic in the summer, this is one of the most difficult ones to handle in the winter, but it’s essential for your comfort.
The best tip here would be to do everything possible to stay dry. Avoid sweating, and choose moisture-wicking base layers. By layering properly, you can put more on or take more off as the situation requires. If your clothes do get wet, dry them outside or in a vestibule to prevent higher humidity levels in your sleeping area. Then, properly ventilate your tent to allow moisture from your breath to escape. This will reduce the cooling effect of condensation.
Advanced tips for insulating your winter tent

If you’re ready to take your winter tent insulation to the next level, there are some advanced techniques that can make a big difference in keeping you warmer during those chilly nights. Beyond the basics, these methods focus on optimizing airflow, insulation, and making the most of natural elements like snow. Here are some expert-level tips:
1. Create a cold air sink
- What it is: A cold air sink is a shallow trench, or pit dug inside the vestibule or at the entrance of your tent. Since cold air naturally settles to the lowest point, this sink will draw cold air away from your sleeping area.
- How to do it: Dig a pit about 1-2 feet deep just outside your tent door or within the vestibule. The cold air will pool in this area, while the warmer air stays closer to your body and sleeping area. Make sure your sleeping area is raised to avoid exposure to the cold air sink.
2. Snow trenching
- What it is: A snow trench is a method of setting up your tent in a hollowed-out area of snow for additional wind protection and insulation.
- How to do it: Dig a trench in the snow just deep enough to fit your tent inside. This naturally insulates the sides of the tent from the wind and creates a more controlled environment. You can also use the snow you’ve dug out to build snow walls around your tent for extra protection against wind.
3. Double wall tarp system
- What it is: A double-wall tarp system involves using two layers of tarps around your tent to trap air and provide extra insulation.
- How to do it: Set up one tarp directly over your tent, ensuring that it’s staked securely to block wind and trap warm air. Then, create a second tarp layer over the first, leaving a small gap between them. The air pocket between the two tarps will act as insulation, which will reduce heat loss.
By combining these tips, you can turn those cold winter nights into cozy ones. Stay warm out there!


