
Camping gear is a huge investment. Not only do you go through a meticulous research process when deciding what to buy, but it’s often expensive to boot. Believe it or not, one of the most dangerous times for your camping gear is during the off-season, when you store it. How and where you store your camping gear can make the difference between keeping everything pristine and opening your boxes to moldy or rotten gear. So, here is how to winterize camping gear, so you can avoid that kind of unfortunate situation.
The basic process for storing your camping gear
The basic process is to keep things clean, dry, repaired, and stored in a way that won’t ruin your favorite camping buddies. In this guide, we’ll walk you through the process for many major pieces of gear, such as your tent, backpacks, and more.
Here’s how to clean and store your favorite camping equipment

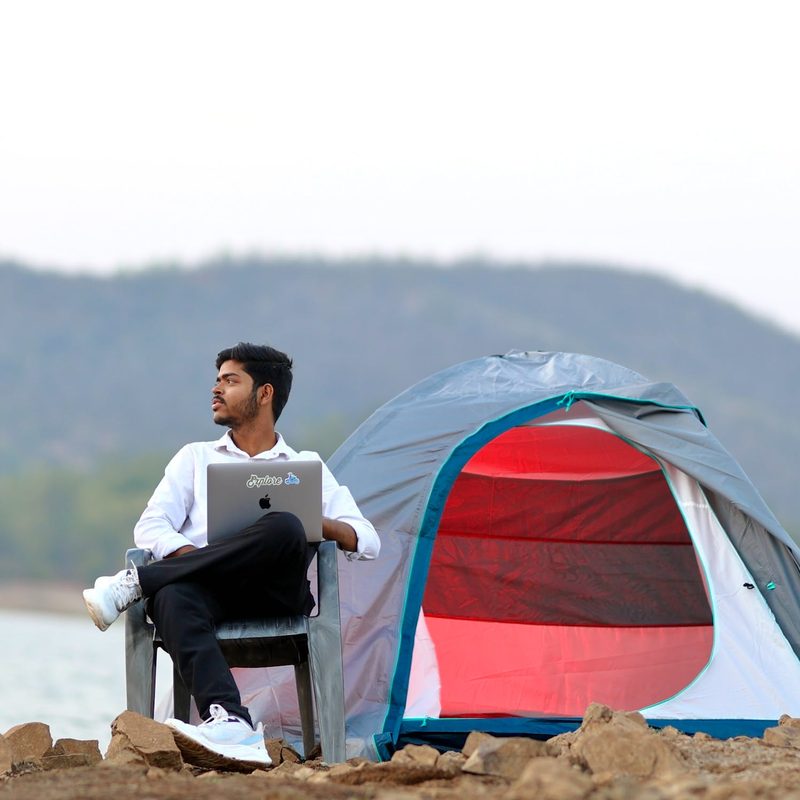
Tent
That eight-person tent offers a lot of room for the family, but it’s a lot of nylon to scrub at the end of the season. Tents don’t need to be cleaned after every trip, but make a point of doing it after every season. If you’re a regular camper, every four to five trips should suffice. Trips around sand, fine dust, bird droppings, or anything sticky might warrant a cleaning sooner than that.
Using a bucket of gentle, non-detergent soap to wipe the tent down with a sponge or rag. If there are any spots with mildew or mold on them, use a spray bottle with white vinegar. Scrub gently on the floor and the fly so you don’t scrape the waterproof finish off.
Dry your tent completely. Of all the things you could do to extend the life of your tent, drying your tent before storing could be the most important. Set it up in the garage, pitch it in the backyard, or hang it on a clothes line on a warm day. Treating your tent with a durable water repellency (DWR) product will help UV protection, water shedding, and fabric strength. Tent and Gear Solarproof from Nikwax works well.
Store the tent in a bigger bag than it came with so it can breathe. It needs to go in a dry place with an even temperature. Rolling or stuffing the tent into a big bag prevents the fabric from breaking along the folds over time. If you have space, store the poles fully or partially extended so the elastics can relax.
Sleeping bag
Compared to tents, smaller sleeping bags are easy to take care of if you keep them as dry as possible during your trips. Shake them out every morning and dry them in the sun if you can. If they’re dripping wet after a trip, put towels inside and roll tightly to squeeze water out. For less washing, get a sleeping bag liner and wash that instead of your sleeping bag.
You can wash most sleeping bags in a regular front-loading washing machine. Larger machines at the laundromat are the best, but your smaller machine at home works well too. As long as the washing machine does not have an agitator, you’re good to go.
Throw your bag in with cold water on a gentle cycle and let it go. Use mild non-detergent soap or products design for washing gear to make sure the insulation is clean. After washing, throw the bag in your dryer on low. It may take multiple cycles, so be patient. Synthetic will dry faster than down, but never turn the heat up. If drying a down bag, throw a few dryer balls or clean tennis balls in to break up the clumps of down.
As with tents, a cool, dry place to store your sleeping bag is key. To keep the insulation fluffy until next spring store it in a loose, breathable bag like a pillow case or unrolled under a bed.
Sleeping pad
Comfortable sleeping pads (that stay inflated) are key to a good camping trip. Cleaning and storing your sleeping pad will help them last as long as you do in the woods.
To clean your pad, just sponge it with warm water and a gentle soap, then rinse. Don’t machine wash or dry sleeping pads. Then, hang the pad somewhere to dry. Don’t apply extra heat as this may cause seams to unglue. If you can dry out the inside and outside of the pad before storing, it will last longer. Moisture inside will delaminate the layers. Inflating the pad multiple times with a hair dryer set on low should to the trick.
If you have any holes in your pad, patch them up before you forget. The Permanent Home Repair kit from Therm-A-Rest or a kit from your pad’s manufacturer will solve the problem.
Sleeping pads are best stored completely unrolled under a bed or hanging in a closet with the valves open. If you do have to pack it up more, roll it up loosely and tuck in a dry place.
Hiking boots
Let’s be real: If your boots aren’t dirty after a hike, it’s time to get off the pavement.
To clean them, take a brush with warm water to your boots to get all the dirt off after most trips or before any long storage will go a long way. Don’t use regular soap if you can help it since it can break down the treatment on the outside and clog the waterproof membranes.
If the insides are as gross as the outsides, take out the insoles and wash them separately. A bit of baking soda inside can help with the smell if you can’t get near them without a gas mask on. Taking the laces out helps get the tongue clean. After the hiking boots are clean, stuff them with newspaper or on a drying machine meant for boots. Never put them in front of a heater or fire. Store your boots in a cool, dry area that isn’t in the sun.
Jacket
Jackets are super easy to take care of. They work better and will last longer if you wash them often. If it’s dirty or the water isn’t beading up and rolling off the outside any more, it’s time for a wash. Clean with a gentle soap. If you use a regular soap versus a product meant for outdoor jackets, be sure to rinse it twice.
If the jacket hasn’t been beading well, spray with a DWR treatment before putting in the dryer. Drying is the most important step in the process for your jackets since it will re-activate the DWR treatment. Regular temperature on your dryer for about 40 mins, or until your jacket is dry, will serve just fine. It won’t harm your jacket — it goes through much higher temperatures when it’s being made.
Then, hang your jacket in a cool dry place. Do it this way and your jacket will last for years.
Backpack
Most backpacks won’t fit in the washer or dryer. If they do, great — chuck them in and wash with a gentle soap. If not, we can use a different process.
First, scrub dirt off the outside with a brush. Next, dunk and scrub your backpack in a tub of warm, mildly soapy water. If you want to get the bag squeaky clean, wash the zippers with a toothbrush. Rinse out with the tap or a hose until the water runs clear. Just hanging up the bag to dry is fine, but you can also lay it flat. Hang up or lay flat in a cool dry place for storage.
Properly storing your camping gear during the off-season is essential to ensuring its longevity and performance. By following a few simple steps: cleaning, drying, repairing, and storing each piece appropriately, you can protect your investment and avoid unpleasant surprises when you’re ready for your next adventure.

