If you have been riding mountain bikes for a while, I imagine you are reasonably prepared when you head out to your local trails. However, if you are heading up to the bike park for the first time, you’ll likely find the experience to be pretty different from your local trails.
This isn’t to say that you don’t need to show up prepared. Bringing an extra tube is okay, though there will likely be a bike shop at the resort. Snacks and electrolytes are still important, but, again, these can be bought at the resort if you forget.
Your experience will differ due to the fact that bike parks are gravity oriented. All of your time and energy will be focused on the descent. More time at higher speeds and unfamiliar terrain can result in a poor bike park experience, especially if you don’t know these three things.

Your equipment
The equipment and gear you are taking to the bike park can make or break your time there. One crucial aspect is understanding what type of bike is best suited for bike parks. Having the wrong type or an outdated bike may not only make your experience less fun, but is potentially unsafe.
This isn’t to say that because your bike is 10 years old, you must get the newest and greatest ride. Just about any bike will get you down the trails at the bike park, but not just any bike will provide a good experience.
- Bike geometry is a big factor. Modern downhill and enduro bikes, which I’d recommend for a bike park, are designed to be pointed downhill. The geometry puts the rider in the best position for descending, while the 170-200mm of travel eats up trail chunk.
- Older bikes may not be best. Older bikes, 10-plus years, will have much different geometry, typically putting the rider more toward the front of the bike. At a bike park, this can mean going over the bars.
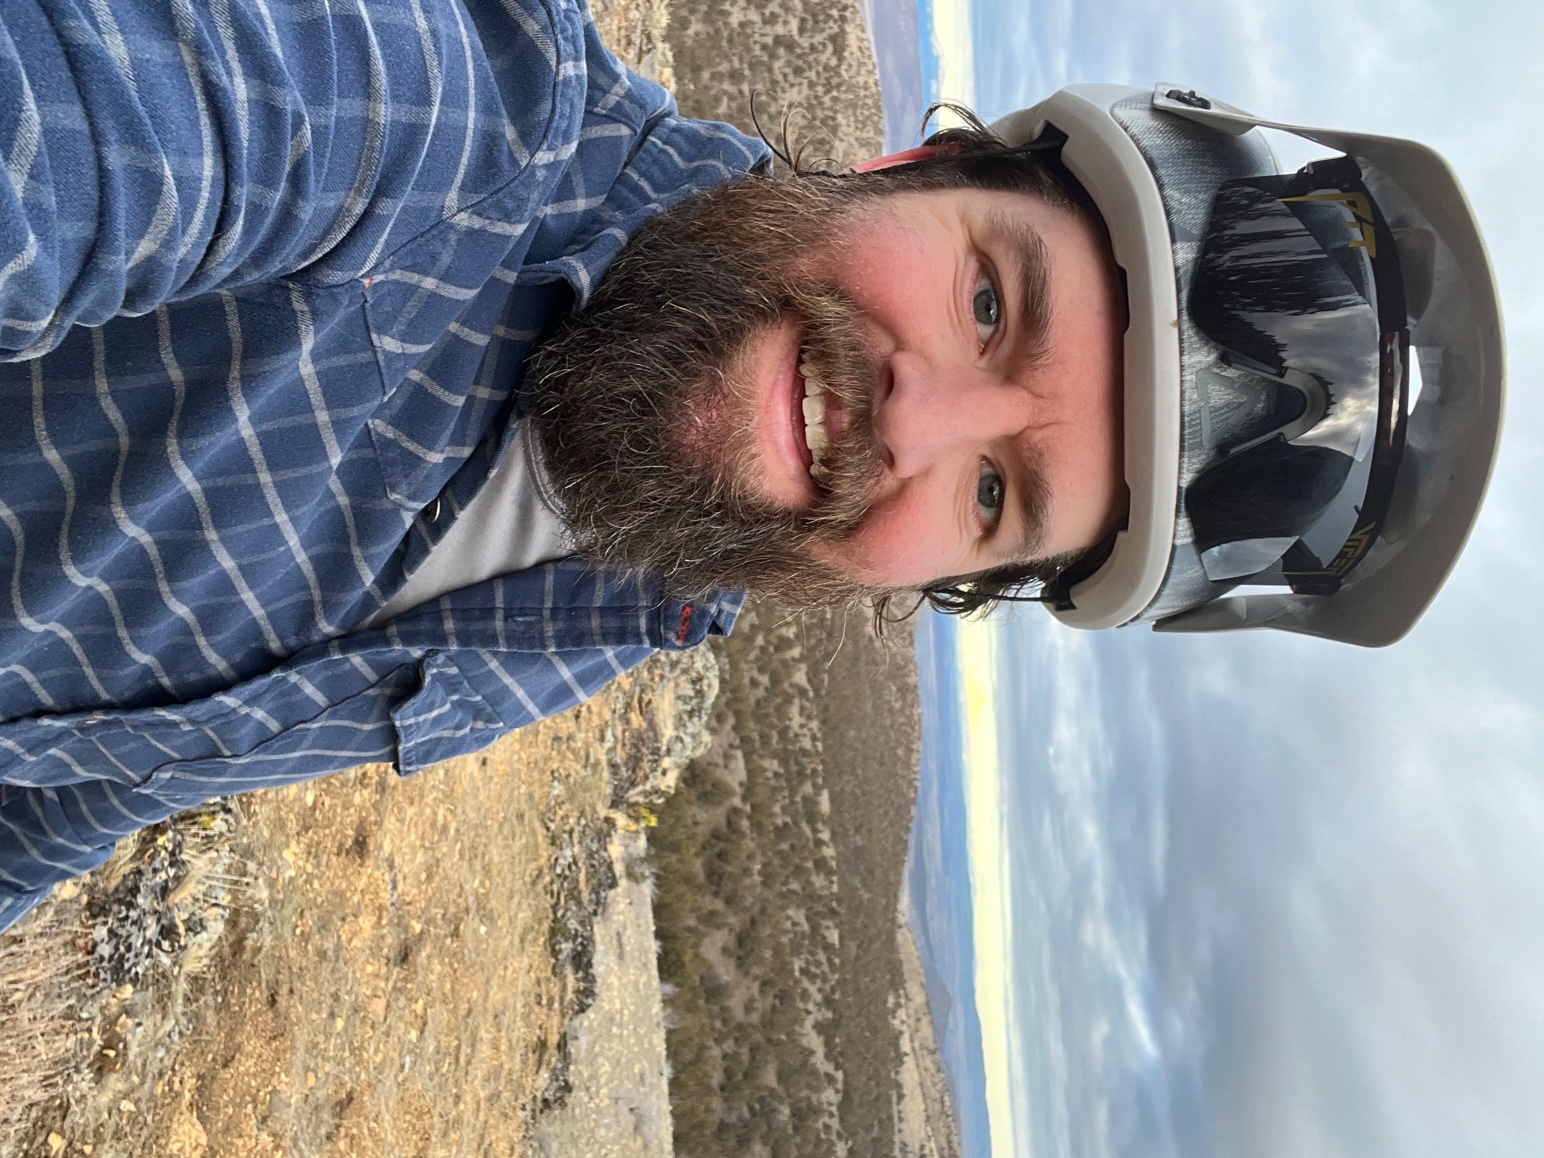
- Wear the right type of helmet. While we want to avoid going over the bars at all costs, crashes are something that are more common at bike parks. Be prepared by leaving your open-face helmet at home and using a full-face helmet while at the park. Open-face helmets are for local trails, full-face helmets are for the bike park.
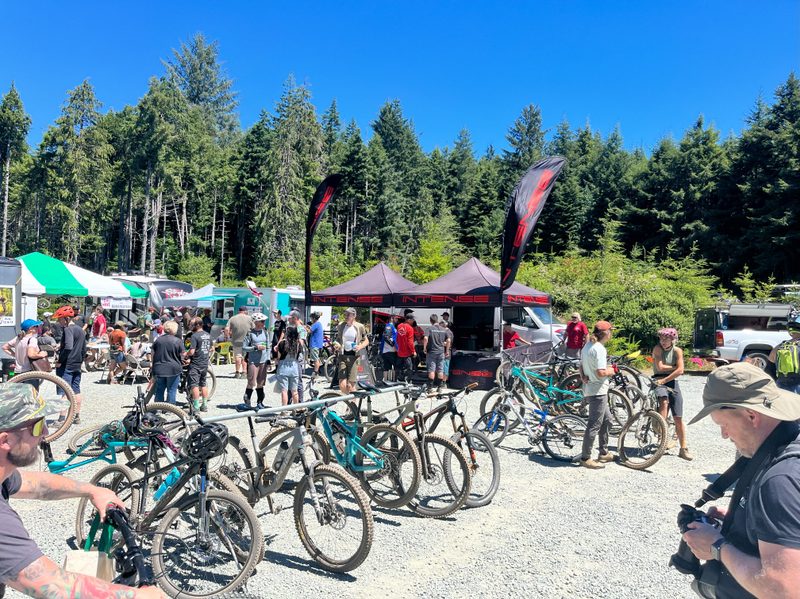
You may be thinking that you now need to spend several thousand dollars on a new bike and helmet for your upcoming bike park trip. No way. Nearly all bike parks have a rental shop where you can rent a proper bike for the park and any safety equipment. Plus, bike parks are known to beat up bikes; you may want to rent anyway.
Know your limits
At bike parks, you will often see signs with what seems to be the common bike park slogan: “Pre-Ride, Re-Ride, Free-Ride.” This signage hopes to remind riders to take it slow, especially on their first runs down a particular trail.
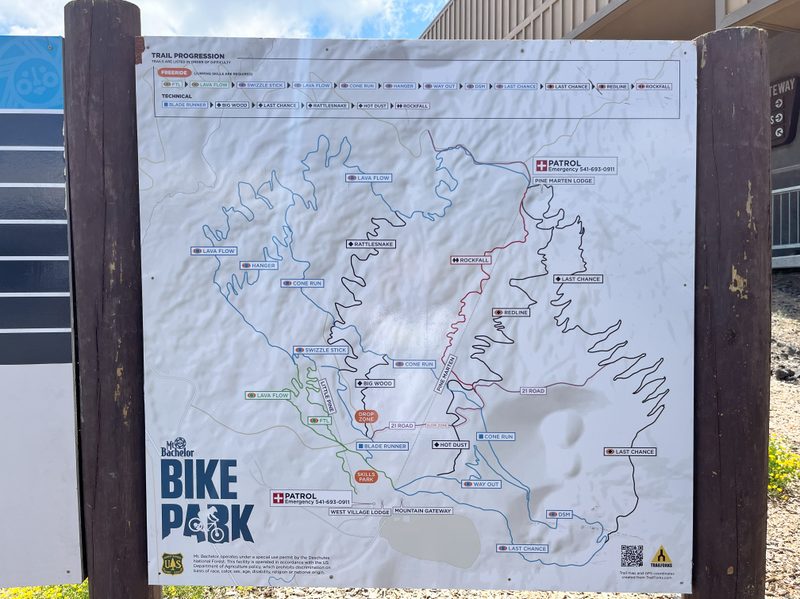
Bike park trails will have the same green, blue, black, and double-black rating system as your local trails, but you need to remember that these are in the context of the bike park, not your local system. A green trail at the bike park is “beginner” relative to the other blue, black, and double-black trails at the park.
It is important to know that the trails at the bike park are likely not the same as the local trails you frequent. A “blue” intermediate trail at the bike park will be more difficult than a blue trail at your local trail system. An easy way to think of it is that the bike park trails are going to be one step up from the trails you are used to.
Are you a fairly confident intermediate rider? Start with the green beginner trails at the bike park. This will at least allow you to get a feel for the speed and type of terrain you’ll be riding that day.
Start small and work your way up. Remember, you’re taking a lift, so your energy won’t be wasted on climbing. Get some green and blue laps under your belt before you decide to try a black diamond trail at the bike park. You’ll be happy you did.
Be aware of your surroundings
Bike parks consist of descending-only trails. This means that people will be riding their bikes very fast, especially when you venture over to the blue and black trails. If you need to stop, stop in a good spot, and be aware of everything that is going on around you.
Stopping to look at a feature is important and common practice at a bike park. Few people want to try a 10ft rock drop without looking at it first. However, knowing where to stop and when to look at it can be the difference between safely assessing and a collision.
- If you do stop to look at a feature, make sure another rider isn’t coming down the trail to attempt the feature. Stop and listen for tires coming down the trail. Look as far up as you can. Check out the feature but always keep an eye on the trail to see if a rider is coming.
- Where you stop may be the most important aspect. Stopping around a blind corner may not be the best option, as there is a chance you can startle a descending rider who didn’t see you. Try to stop in an area where you can clearly be seen by someone coming down the trail.
And, don’t stop on the trail. It shouldn’t have to be said, but again and again, year after year, bike park patrons stop and assess features or chat in the middle of the trail. Don’t do it. When you stop, always find a safe area off to the side of the trail where other riders will have plenty of room to go around.
Riding a bike park can be an awesome experience. Bike parks are a great way to progress as a rider and try quality, professionally built features that you might not otherwise. Be aware, ride within your limits, and have the right equipment, or a trip to the bike park might end with a trip to the hospital.