
A spring favorite: Our top tips for buying, cleaning, and how to cook green beans

Hate green beans? Learn how to cook (and love) this misunderstood veggie

plate of fresh green beans
Image credit: Adobe Stock Image used with permission by copyright holder

Green beans may be a traditional side dish for holidays like Thanksgiving, but the veggie doesn’t always get a lot of love for regular weeknight meals. The truth is though green beans are a great dish to add to your table. Green beans are a good source of fiber, low in sodium, have protein, vitamins, and minerals. The key to adding this healthy and versatile vegetable to your list of go-to sides is knowing how to cook green beans. So, let’s get cooking.
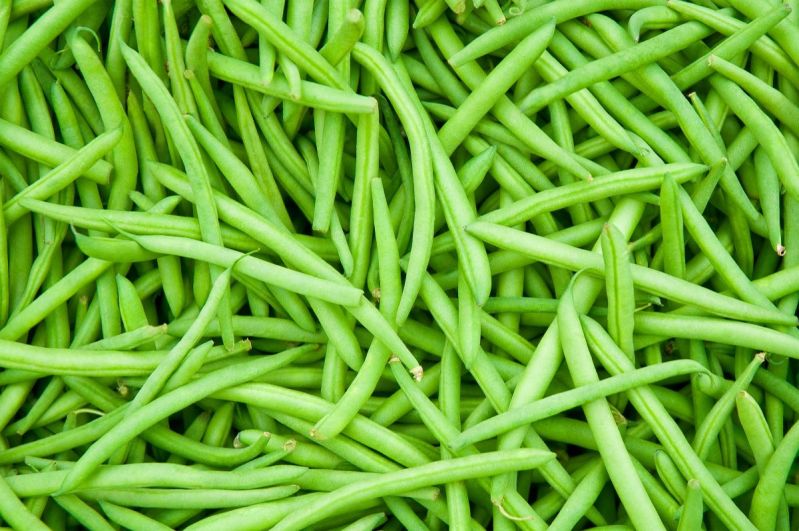
green beans in a bowl
Image credit: Adobe Stock Image used with permission by copyright holder

Buying green beans

When it comes to making a green bean recipe, fresh green beans are always the better pick. Frozen green beans can work in a pinch, but fresh green beans are more flavorful. Choose fresh over precut green beans too. Whenever buying green beans, make it a point to cook them not long after buying. Green beans are more flavorful if eaten or cooked right away. Pick smaller green beans with a rich hue. Avoid green beans with a yellow or brown tinge.

Storing green beans

If you can’t cook green beans right away, place in the refrigerator in the plastic bag. Don’t wash green beans before storing.

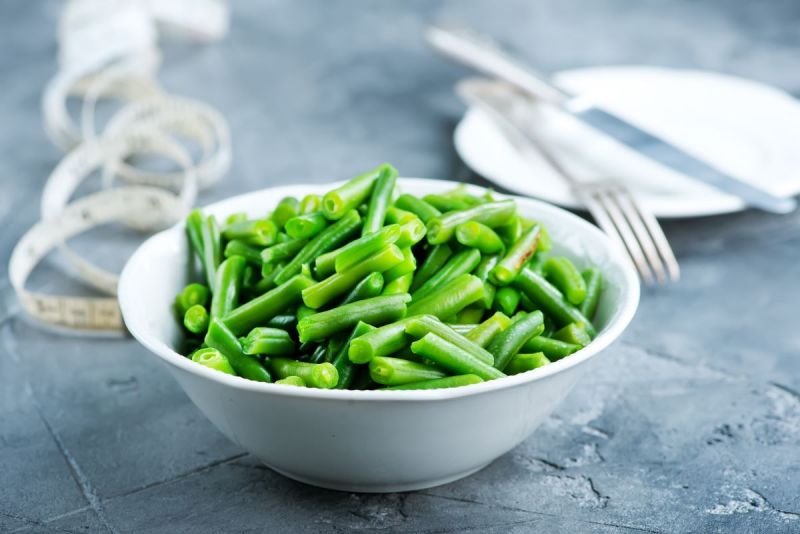
Trimming green beans

Before you get ready to cook your green beans on the stove or in the oven, wash them first. Then, chop off the ends. You can tell if your green beans are fresh and delicious if they snap when you break in half.

green beans sauteing in a pan
Image credit: Shutterstock Image used with permission by copyright holder

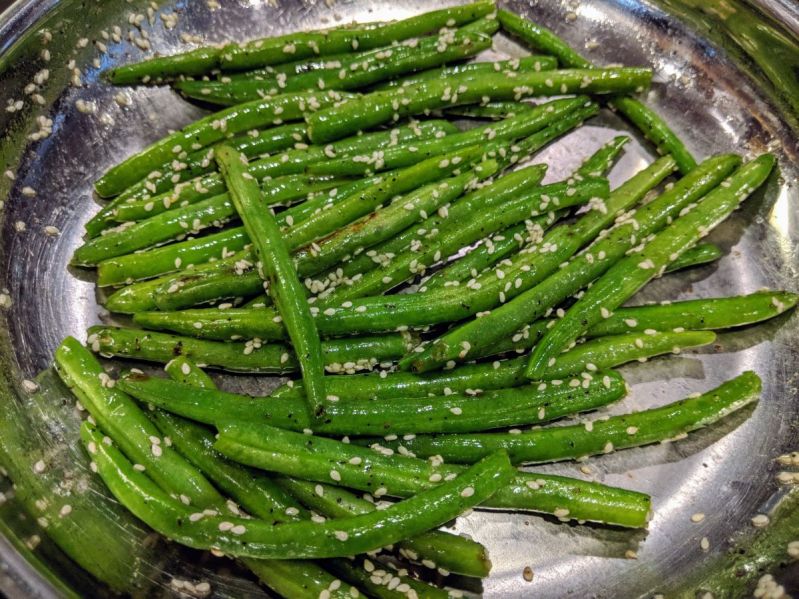
How to cook green beans on the stove

Cooking green beans on the stove is probably the quickest and easiest way to make a green bean side dish. Once your beans have been cleaned and trimmed, sauté them in a pan.

  • Heat up a tablespoon of olive oil a pan.
  • Add in the green beans.
  • Cook for around five to eight minutes or until the beans have a bright gloss.
  • Lightly season the beans with a bit of salt, pepper, and garlic; fresh garlic works best.
  • Sauté with seasonings for another minute.
  • Add a half a cup of water to the pan.
  • Cover and let the green beans simmer for a couple of minutes.
  • Serve right away.
roasted green beans on a pan
Image credit: Shutterstock Image used with permission by copyright holder

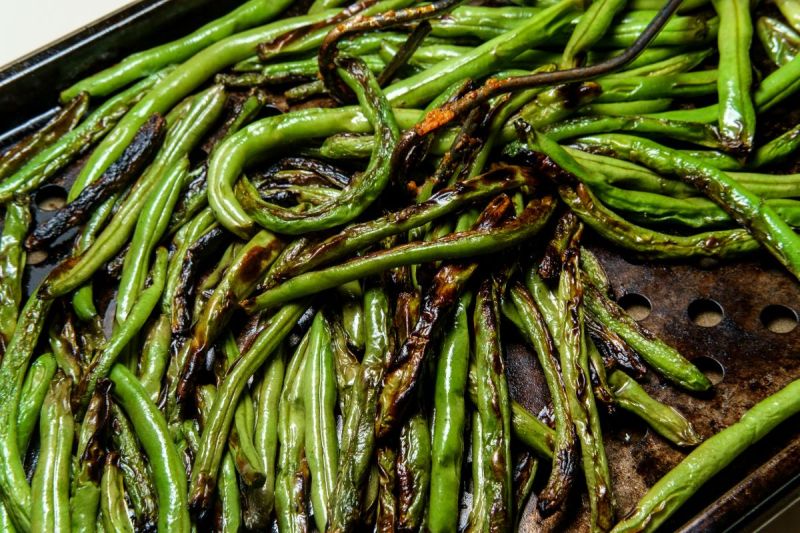
How to cook green beans in the oven

Roasting green beans in the oven is another simple way to bring the veggie to the table. It’s easy and healthier than tossing tater tots or French fries into the oven.

  • Preheat oven to 400 degrees.
  • Place green beans in a bowl.
  • Drizzle olive oil.
  • Toss to coat.
  • Sprinkle salt and pepper to taste.
  • Toss again.
  • Place on a baking sheet.
  • Cook in oven for 15 to 20 minutes or until crisp.

Tip: Roasted green beans are done when they look a bit shriveled.

Green bean recipes

Once you’ve mastered the basic green bean side dish of cooking the veggie on the stove or the oven, there are green bean recipes that go beyond grandma’s green bean casserole. This green bean and kale salad from the Food Network is a standalone meal that is ready to eat in around an hour. Love bacon? Try this quick and easy green bean and bacon recipe from A Taste of Home. It’s a simple, no-fuss green bean/bacon recipe that tastes great after a long day.

Adding green beans to the menu

If you’re looking to change up the sides, green beans are a tasty and healthy vegetable to add in. Don’t let those green bean nightmares from your childhood keep you from eating this veggie. Learning how to cook green beans isn’t difficult and the end result tastes great and is good for you.

Editors' Recommendations

Dawn Miller
Dawn Miller began her professional life as an elementary school teacher before returning to her first love, writing. In…
How to age fish at home (your new favorite hobby)
Aging can enhance and preserve the flavor of fish. Here's how the pros do it
Aged fish by PABU

You’ve definitely heard of aging beef and curing pork into charcuterie goodness before, but maybe you’re not familiar with another protein that can be aged to texture and flavor perfection: fish. While the aging process for fish is typically much shorter than that of meat (think 24 hours compared to three weeks), letting it rest before cooking or serving it as sushi gives it a more toothsome texture and deeper, richer flavor.

To learn more about how to age fish and why it’s so beneficial, we turned to Ben Steigers, the former executive chef at Boston’s PABU. The restaurant has since closed, but it specialized in traditional izakaya, like seasonal small plates, tempura, house-made tofu, and fresh sushi and sashimi, some of which was made even more delicious by employing aging techniques. If you want to try it for yourself, follow Steigers’ careful instructions on how to age fish at home.
The benefits of aging fish

Read more
Tips and tricks: A pro chef reveals how to cook prime rib
Chef James Tracey of Monterey, a modern American Brasserie in NYC, breaks down this showstopping dish
Table side prime rib Monterey NYC

If you like beef, you like prime rib. There are no ifs, ands, or buts about that. Prime rib, perhaps the most classic of classic beef cuts, is a thick slice from the primal rib section of the cow and features your typical "eye" of rib (with or without the actual bone) surrounded by deliciously marbled muscle. More often than not, the prime rib is saved for special occasions, such as the holidays.

To better understand how to cook prime rib, we tapped the culinary wisdom of Chef James Tracey of Monterey, a modern American Brasserie in New York City. At Monterey, the tableside prime rib service is the menu's star. What better expert is there to learn everything about this American classic?
How to select a prime rib

Read more
How to make food less salty: 5 easy fixes when you make this common cooking mistake
Don't toss it just yet, you can probably save it with...a potato?
Happy man adding salt while cooking for his friends in the kitchen.

Over-salting food is one of the most common culinary blunders, falling perhaps only just below one more common cooking crime - under-salting food. It's a finicky art, to be sure, and finding just the right balance can be tricky. After all, every palate is different, every dish unique, and recipes are often inconsistent. What does "season to taste" mean anyway, many wonder. While this term may be frustrating to those who prefer to follow a recipe down to the letter, it's really just a common phrase that means, "Everyone likes it differently, so just use your best judgment."
The problem with that mentality is that if you're new to cooking or really need to follow that recipe, mistakes can be made - often in the form of over-salting. After all, it's easy to get carried away when in chef mode, slicing and dicing away, fingers sinking into the briny granules inside the salt cellar, and dramatically raining the mineral down with skilled - albeit heavy-handed - expertise.
Over-salting food has gotten the better of us all, even those of us who are professionally trained, so there's no shame in the matter. Still, the mistake can be embarrassing and ruin all of your hard work in the kitchen. Nobody wants to spend hours lovingly preparing a meal only to be choking it down with a gallon of water because of a silly mistake.
If you're wondering how to make food less salty after you've already been too generous in your seasoning, there are some handy hacks you can use. So don't toss that dish just yet. Reach for one of these ingredients, and you'll be back on track in no time.

Acid

Read more