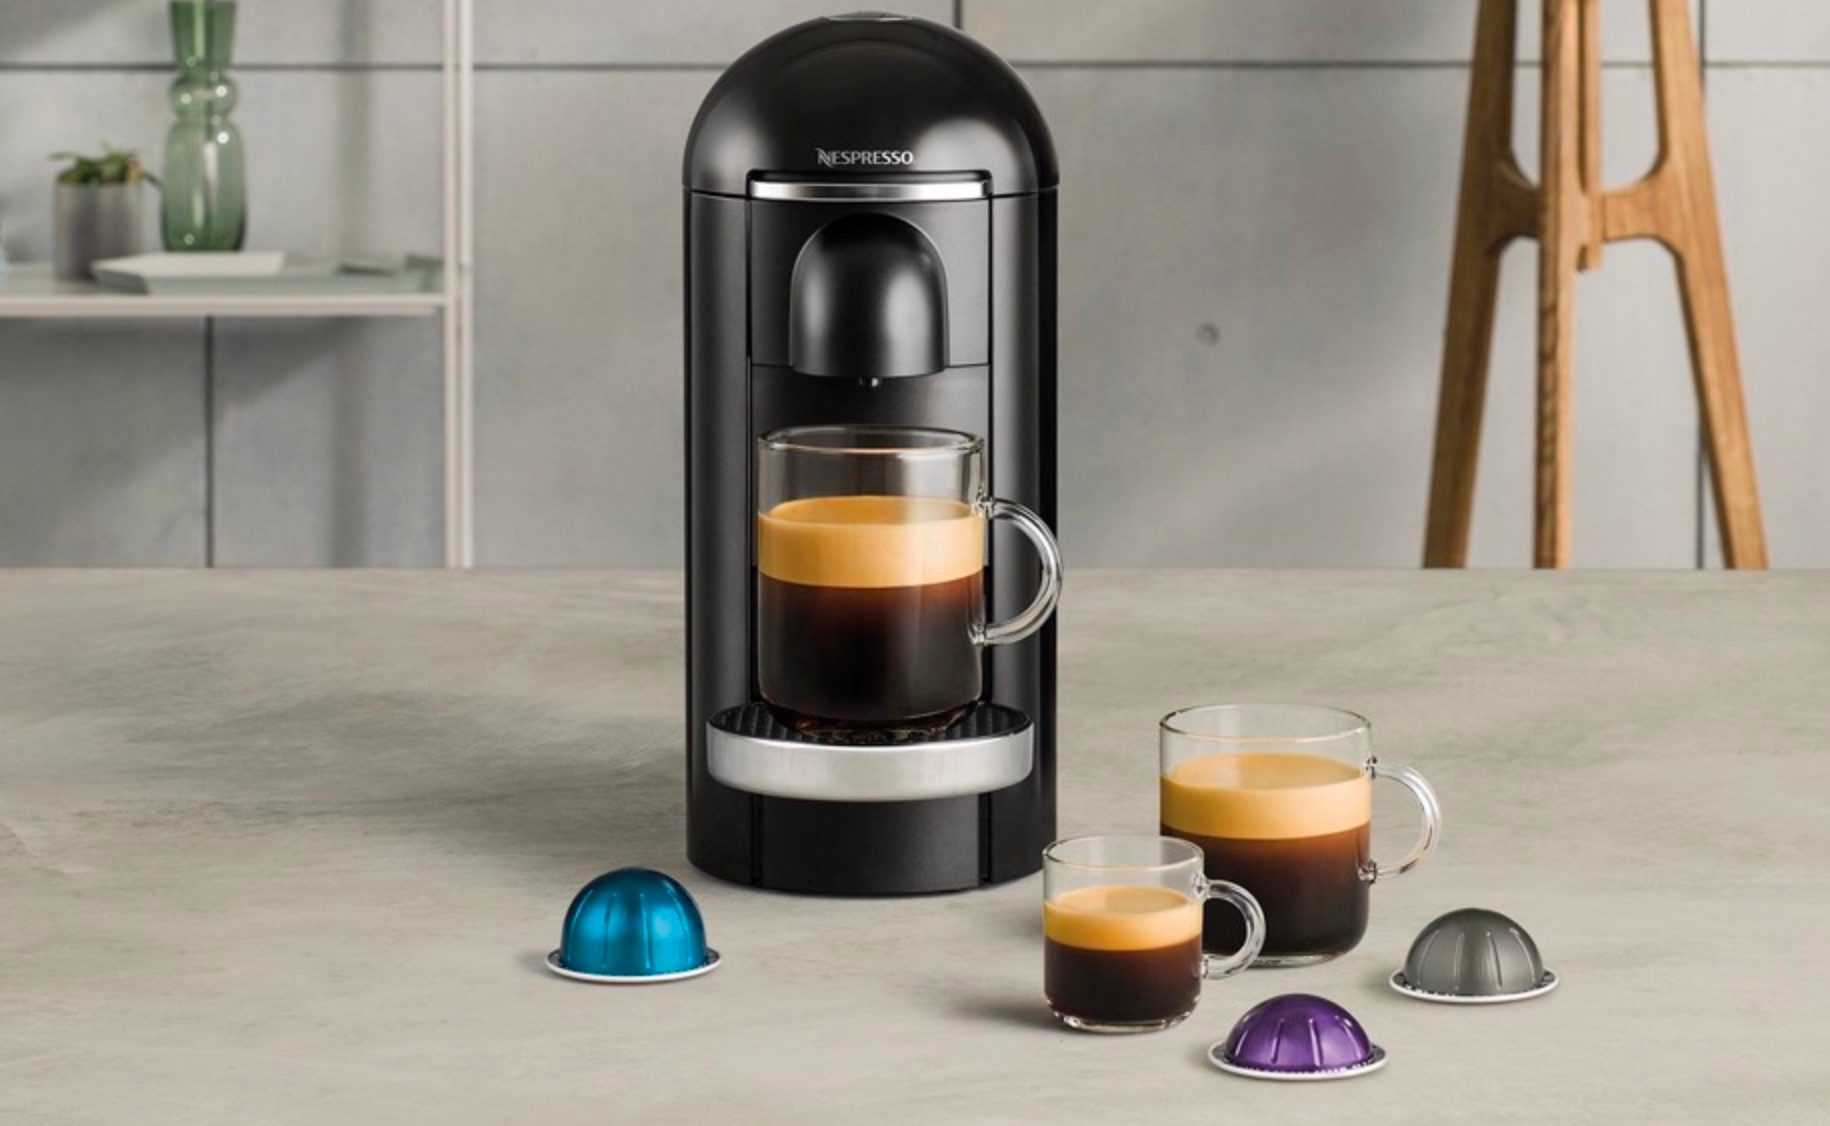
I’m the first to admit my Nespresso machine is long overdue for a cleaning. Over time, I’ve noticed my machine getting slower to brew my espresso in the morning and making unusual noises. Usually, I focus solely on brewing my espresso and moving on with my busy day. Recently, I finally got around to performing a deep cleaning and descaling of the maker (after longer than I care to admit). Unsurprisingly, the cleaning has made a huge difference in the machine’s functionality and, more importantly, the taste of my coffee. Here’s how to clean a Nespresso machine when you’re (finally) ready to stop neglecting it.
Why clean your Nespresso machine
Understanding the “why” behind cleaning your Nespresso machine can help motivate you to get it done. A Nespresso machine that is not adequately cleaned and maintained is susceptible to growing mold and bacteria due to the damp environment of the machine, especially in areas where water accumulates. Not only does this mean your next espresso cup could be contaminated, but it’s probably not taste as fresh as it could. Once I learned this, I felt inspired to give my Nespresso machine the deserved cleaning.
How to clean a Nespresso machine

Before learning how to clean a Nespresso machine, let’s first clarify the difference between cleaning and descaling. Cleaning involves removing coffee particles and debris from visible parts of the machine, such as the drip tray and capsule basket. On the other hand, descaling is a process that cleans the internal components of the maker to remove calcium and limescale build-up. If you live in an area with very hard water, your machine is likely more susceptible to this build-up (even though it is not visible outside).
To clean the various parts of your Nespresso machine, you’ll need warm, soapy water and a cloth. Avoid using any type of harsh household cleaner or cleaner with fragrance. Also, avoid putting the plastic components in the dishwasher, as the heat of the appliance can cause warping and damage.
Components to clean
- Empty the capsule compartment
- Empty and rinse the water tank
- Wipe down the exterior of the machine
- Rinse and wipe drip tray and drip tray support
- Wipe down the capsule head (where coffee comes out of)
Descaling a Nespresso machine

White vinegar is one of those “all-purpose” household items that always surprises me. I’m always finding new ways to use vinegar around my house. Since water and vinegar are often used to clean coffee pots, it’s tempting to use this natural cleaning method inside your Nespresso machine, too. But I urge you not to experiment with this natural cleaning solution on your Nespresso. Nespresso directly warns users against using vinegar inside the machine as it can damage internal components.
For best results and a safe internal descaling of your Nespresso machine, the brand recommends using only its branded descaling solution packets. Descaling packets are specially formulated to break up limescale residue inside your espresso maker, leaving you with a better brew. The exact process of descaling your maker may vary slightly by model, but the general steps remain the same. The brand also offers helpful YouTube videos to follow as you describe your espresso maker. Here’s how I descale my Nespresso Vertuo Next maker:
- Empty the capsule container of any used pods (don’t forget to recycle these with the bag provided with your Nespresso order).
- Empty the drip tray of any liquid. Ensure there is no pod in the maker itself.
- Fill the water tank with one packet of the Nespresso descaling solution packet and add at least 17 ounces of water.
- Put your Nespresso into “descaling mode”. The process varies based on your model but generally consists of holding down the main button into you see a blinking orange light.
- Place a large container underneath the spout and press the button to begin the descaling process. Ensure you have a very large container underneath the spout (at least 34 ounces) to avoid overflowing. The process can take up to 30 minutes to complete.
- After the solution is completely gone, discard the solution in your large container. Rinse the water tank completely to get any remaining descaling solution out.
- Refill the tank with fresh water to run a water cleaning cycle. Press the button to enter the rinsing phase. Once complete, empty the water in the container.
- Refill the water tank and begin using your Nespresso as usual again.
When to clean and descale
Nespresso recommends descaling every 3 months or 300 capsules (whichever comes first). If your Nespresso is your primary household coffee maker, you will likely need to do this more often than every 3 months. If you alternate with other coffee brewing methods like I do, you won’t need to do the descaling process quite as often. Some models have a feature that will notify you when it’s time to perform a descaling process.
Daily cleaning is ideal in a perfect world for cleaning your Nespresso. However, I prefer to be realistic and opt for a once-a-week cleaning and wipe-down. This should include cleaning the water tank, drip tray, and capsule tray, as well as wiping down the exterior of the espresso maker.