The beer can chicken is an interesting recipe, especially considering its probable origin story. Our guess? Four or five guys, pounding down brewskis (probably not IPAs, but hey, you never know), staring at a chicken, wondering what to do with it. Maybe they intended to do a nice roasted chicken before they started their case race. Maybe they always intended to cook the whole bird on the grill. Whatever it was, one of those dudes — a hero to humanity — cocked his head, closed one eye (so that he could make sure there was only one bird), pointed at the fowl in question, and said, “Let’s stick a beer can up its ‘you-know-what.'”
And that, friends, is how we assume the beer can chicken was created. (More than likely, it was created by Big Beer as a gimmick to sell more beer during grilling season, but we’re not going to get into that here.)
If you’d like to give it a whirl, check out this easy beer can chicken recipe below.
Beer can chicken
Ingredients:
- 1 whole chicken (3 to 5 lbs)
- 1 12-ounce can of beer
- Salt and pepper to taste
- Vegetable oil
- Dry rub of choice
Method:
- Preheat your gas grill to about 350 degrees Fahrenheit, or start the coals in your charcoal grill
- Remove giblets from a thawed chicken. Discard them or set them aside for gravy, if you wish.
- Rinse the chicken thoroughly inside and out with cold water, then pat it dry with paper towels.
- Rub a light coat of vegetable oil on the chicken’s inside and outside, then do the same with your salt, pepper, and dry rub. Which dry rub you use depends on your personal preference.
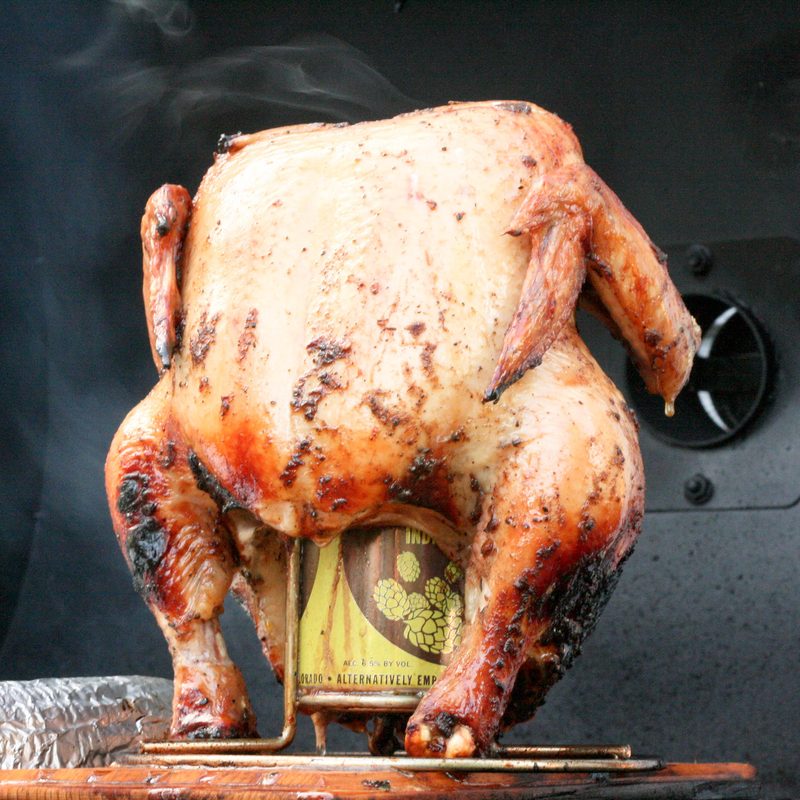
- Pour out (or drink) about half of the beer inside the can, then gently lower the chicken onto the beer can to create a tripod effect. Balance may be an issue, which is why smaller birds are generally better for beer can chicken.
- For help stabilizing your chicken, consider placing a grill-safe pan beneath the can or use a special cooking rack. This will also catch juices from the chicken, should you like to make a sauce with them later. For a flavorful gravy, feel free to add other aromatic ingredients to the pan like onions, garlic, and any other vegetables you like.
- Once you get your grill to medium-high heat, it’s time to get cooking. You should be able to close the top of the grill — another reason why a smaller bird is best. If you’re using a charcoal grill, wait until the coals are an ashy gray color, and make sure they aren’t directly beneath the cooking area. Note: Direct heat will cook the chicken unevenly.
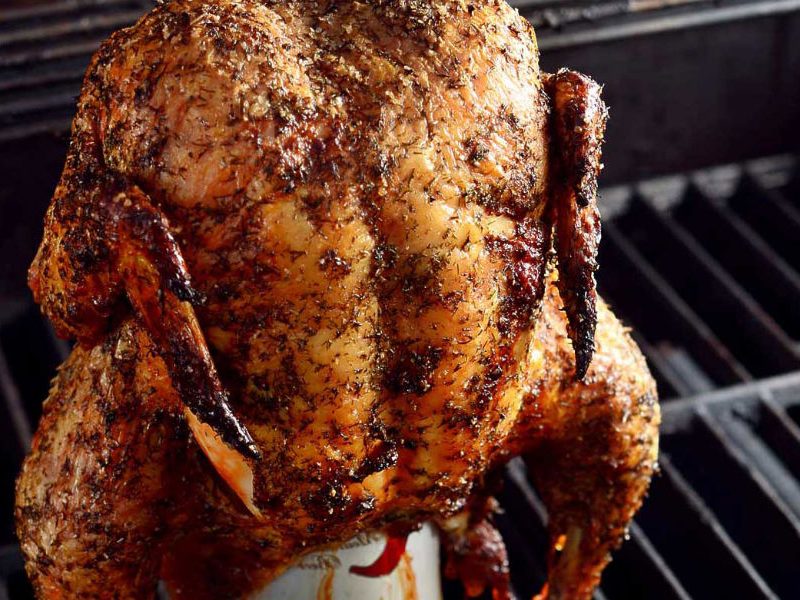
- As you might have learned from any time cooking meat, there’s no precise, fool-proof cooking time. Generally speaking, you should cook the chicken somewhere between 1 and 1.5 hours. Start checking the internal temperature after 45 minutes, then keep checking every 15 minutes after that. The chicken should be ready once the thick part of the breast (white meat) reaches 160-165 degrees Fahrenheit and the thigh (dark meat) reaches 175-180 degrees. Having a meat thermometer on hand is essential for getting this step right.
- Remove the bird from the grill very carefully. This is somewhat easier if you have your chicken on an aluminum pan. If you’re taking the bird straight from the grill, enlist the help of one or two folks with grilling mitts, tongs, and spatulas.
- After you take the bird off the grill, let it sit atop its beer can throne for another 15 minutes or so. This resting time will allow the bird to finish cooking.
- You know what’s left to do. Start carving and enjoy. It should serve about four.
Beer can chicken tips and tricks
- It’s very important to remember to discard about half of the beer in the can before cooking your bird. The extra room will allow space for steam to form, which is crucial for cooking your chicken.
- While this recipe doesn’t call for a marinade, it’s a great way to add a little extra flavor to your chicken. If you don’t feel like drinking half a can of beer to make room in the can, you can use it as the star ingredient in your marinade to punch up the flavor of your bird.
- When it comes to your choice of beer, think about the flavor profile you’ll want. An IPA will give more citrusy notes, for example, while an amber ale or a light lager will give you those more traditional beer flavors.