
Autumn is almost here, meaning it’s time to peep some splendid foliage, trek through an apple orchard, and weather and waterproof your favorite boots. While this last action point may lack the charm of other fall-ier activities, it’s a crucial one that could spell the difference between an OK autumn and an unbeleafable one (pun fully intended).
Fall is a disastrous time for footwear. Freezing rain, sleet, snow, hail, and all other forms of autumnal precipitation can wreak havoc on even the toughest shoes if you don’t take the proper precautions.
But worry not! We’ve put together some tips on how to waterproof boots to get you ready for whatever fall throws at you.
Leather
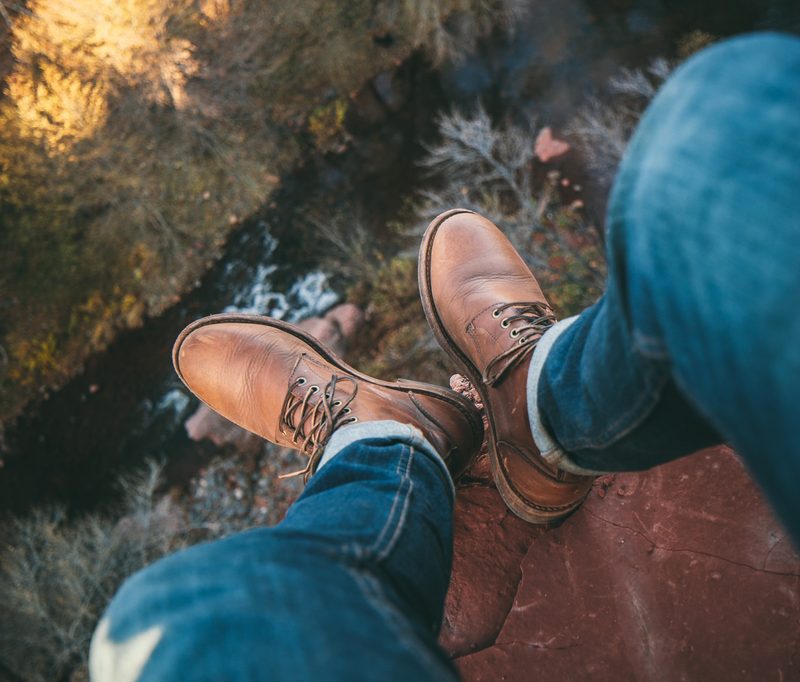
Leather boots are a fantastic option for winter and fall. They’re sleek, warm, fashion-forward, sturdy, timeless, and as perfect for a dressy occasion as they are for a mid-October hike through the woods. Unfortunately, they’re also incredibly susceptible to the perils of moisture, which can warp and discolor the leather. To prevent this from happening, take the following steps:
1. Scrub your boot
To get started, take a stiff brush to the exterior of your boot. Wipe away any dirt, mud, or residue to ensure a clean surface.
2. Apply a wax or spray
Once you’ve thoroughly inspected your boot for imperfections, apply either a wax or spray to the leather. Either treatment is fine, but the general rule of thumb is that a wax or cream is going to last much longer than a spray, which you’ll have to reapply often.
Wax: Use a clean cloth to apply a small amount of wax to the exterior of the boot. Smooth it on in even circles, paying extra close attention to any nooks and crannies, as well as the seams. After working it in for a few minutes, wipe off the excess and allow the boots to dry overnight
Spray: To weatherproof fine-grained leather boots (smooth, glossy finish), use a silicone or oil-based spray. Hold the can a few inches away from the exterior and spray in an even layer, getting into all the small divots and bends. Instead of trying to do one thick layer, attempt a few thinner coats, which will ultimately make for a tougher hold. Allow to sit until dry.
3. Seal the seams
Sealing your seams is an additional last step. If you don’t spend too much time outdoors, you can skip this step, but if you regularly wear your leather boots in less-than-favorable conditions and have noticed splitting along the seams, we recommend adding this step to your regimen.
Suede
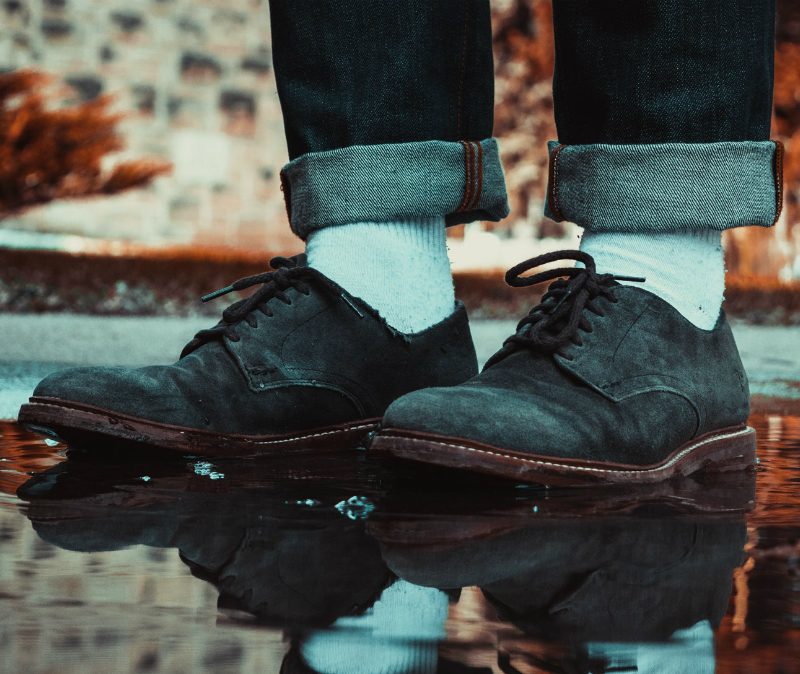
Suede is a type of leather that’s had the flesh side rubbed to produce a velvety nap that’s soft to the touch. It makes a great material for bags, coats, and, of course, boots. However, suede is notoriously difficult to clean once it’s been mucked, so you must prep it for bad weather.
1. Scrub your boot
As with leather boots, make sure to thoroughly inspect your suede kicks before beginning the weather-proofing process. We suggest using a special suede cleaning brush or eraser to tackle any stains or residue along the exterior. Once you’ve done this, take a clean towel and wipe it down completely.
2. Stuff with newspaper
Since suede boots aren’t as sturdy as leather ones, it’s important to stuff them with newspaper or some other material before moving on to the next step. This will prevent the sides from folding in and will allow you to treat the entire surface area.
3. Spray away
You won’t want to use wax to waterproof your suede boots. That would end badly. Very badly. Instead, utilize a protective adhesive. Keep the nozzle a few inches away from the exterior and spray thoroughly along the surface. For some cost-effective options, check out brands like Toms or Kiwi.
4. Air dry
Once you’ve applied the treatment, leave to air dry for a few hours. Then you’re ready to go.
Fabric
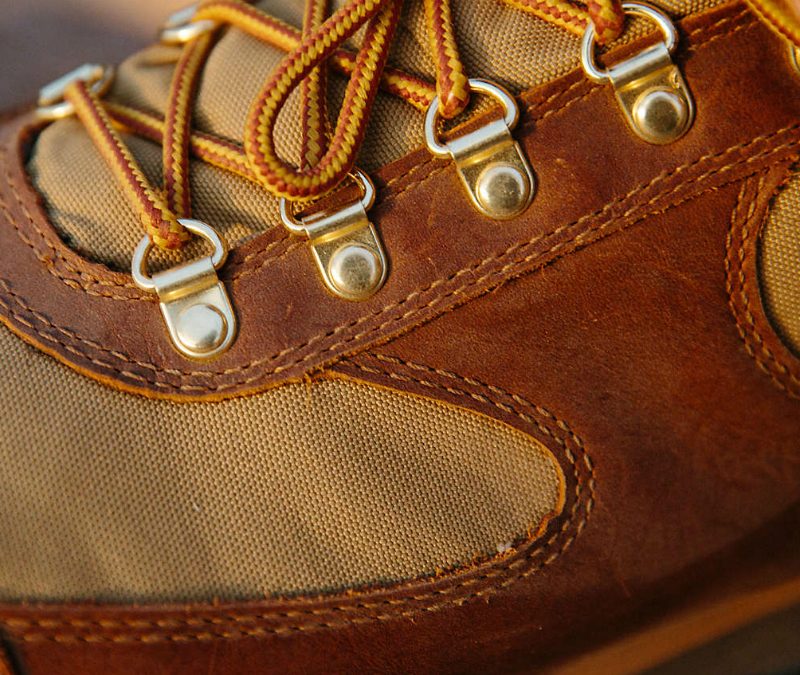
And lastly, let’s talk about how to weatherproof fabric boots. These bad boys are particularly hard to clean as dirt and moisture tend to get stuck in the microscopic spaces between the fabric fibers. This is why it’s important to do a lot of preventative care now so you won’t have to deal with too much upkeep throughout the season.
1. Scrub your boot
Follow the same procedure for fabric boots as you did for your leather and suede ones. Take a stiff brush and really get into the nooks and crannies, working to root out any pesky imperfections.
2. Rinse the exterior
Since fabric boots have a porous exterior, we’d suggest doing a quick rinse before moving onto the weatherproofing. You can utilize whatever homemade concoction you prefer, but we like to lightly apply a solution of dishwashing soap (½ teaspoon) and warm water (1 cup) to the surface using a clean towel. This will help to get rid of any excess dirt your brush may have missed.
3. Spray away
While you’ll want to use a spray to protect your boots, make sure it’s one specifically made to treat fabric as a leather spray may warp the flexibility and color of your fabric shoes. Hold the nozzle a few inches away from the boot and spray a thin layer along the entire surface.
4. Dry
After spraying the boots, allow them to air out in a dry space for a few hours. Feel free to apply additional layers of protective adhesive as you see fit.
Rubber
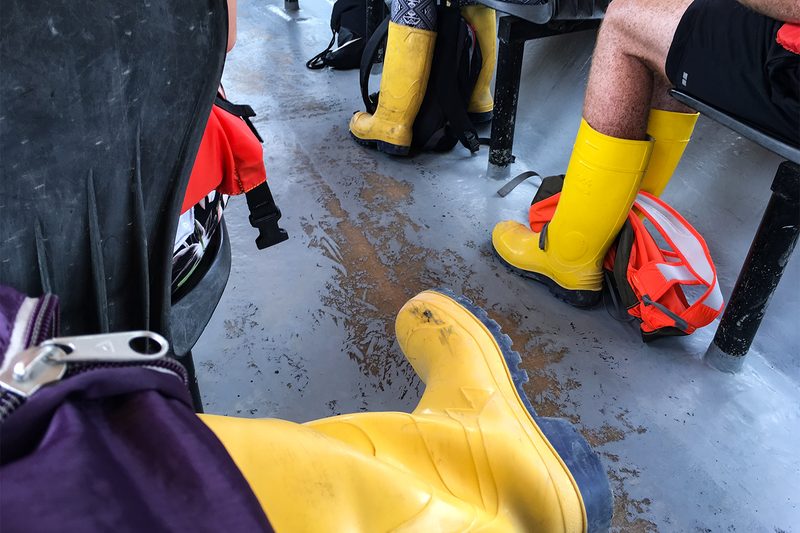
By their nature, most rubber boots are already waterproof, but you still need to care for rubber boots so they will remain that way and protect your feet from the fall weather. With rubber boots, especially ones made from natural rubber, the biggest issue is to ensure they don’t dry out, as that makes the material brittle and subject to cracking. You should always store rubber boots upright to prevent creasing and folding, and stuffing them with newspaper will help with this. Also, make sure to keep the boots in a cool, dry place with ventilation.
When you return from an outing in the fall weather, clean off your boots and make sure they are dry before putting them away. If you wish, you can condition the rubber with a protectant to keep it soft and help prevent damage from UV rays.


