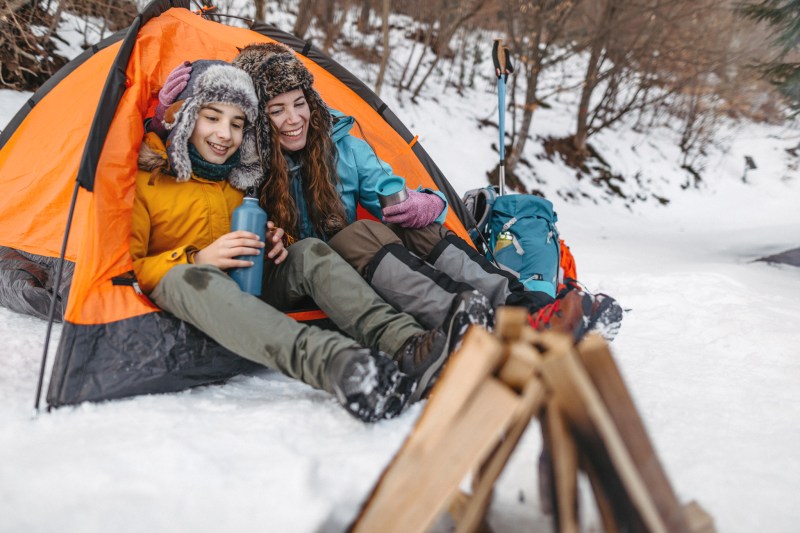
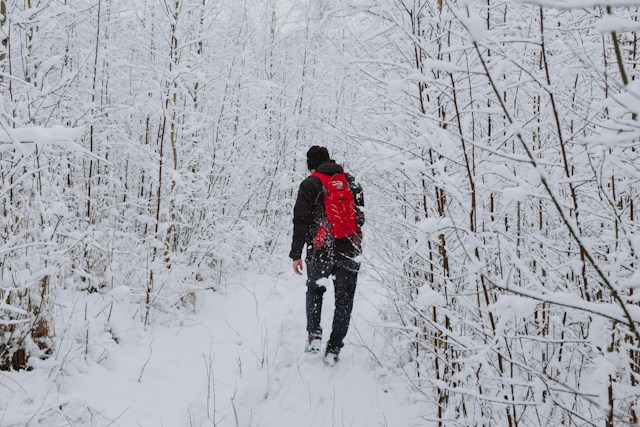
If you’ve never experienced winter camping, you may not know what you’re missing out on. Sure, summer camping is far more popular, but that’s part of what makes winter camping great. You’ll feel like you’re on a heroic back-country adventure amid ghost-town campsites, quiet trails, and a blanket of beautiful snow. You also won’t have to wake up at four in the morning just to see the sun rise. You just have to make sure that you’re toasty warm.
In the summer, minor inconveniences like a dead battery or forgotten gear are irritating, but manageable. However, in winter, these issues can escalate into serious risks. Trails can become hidden with snow and slippery with ice, not to mention the fewer hours of sunlight you’ll have to navigate with. So before you head out into those extreme temperatures, ensure that all your gear is in perfect shape and that you know how to use it all. Here’s everything you need to know about staying safe while winter camping.
Prepare your essentials and practice setting up your campsite at home

In summer, you might be able to pack an ultralight backpack and hit the trail with your one-pound sleeping bag and a spare pair of socks. During winter, fast and light go out the window, and you become more of a packhorse than a stallion. It’s rare that you would head out on a winter camp or hike without a 50 L backpack or more.
Inside your backpack, you need to have:
- A winter-rated sleeping bag: Summer or fall-graded ones won’t cut it. If you don’t want to freeze your toes, look for a bag that matches the temperature ratings you’re expecting to see on your trip.
- Four-season tent: A four-season tent will also do wonders at keeping you warm. These are typically made of heavy-duty materials that can handle the weight of snow and tough winds.
- Sleeping pad: A good sleeping pad will insulate you from the frozen ground, which is key for keeping warm at night.
- Spare clothes: Take extra thermal underwear and warm winter socks. If all else fails and you end up soaked through, you’ll at least have some dry items of clothing to put on as you go to bed.
- Plenty of food and water: Your body will burn extra calories while trying to keep you warm, so make sure you pack high-calorie meals and include hot drinks like cocoa, tea, or coffee.
- Winter-graded camping stove: If your campground doesn’t have a fire pit or you don’t want to go through the trouble of setting a fire, a winter-graded camping stove is a must. Bring more fuel than you think you’ll need, because you may need to melt snow for washing.
- Lighting: Due to the diminished sunlight hours, you’ll want to bring plenty of lighting. Whether it’s lanterns, headlamps, or twinkle lights, bring extra batteries.
Some important extras:
- Handwarmers: A good handwarmer can be absolutely invaluable. The best choice for winter is usually a traditional fuel-burning warmer made by Zippo or one of the many chemical reaction packets. There are also plenty of USB-powered electric hand warmers out there.
- Sun protection: Don’t forget sunscreen and lip balm. During winter, the sun hits the snow and reflects back up, meaning that the UV can get you from every direction.
- GPS: While they cost a good chunk of change, a GPS unit can save you hours of searching for your way when the path is covered by snow. One might just save your life when it prevents you from traveling the wrong way deeper into the hoary, frost-rimed hinterlands instead of trekking back toward your warm home and much-deserved glass of bourbon. Though a compass can help there, too, and for less cash.
- Tent heater: Tent heaters are an easy way to get a boost of warmth before you go to sleep. That said, you should never leave one unattended or go to sleep with it on.
- Shovel: Consider bringing along a compact shovel so you can clear a campsite or build up a windbreak. Shovels can also be used to dig out a fire pit or create a latrine.
Winter isn’t the best time to test your new equipment, so before you go, learn to set up your four-season tent and other gear with your gloves on so that you don’t have to peel them off once you’re out in the wild.
How to pack your winter camping backpack

So how should you pack everything? One top tip is to load up all of your gear compartmentally. Pack all of your items into smaller waterproof dry bags inside your backpack — one for your sleeping bag, one for your tent, spare clothing, and so on. This keeps your gear completely dry and makes it much easier to find the right gear when you reach camp, rather than rummaging through your entire bag.
You’ll also want to layer your gear strategically. Put the heaviest items that you won’t need until camp at the bottom. The middle layer should house your spare clothing and food. This way, it will be protected but accessible if you need a dry pair of socks or a bite to eat. Then, save the top layer for frequently used items like your GPS or emergency items, such as your first-aid kit or flashlight.
Secure bulkier items like your shovel to the outside of your pack using straps, carabiners, or loops. The inside pockets are also great for your water bottles and hydration system.
The biggest thing to keep in mind is the weight. Distribute the weight evenly throughout your pack so it’s easy to keep your balance while you’re hiking to your campsite. Keep the heaviest items close to your back and centered so you won’t tip over. Test your pack at home, and make sure you adjust your straps for the most comfortable fit.
Have a plan and share it

Whether you’re heading out car camping or hiking a trail over multiple days, you need to have a plan in place for your
Once you have a route in mind, a campsite planned, and a timeframe for your trip, share it with at least one other person. Either email them, message them, or tell them — if you trust their memory — as many details of your plans as you can, and remember to include your ETA to be back at home or at your vehicle. If you don’t return, this person is responsible for contacting the authorities and beginning the search, so remember to contact them when you said you would. Plenty of search and rescue operations have found the ‘casualty’ alive, well, and sitting at the bar, having forgotten to phone home after a successful camping trip.
Know your skills and stick within them

Sure, you’ve got to expand your horizons sometimes, but is the middle of winter really the time to do that? Unless you’re an experienced winter mountaineer, winter is a time to enjoy lower level camping in safe environments. Between the potential to get lost in a whiteout, find that your trail is knee deep in snow and nearly impossible to follow, and the risk of avalanches, there’s almost no end of potential hazards if you aren’t prepared.
Remember, too, that if you get lost, someone has to come and look for you. Do you really want to be risking the lives of rescue crews just to camp at the top of that ridge? Probably not. Winter is a great time to see familiar places in a different way. You can practise survival skills, test out that new gear — once you’ve tried it at home first — and find yourself a little solitude and peace. If you’re going to hit the trail, make sure you know how to navigate in variable and challenging conditions, and stick to well-worn paths rather than breaking trail on open hillside.


