
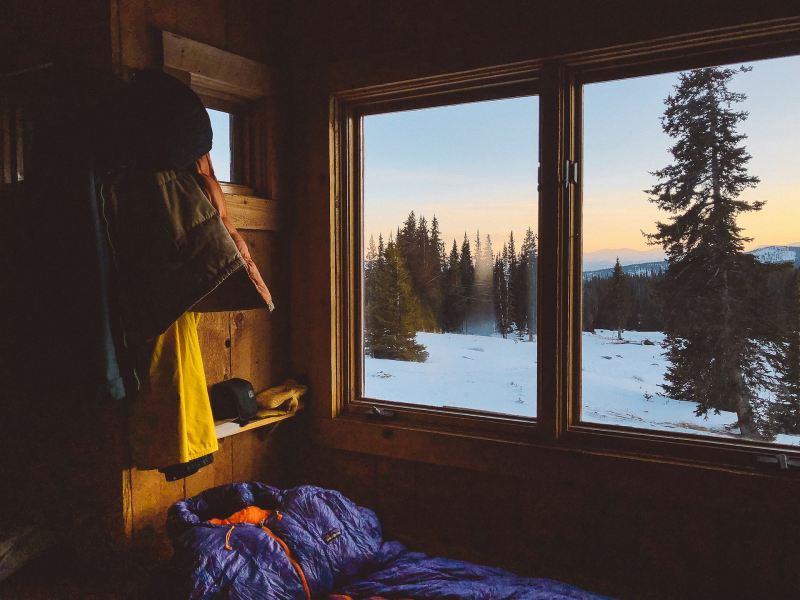
Sleeping bags are camping essentials. A quality sleeping bag does far more than just keep you warm. The feeling of curling up in your sleeping bag at the end of a long day of hiking on the trail — perhaps with the rain bouncing off the outside of your tent — is like crawling into a luxurious king-sized bed in a hotel. But like hotel bed sheets, your sleeping bag should be clean and maintained.
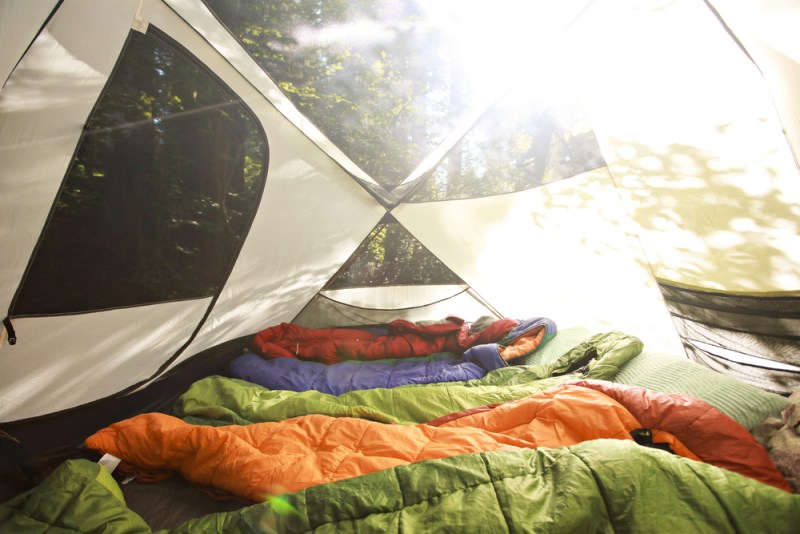
Let’s face it, we’re not always at our freshest when we climb into our sleeping bags. After a long day of traipsing across a bog, climbing a mountain, or playing with your kids at the campsite, you’re probably soaked in sweat and caked with grime. Your sleeping bag can quickly become a tapestry of past trips if you aren’t careful. This doesn’t just affect the look and smell either. A dirty sleeping bag is less effective than a clean one — the insulation often gets clumped together and sleeping bag ratings become less reliable. Our guide will help you to keep your sleeping bag clean and well maintained, so you can enjoy warm nights curled up under the stars.

In-camp care
Use a sleeping bag liner
One of the easiest ways to care for your sleeping bag is by using a sleeping bag liner. These cotton, silk, or fleece liners go inside your sleeping bag like a fitted sheet and protect it from, well, you. When you get back at the end of your trip simply toss the liner in the washing machine, air out your sleeping bag and you’re ready to go again. This doesn’t mean you never have to wash your sleeping bag, but it certainly helps.
Change your clothes
At the end of a long day on the trail, it’s not just your body that’s going to be grimy. Your hiking clothes are going to be covered in everything from the outside and inside. Change out of any dirty clothes before you get into your sleeping bag and put on clean long underwear. A thin hat can protect the hood of your sleeping bag from your dirty hair and we suggest washing any bug spray or suncream off too, as these can damage your sleeping bag.
Air your bag regularly
If you have a chance, unzip your sleeping bag and hang it over your tent every day. This can be done at breakfast or over dinner if you’re on a hiking trail and don’t have time to leave your sleeping bag out all day. If it’s raining and you can’t hang your bag outside, turning it inside out inside your tent will still go a long way to airing — just remember to turn it back again before you get into it.
Storing your sleeping bag
When you’re in camp or out on the trail, your sleeping bag is going to be stored in a stuff sack — often with compression — to reduce the size so it fits in your backpack. These stuff sacks get their names from the fact that you are supposed to stuff your sleeping bag into them. Rolling your sleeping bag will clump the down, pushing it into the same place routinely and leaving gaps in the insulation.
At home, it’s recommended that you remove your sleeping bag from the compression sack and let it rest in a larger cotton bag. This is especially important for down sleeping bags, but it lets the insulation in every sleeping bag loft and prevents it from clumping together — clumped insulation severely limits insulating qualities. This process of moving your sleeping bag between sacks is also a good time to give it a quick welfare check and repair any damage. Do not pull out any down feathers that are poking out, but try to push them back inside the bag — this prevents the hole from becoming larger and the risk of losing more feathers.
Washing your sleeping bag
Spot cleaning
If your sleeping bag does not require a full wash, mix up a small paste of non-detergent soap and use a toothbrush to scrub the stain. Rinse this off by dabbing with a damp sponge and then air your sleeping bag out until fully dry. This works well for grease stains, dirt, and grime that have gotten onto your sleeping bag while you’ve been out camping.
Machine washing your sleeping bag
Sleeping bags with down insulation — even down/synthetic blends — require a delicate cleaning process to avoid damaging the down or clumping the feathers. Professional services are available from many companies if you would rather not risk the process. The best soap for cleaning your down sleeping bag is a professional-grade gear wash that is specifically designed for down, like Nikwax Down Wash Direct.
Synthetic insulation is less prone to clumping than down feathers and doesn’t require the same specialist wash. You should still use technical outdoor cleaner, like Nikwax Tech Wash to prevent damaging your sleeping bag.
The steps are the same for both down and synthetic sleeping bags. You can also hand wash your bag if you do not have access to a large enough washing machine.
- Unzip the bag fully to avoid the zip snagging.
- Load your sleeping bag into a front-loading washing machine and check that you have fully flushed out any detergent from the soap tray. Larger machines — like at a laundromat — give more space for the bag to move and can ensure a more thorough clean.
- Follow any care instructions on the sleeping bag, but these usually suggest a warm wash and a gentle cycle.
- Once your bag is washed, rinse it thoroughly to get rid of excess cleaner.
- Remove your sleeping bag carefully from the machine and dry thoroughly.
Drying your sleeping bag
You should ensure that your sleeping bag is clear of any cleaning agents before you dry it. Be sure to fully dry your sleeping bag before you store it away — this can take some time but prevents long-term damage or mold.
Sleeping bags can either be dried naturally or in a dryer. In a dryer, your sleeping bag could take anywhere from an hour to several hours to dry thoroughly. Don’t be tempted to crank up the heat, as this will only damage your bag. Load your sleeping bag into a large dryer — again, laundromats are a good choice for their size — and turn it onto low heat. It can be a good idea to throw in a couple of clean tennis balls with your sleeping bag, as these can help to break up clumps of insulation as your bag dries.
To dry your sleeping bag naturally, hang it from a line or on a clean, flat surface and let it dry in warm weather. Avoid direct sunlight, as UV can damage outdoor gear over time. Check that you aren’t putting excess strain on the fabric of your bag, and move your bag regularly to break up any clumps of insulation. You may have to shake your bag regularly to separate the insulation.
How to repair tears in your sleeping bag
Repairing tears in your sleeping bag can help extend its life span and ensure you stay warm and comfortable during your outdoor adventures. The method you use to repair the tear depends on the size and location of the damage. Here’s a general guide on how to repair tears in your sleeping bag:
- Clean the area. Before you start repairing the tear, make sure the sleeping bag is clean and dry. If there is any dirt or debris around the tear, gently clean it with a damp cloth and allow it to dry completely.
- Evaluate the damage. Determine the size and type of the tear. If it’s a small tear or puncture, you can often repair it easily. However, if it’s a larger or more complex tear, you might need more extensive repair or even consider contacting the manufacturer.
- Repair small tears and punctures. For small holes and tears, you can use gear repair tape or a patch specifically designed for outdoor gear. Clean the area around the tear, apply the tape or patch following the manufacturer’s instructions, and make sure it adheres firmly. Some repair tapes even work when applied on damp surfaces, which can be handy for outdoor situations.
- Repair larger tears. For larger tears or damaged seams, you may need to use a needle and thread. Use a strong, durable thread, such as nylon or polyester, and stitch the tear closed using a simple and secure sewing technique, like the blanket stitch or backstitch. Make sure to double back over the stitch line a few times to reinforce the repair.
- Seal the stitches (optional). To add extra protection and prevent water from seeping through the stitches, you can apply a seam sealer or waterproofing product over the stitched area. Seam sealers are available in outdoor gear stores and are typically easy to apply.
- Test the repair. Once you’ve completed the repair, give it a test at home before using the sleeping bag in the field. You can do this by simulating movement and stress on the repaired area to ensure the repair holds up.
- Regular maintenance. To prevent further tears and damage to your sleeping bag, practice good maintenance habits, such as avoiding sharp objects, cleaning the bag according to the manufacturer’s instructions, and storing it properly when not in use.
Keep in mind that while these steps can handle many small and medium-sized tears, there may be cases where the damage is too extensive, or the insulation is compromised. In such cases, it’s best to reach out to the manufacturer or a professional gear repair service for advice or assistance.