I used to avoid charcoal grills because they seemed like too much of a hassle. Gas felt easier because it was quick and required less effort. Once I took the time to learn how to start a charcoal grill, I realized it was more approachable than expected. The payoff in flavor and texture made it worth every step. Charcoal gives you better control over heat and a smoky finish that gas struggles to match. It requires a little patience, but the process quickly becomes second nature. With the right approach, anyone can grill with confidence and get great results from the first try.
Which type of charcoal should I pick?
Choosing the right type of charcoal is an important first step. There are two main options to consider: lump charcoal and charcoal briquettes.
- Lump charcoal is made from pure hardwood and burns hotter and faster. It is best for high-heat grilling and gives food a more natural smoky flavor.
- Charcoal briquettes burn longer and more consistently. They work well for foods that need steady, indirect heat.
Either option works, depending on what you plan to cook. Lump charcoal works well for quick sears, and briquettes are a better choice for slow-cooking or longer sessions.
How do you prep the grill itself?

Before lighting anything, clean out any leftover ash from previous grilling. A clean base helps with airflow and makes it easier to manage heat. Check that the bottom vents are open. These vents control the oxygen flow and help the fire burn properly. Arrange the charcoal in the base of the grill. For those using a chimney starter, there is no need for lighter fluid. If starting without one, shape the charcoal into a small mound or pyramid and place natural fire starters or crumpled newspaper underneath. Food Network offers a great tutorial on how to get things up and running.
Use a chimney starter

A chimney starter is one of the most efficient ways to light charcoal. It offers even heat and avoids the use of chemicals.
Here is how to use it:
- Fill the chimney with the desired amount of charcoal.
- Place natural fire starters, lighter cubes, or newspaper underneath it in the grill.
- Light the starters from several sides.
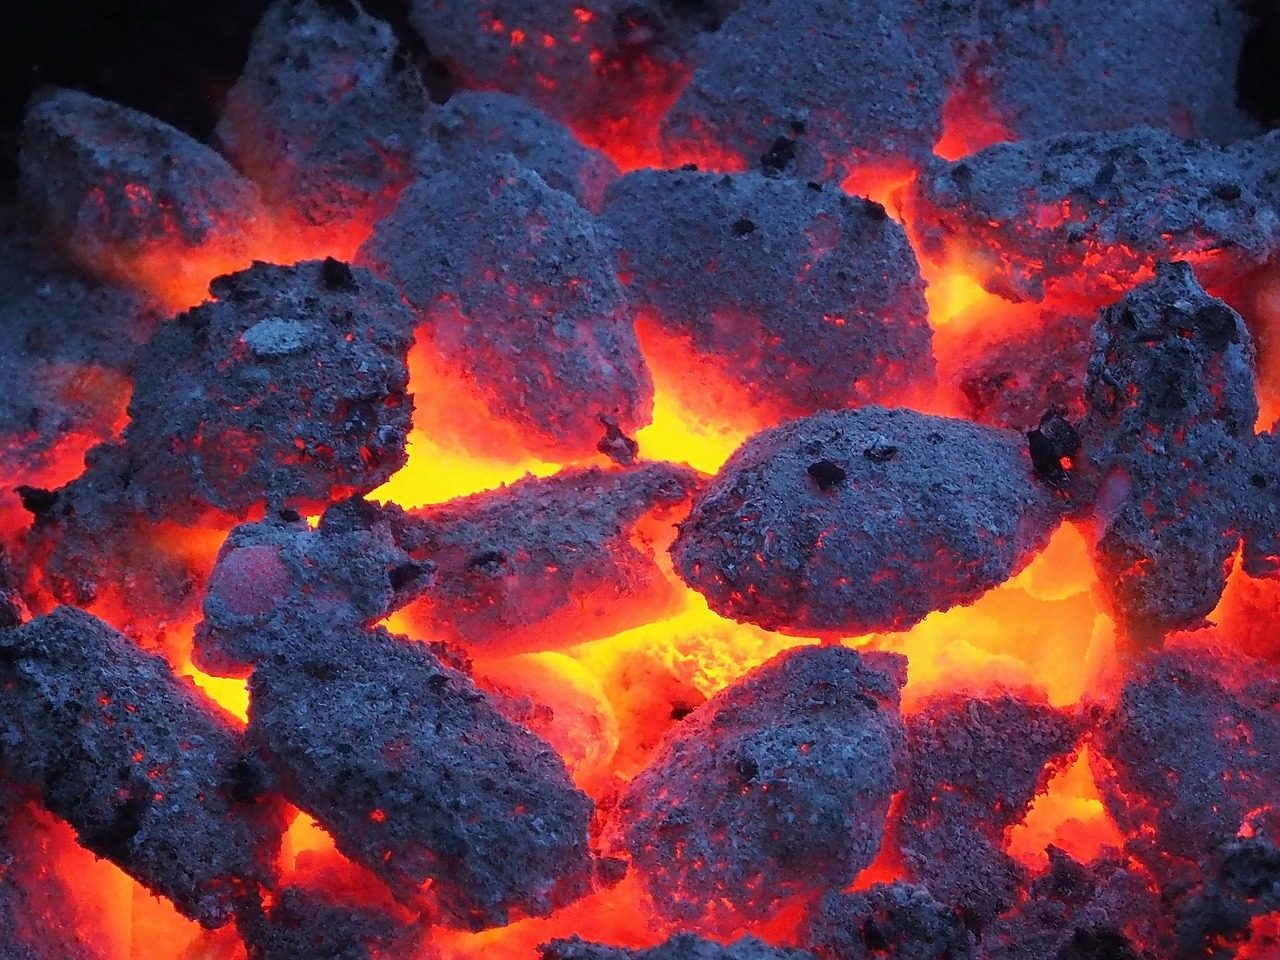
- Wait about 15 to 20 minutes until the top coals are glowing and covered in ash.
- Carefully pour the hot coals into the grill base using heat-safe gloves or tongs.
Once the coals are placed in the grill, spread them depending on how you want to manage the heat.
Avoid lighter fluid
Lighter fluid can create strong flare-ups and may leave a chemical taste on your food. It is not needed when using a chimney starter or natural fire starters. Cleaner alternatives provide the same result with better flavor and control. Starting without lighter fluid also reduces the risk of over-flaming or uneven heat.
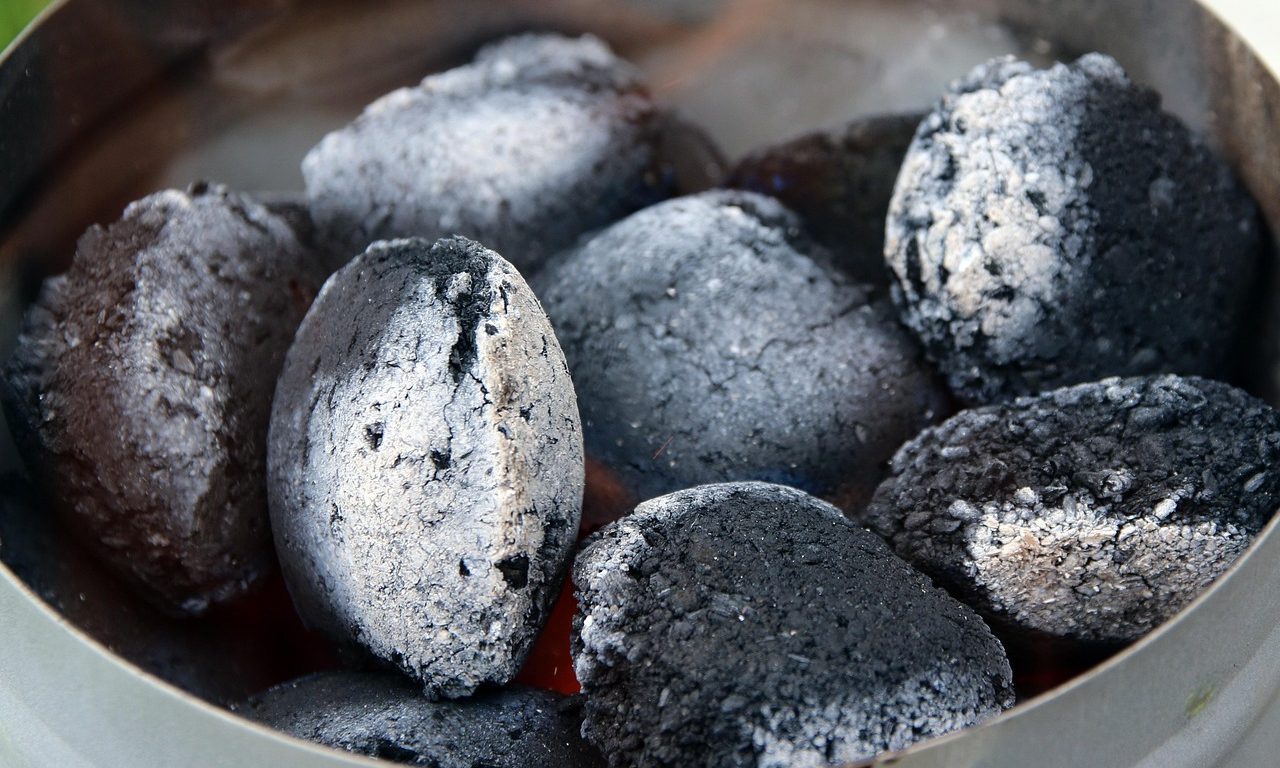
Let the coals get ready
After placing the hot coals in the grill, give them 5 to 10 minutes to settle and turn gray with ash. This color indicates that the charcoal is fully ignited and ready for cooking. Cooking too early can lead to uneven results and cooler grill temperatures. Waiting a few extra minutes ensures even heat and better performance across the cooking surface.
Create heat zones for better control
Heat zones allow for more flexibility when grilling and improve overall control. Setting up two zones is easy:
- Direct heat zone: Spread a thick layer of coals on one side of the grill. This area is used for searing and high-heat cooking.
- Indirect heat zone: Leave the opposite side mostly free of coals. This area works well for slower cooking or resting food after searing.
Dividing the grill this way helps manage different types of food at the same time. It also prevents burning when food needs more time on the grill.
Preheat the grate
This often-overlooked step plays a huge role in grilling success. Once the coals are in place, close the lid and allow the grill to preheat for 5 to 10 minutes. This heats the grates, burns off residue, and ensures better searing. After preheating, brush the grates with a grill brush and lightly oil them using tongs and a paper towel. Food will stick less and cook more evenly on a properly preheated grate.
Pay attention to airflow
Controlling the vents on your grill gives you an extra layer of heat management. Open vents allow more oxygen to feed the fire and increase the temperature. Closing the vents partially will reduce airflow and lower the heat. Adjusting the top and bottom vents during cooking allows for better regulation without having to move food around constantly.
Keep it simple and keep it hot
Learning how to start a charcoal grill comes down to a few reliable techniques. Starting with quality charcoal, using a chimney starter, and setting up the grill properly can turn a basic cookout into something much better. Avoid lighter fluid, wait until the coals are ready, and take time to preheat the grill grates. Managing airflow and using heat zones will give you greater control throughout the cooking process. Don’t forget to clean your grill after every use. These steps make the experience smoother and the food more consistent. Once you’ve done it a few times, the process feels natural and the results speak for themselves.