
Tired of buying almond milk? Here’s how to make your own

Plant-based milk is easy to make with this guide

Many people find that cutting out dairy is one of the hardest parts about going vegan. Milk, cheese, cream, ice cream, yogurt, and butter are certainly prevalent in the typical American diet and found as an ingredient in many foods. Although you can now buy many plant-based alternative milks, such as almond milk, soy milk, rice milk, cashew milk, hemp milk, and coconut milk, at most grocery stores, these plant-based milks can be quite expensive. If you’re a big milk drinker, switching to plant-based milk can cause a hefty hike to your grocery bill, especially if you’re buying organic vegan milks.

Difficulty

Easy

Duration

10 minutes

What You Need

  • Cheesecloth

  • Water

  • Nut, Seed, or Grain of Choice

  • Blender

The good news is that you can make your own plant-based milks at home with just a few ingredients and simple steps. Ready to save some money and tackle some DIY plant-based milk recipes? Keep reading to learn how to make almond milk and other nut milks at home.

Ingredients to make almond milk.
Image used with permission by copyright holder

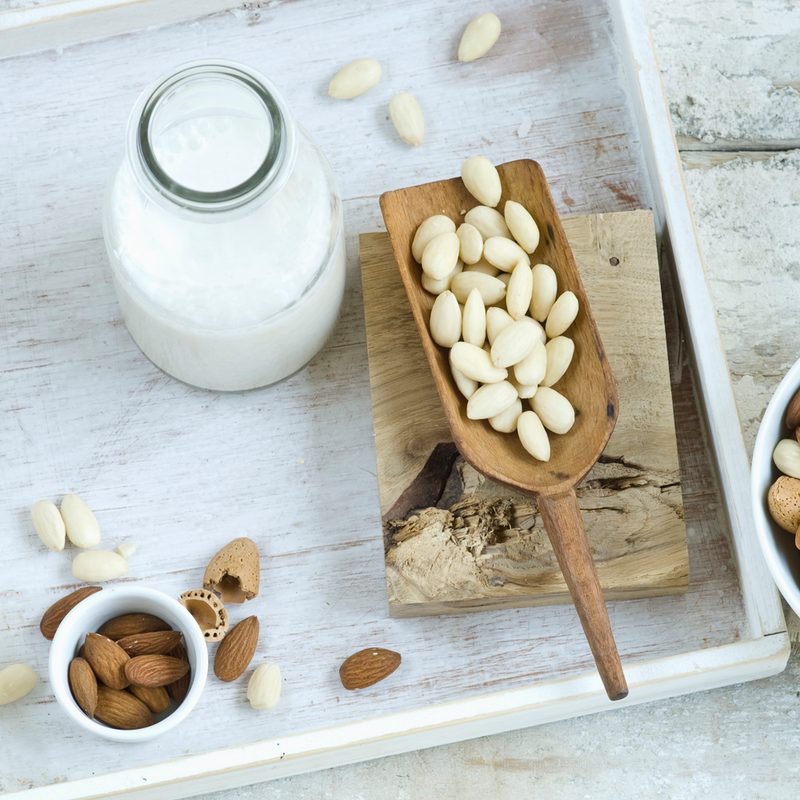
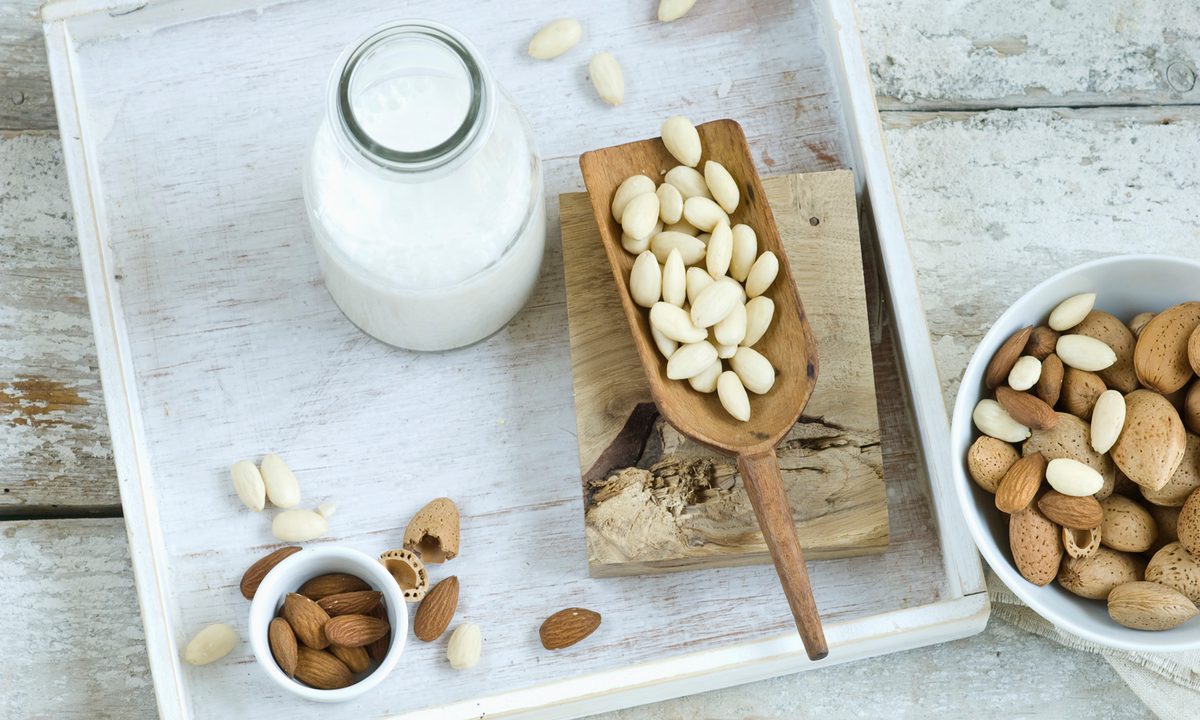
How to Make Almond Milk At Home

You can easily make almond milk, or any nut milk (cashew, hazelnut, pecan, etc.) with a blender and a cheesecloth to strain the mixture.

Although the actual preparation takes only a few minutes, you need to soak the almonds or nuts overnight to optimize the smoothness and flavor of your nut milk.

Step 1: Measure 1 cup of raw almonds or any other raw almonds into a large bowl or mason jar that has at least half the available volume remaining.

Step 2: Fill the container with filtered water. Optional: add a squeeze of lemon juice.

Step 3: Soak the almonds or nuts overnight, or for at least 8 hours.

Step 4: Drain and rinse the almonds and add them to a blender. If you prefer a richer, thicker almond milk, do not drain and rinse the nuts; pour them directly into the blender with their soaking liquid.

Step 5: Add 3 cups of filtered water (2 cups if you keep the soaking liquid).

Step 6: Blend until very smooth (60 seconds or more).

Step 7: Strain the mixture through a cheesecloth into a clean container. Squeeze the cheesecloth afterwards to pass any extra liquid through. You can use the almond pulp in your cereal, oatmeal, granola, smoothies, etc.

Step 8: Add a pinch of salt, and any additional flavorings, such as vanilla extract or cinnamon.

Step 9: Store in the refrigerator.

If you’re less of a recipe follower and want the ultimate convenience when it comes to making dairy-free milks at home, consider investing in something like the Nutr Machine or the Almond Cow’s Milk Maker. These sleek gadgets are zero-waste alternatives to buying store-bought plant-based milks, and don’t require any work or time on your end. To use the Nutr machine or the Almond Cow Milk Maker, all you have to do is add water and any nut, seed, or grain, press one button, and this machine automatically produces 5-6 cups of fresh, plant-based milk in less than a minute.

Editors' Recommendations

Amber Sayer
Former Digital Trends Contributor
Amber Sayer is a fitness, nutrition, and wellness writer and editor, and was previously a Fitness Editor at Byrdie. She…
The 10 best rosé wines that everyone should drink
It's time to finally try rosé
Rose wine glasses

Rosé rules -- no ifs, ands, or buts. You’ve most definitely seen dudes drinking rosé, with the pink wine sold in forties. Chances are, you’ve heard the term “brosé” at least once or twice in your life. Heck, people are cooking with rosé. Can you believe that? It's a sweet wine worth talking about.

All this talk about the drink prompted us to go on a quest to find the most exceptional ones this rosé season. With plenty of great options in the market, we chose to narrow down our list to these best rosé wines for your next hot date, guys' night, or solo Netflix binge. Still reluctant to try this magical wine? We listed seven reasons why you should start drinking rosé.
Best rosé wines

Read more
How to start your own home bar: the essential spirits
Home Bar

When you start getting into cocktails, drinking them is only half the fun -- making them is part of the appeal too. If you start making your own drinks at home, you'll soon find that you can often create better or more interesting drinks than what you're served in most bars. And even better, making drinks for other people is a great way to try out new combinations, learn about spirits, and make your friends and family happy too.

However, moving beyond the simple spirit plus mixer style of drinks which most people make at home and into the world of cocktails means that you'll need a wider array of spirits on hand than you might be used to. It can take some time and research to build up a well stocked bar, and choosing high quality spirits isn't a cheap endeavor. It's worth it, though, for the pleasure of being able to try out classic cocktail recipes and experiment with making up your own creations too.

Read more
You’re overlooking the most important ingredient in your cocktail
Steel Hibiscus cocktail.

When you list off the most important parts of making a good cocktail your mind likely goes immediately to good ingredients: quality spirits, freshly squeezed citrus juices, and well-matched mixers. You might also consider the importance of using the right tools, like getting a proper mixing glass so your stirred drinks can be properly incorporated, or a good strainer so that there aren't little shards of ice in your cocktails. And then there are the fun additions like elaborate garnishes, bitters, or home-made syrups which can add a personal touch to your drinks.
All of those things are important, absolutely. However I think there's one ingredient that can make or break a good cocktail, and it's something many drinkers don't ever stop to consider. It's the humble but vital ingredient of ice.

Why ice is so important
In mixed drinks like a gin and tonic or a screwdriver, ice is added to the drink primarily to chill it down to a pleasing temperature. That's a topic we'll come back to. But in cocktails which are shaken or stirred, ice is far more important than that. Cocktails are typically composed of between around 20 to 30 percent water, and this water comes from the ice used in the preparation process.
When you stir ingredients in a mixing glass or shake them in a shaker with ice, you are chipping away small pieces of the ice so that it dissolves and blends with your other ingredients. You might imagine that water doesn't make much of a difference to taste, being tasteless itself. But it's vital in opening up the flavors of other ingredients. That's why many whiskey drinkers like to add a dash of water to their whiskey when they drink it neat.
If you're ever in doubt of how important water is to cocktails, it's worth trying to make a drink with no ice. Even if you mix up the ideal ratios for a drink that you love and put it into the freezer so that it gets to the chilled temperature that you usually enjoy it at, if you sip it you'll find that your drink tastes harsh, unbalanced, and incomplete. Even for special room temperature cocktails like those designed to be drunk from a flask, you'll generally find water being added at a rate of around 30%.
When you make your cocktails you should be sure to stir for a long time – around 30 seconds is a good start – or to shake for a good while too – I typically do around 12 to 15 seconds – in order to melt enough ice to get plenty of water into your cocktail. Despite what you might imagine, this won't make the cocktail taste watery but will rather make the flavors stand out more as well as often improving the mouthfeel of the drink. A good rule of thumb is to mix or shake until the vessel is cold to the touch. That means your ingredients are sufficiently incorporated with the ice.

Read more