Just like there really is no dark side of the moon, there is no true end to grilling season — both are just a matter of perspective. I tend to fire up the grill well into autumn (provided the weather stays mild enough), but that might be a vestigial habit left over from my many years living in Southern California.
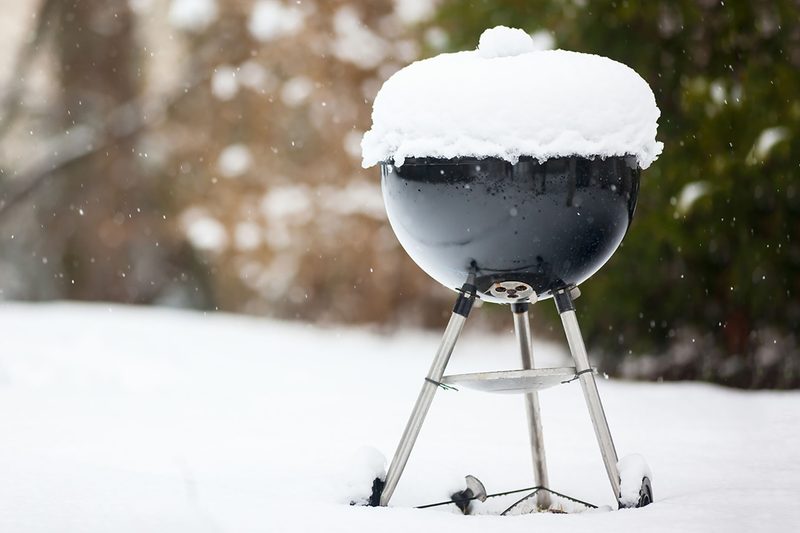
When the snow piles up here on the East Coast, however, that’s an entirely different matter. For gentlemen living even farther north than I, or for those who choose to treat summer’s end as the end of the grilling season, it’s nearly time to clean up, close down, and winterize your grill until the warm temperatures return next year.
Winterizing a grill to face the oft inclement weather of late fall and winter need not be a laborious undertaking, but if you want to have your grill last for more than a few years, you need to follow these steps before you store it. And for you intrepid souls who keep on cooking outdoors, we’ve got you covered. Here are some great winter grilling tips.
1. Clean Your Grill
This isn’t your first rodeo, right? You know that a great grill is a clean grill in any season, and that’s all the more true when you’re kissing your grill goodbye for the next few months. (Pro tip: Do not actually kiss your grill, ever, for multiple reasons.) I’m going to trust that you know how to clean a grill, but I’ll provide a few tips just in case you need a refresher.
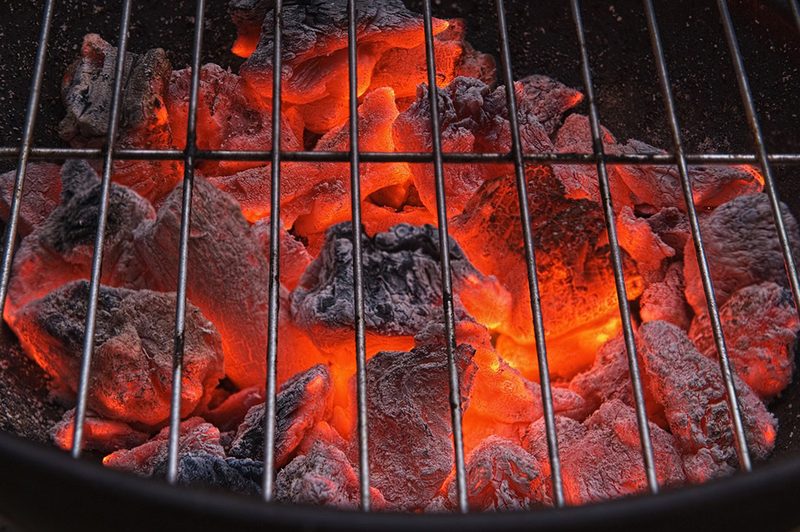
For gas and charcoal grills, let the grill sit at maximum heat for at least 20 minutes before you start. This process burns food debris and grease off of the grates and ensures the burners and fuel lines are cleaned out. Ideally, you can leave it to roast for a good half hour before the last cleaning of the season.
Don’t overlook the less-appreciated areas of the grill, like the drip pan, shelves, or cabinets. Any food or grease that has found its way down there will be a welcome meal for mice, rats, and bugs — at least, those that don’t succumb to the icy hands of Old Man Winter. Take the time to clean out every spot with an antibacterial wipe or spray to combat mold buildup. Multiple days of sub-zero temperatures may eventually do that, but the weeks between the grill’s last use and the first frost can be a boom time for mold, what with the dark, damp spaces and bits of organic material hanging out in an improperly cleaned grill.
Take the time to clean out every spot with an antibacterial wipe or spray to combat mold buildup.
Next, thoroughly dry all the grates, burners, venturi tubes, etc. Whether you give it hours in the sun or you expend an entire roll of paper towels, just make sure your grill is dry after you clean it.
If you disassemble parts to clean them, go ahead and fully reassemble the grill — don’t put it off until next year. Your slightly older self will appreciate it, and you should test the burners one more (brief) time to make sure you didn’t leave out any pieces. Fixing an error now will be a lot easier than doing so in four or five months.
2. Oil it Up
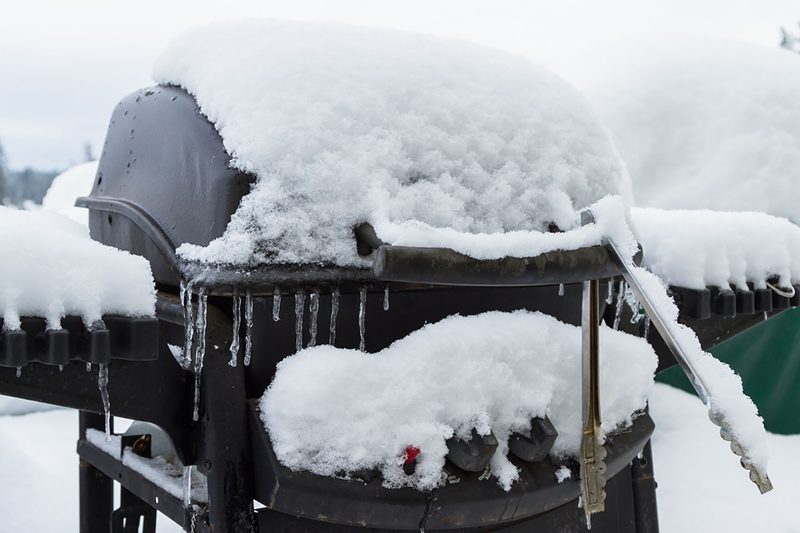
The wintry months see all sorts of precipitation, from snow to sleet to rain to melon-sized hail. All of this damp can wreak havoc, even on a properly sealed and covered grill, in the form of rust and corrosion.
The best way to prevent rust during the winter is to coat the inner components of your grill in a light layer of cooking oil. Dip a clean rag into liquid vegetable oil or use a cooking spray to coat the hood interior and any grates, burners, and tubes. Just don’t use so much that the oil drips and pools.
3. Cover the Grill
If you live in an area that sees bone-chilling, cold temperatures or a lot of snow, then you need to invest in a robust grill cover. Many cheaper options grow so brittle in the cold that they will crack when disturbed by a blustery wind or big snow load. Alternatively, you can get a middle-of-the-road cover and plan to replace it each year.
You might want to consider taping the grill closed around seams to prevent leaks and small intruders. Packing tape ensures a great bond, but removing it in the spring may be difficult. Another option is to use painter’s tape paired with plastic wrap to make a reliable and easily-removable seal.
Additional Safety Checklist for Gas Grills
There are a few extra things to note for grills with propane tanks, the most important of which is number one on this list:
- Never store a propane tank inside the home. There’s a reason stores keep them locked in those big cages outside, and that reason is safety. If you bring the grill into the garage or a shed, leave the tank covered outside. If you leave the grill outside, keep the tank connected and shut off, then cover the grill as usual.
- Remove the ignition battery from the electric starter and safely discard it. Securely reseal the empty battery compartment.
- Wrap burners in plastic. This prevents any lingering fuel from leaking out and keeps bugs or debris from getting in.
- If you have a hard-lined gas grill, shut off the gas at as many points possible, e.g. under the grill itself and, if you can, at the fuel source.
Now that you’ve got your grill all bundled up for winter, sit back with a nice Scotch and dream of spring.
Article originally published September 11, 2017. Last updated November 4, 2018, to include more tips.