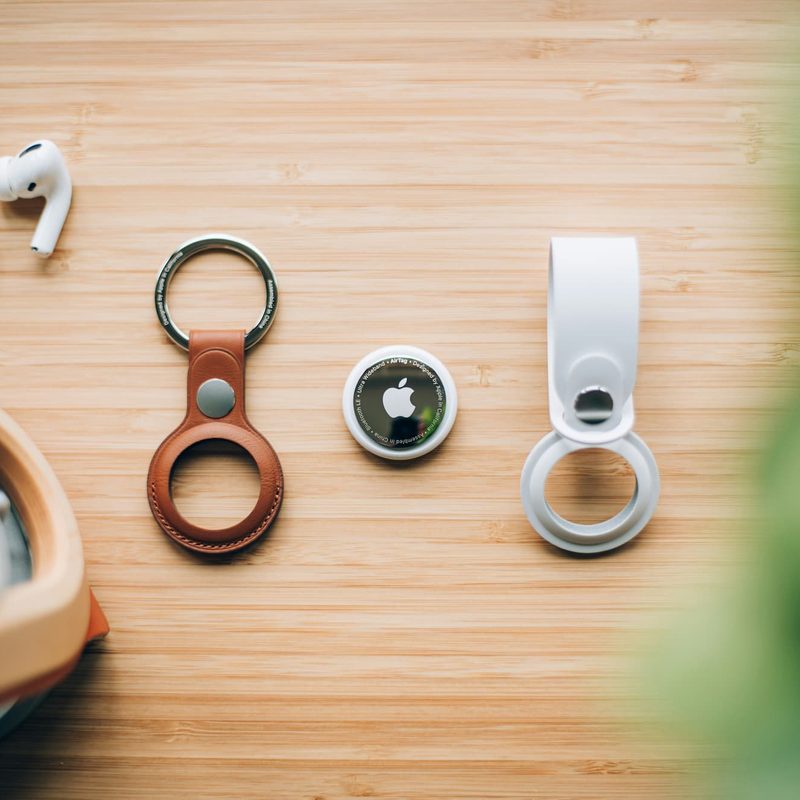
Many people swear by Apple’s AirTags (including me) for their simple and reliable way of keeping track of their stuff. You can use an AirTag for your keys, bag, or even your pet’s collar. If it’s something that you frequently lose track of, an AirTag will be your best friend. One of the best features is that it uses a user-replaceable battery, so you don’t have to worry about buying a whole new tracker when its power runs low. In this guide, I’ll walk you through how to replace an AirTag battery so you can get back to tracking without missing a beat.
How do you know when to replace your AirTag battery?

The first sign that your AirTag’s battery might need replacing is when you receive a notification on your iPhone that the battery is low. Apple will send you a notification when the battery is nearing the end of its life.
What you’ll need to replace the battery
Before you get started, make sure you have what you’ll need:
- New CR2032 battery. Apple says these batteries are widely available at most electronic and drug stores. Be sure to choose one that is fresh and within its expiration date for best performance.
- A clean, flat surface. You don’t want to drop any small parts during the process, so make sure you have a clean and stable space to work.
Once you’re ready, here’s how to replace your AirTag’s battery.
Step-by-step guide: How to replace AirTag battery
Step 1: Remove the back cover
To replace the battery, you’ll first need to remove the back cover of your AirTag. Apple has designed this process to be straightforward, so it’s relatively simple to open the device.
- Place the AirTag on a flat surface with the logo facing up.
- Use both thumbs to press down on the stainless steel back of the AirTag.
- While pressing down, rotate the back cover counterclockwise. It should rotate fairly easily, and you may feel some resistance as the cover loosens.
- Once you’ve turned it enough, the back cover should lift off entirely.
Step 2: Remove the old battery
Once the cover is off, you’ll see the CR2032 battery inside. To remove it, simply take it out using your fingers. It should come out without any issues. Be mindful of the direction the battery is placed in, as the new battery will need to go in the same way.
If you’re having trouble removing the battery, gently tap the AirTag on a surface or use a small, non-abrasive tool to help lift it out. But most of the time, you should be able to remove the battery with just your fingers.
Step 3: Insert the new battery
Now that the old battery is out, it’s time to put in the new one. Take your new CR2032 battery and place it inside the AirTag, ensuring the positive side (the side with the visible “+”) faces up. This is the same orientation as the old battery.
Press down gently once it’s in place until the battery is seated securely.
Step 4: Test the new battery
According to Apple, if everything is connected properly, you should hear a small sound (similar to a chime) once the battery is inserted correctly. If you don’t hear the sound, double-check the battery placement to ensure it’s inserted correctly. If everything seems fine and you still don’t hear the chime, try using a different CR2032 battery, as some may have a weaker charge.
Step 5: Reattach the back cover
You can reattach the back cover once the new battery is in place and functioning. Align the cover with the AirTag, making sure the notches on the cover fit into the grooves on the device. Once aligned, press the cover down and rotate it clockwise until it clicks into place.
Step 6: Check the AirTag’s status
Now that the battery has been replaced, open the Find My app on your iPhone to check the status of the AirTag. The app should show that the AirTag is connected, and you can also test it by making it play a sound or checking its location. If everything is working correctly, you’re good to go!
Tips for maintaining your AirTag battery

Here are a few tips to help you get the most out of your AirTag’s battery life:
- Keep your AirTag away from extreme temperatures. High heat or extreme cold can shorten the life of the battery. Try to keep your AirTag in a place where the temperature is moderate.
- Use high-quality batteries. Always use a fresh, high-quality CR2032 battery from a reputable brand to ensure the best performance.