
Camping hacks: Is Vaseline the secret to an incredible campfire?

Want a great campfire? Pack vaseline

A campfire.

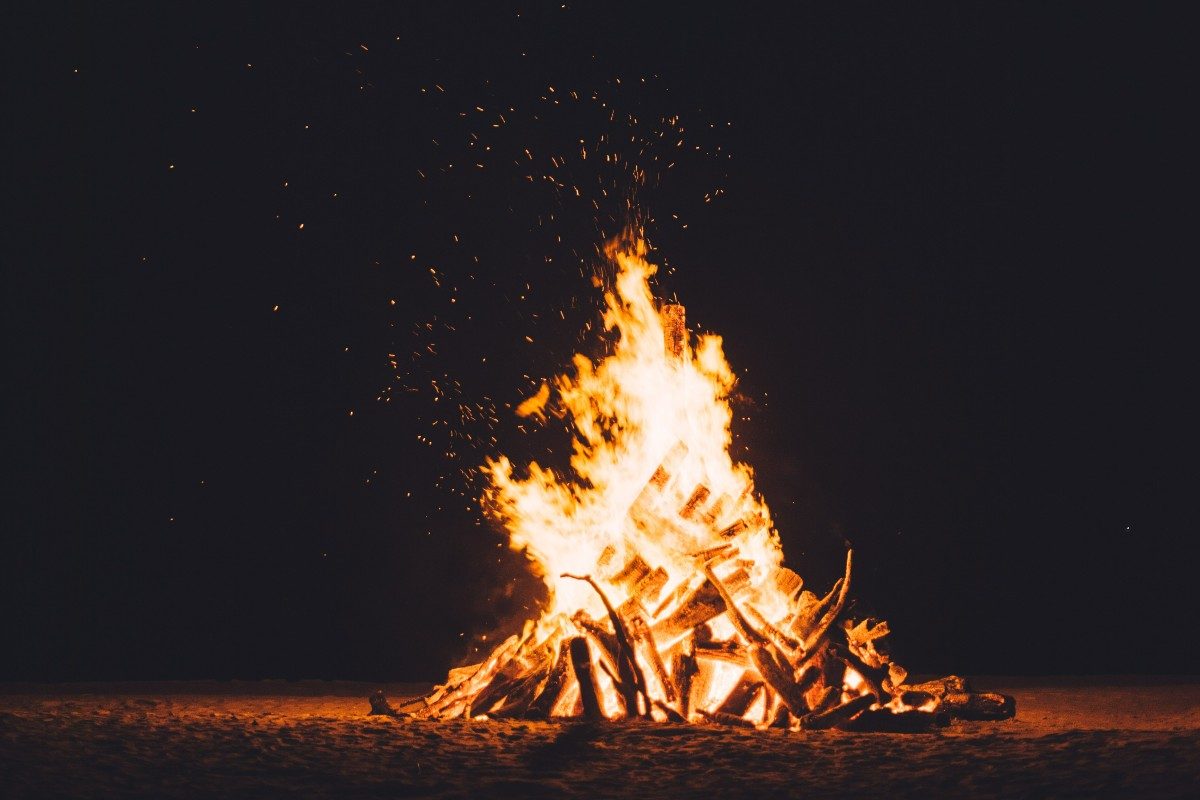
Vaseline, also known as petroleum jelly, is a versatile product widely used for everything from skin care to squeaky hinges. But did you know that it can also be a great fire starter? Getting that fire started is a crucial skill for camping enthusiasts for warmth, cooking, and campsite ambiance. This fire starting hack is one that seasoned campers swear by. Is this common household item the ticket to an incredible campfire? Here’s everything you need to know.

How to use Vaseline to start your campfire

a group of happy young friends relaxing and enjoying summer evening around campfire on the river bank
shock / Adobe Stock

At its core, Vaseline is a blend of mineral oils and waxes, which creates a semi-solid jelly-like substance. Its primary use is as a skin protectant, but its highly flammable properties make it an excellent accelerant for fire starting. When applied to a suitable medium that can hold and slowly release the jelly (like cotton balls), it burns more steadily and for a longer duration, making it just the trick to get your campfires going.

Recommended Videos

Why use Vaseline in comparison to other methods like hand sanitizer? Here are the benefits:

  • Extended Burn Time: Vaseline causes the fire starter to burn significantly longer than dry kindling. This extended burn time is important for igniting larger pieces of wood, especially when they are damp.
  • Economical and Efficient: Vaseline is inexpensive and widely available. A small jar can prepare dozens of cotton ball fire starters.
  • Water-Resistant Properties: Petroleum jelly is hydrophobic, meaning it repels water. This quality ensures that your fire starters remain effective even in wet conditions, a common challenge while camping.
  • Safe and Easy to Transport: Unlike liquid accelerants such as lighter fluid, Vaseline is safe to transport without risk of spillage or vapor-related hazards.

Creating a Vaseline-infused cotton ball fire starter is simple:

  1. Preparation: Take a cotton ball and generously coat it with Vaseline. Ensure the jelly penetrates into the fibers of the cotton to maximize its efficacy. If this is difficult, you can also melt the Vaseline in the microwave and dip the cotton balls, but it may not have the same effect.
  2. Storage: Store your Vaseline-coated cotton balls in a small, airtight container or a zip-lock bag. This keeps them dry and ready for use whenever needed.
  3. Usage: When you’re ready to start your fire, fluff out one end of the cotton ball to expose some fibers. Place it under your kindling or pile of small twigs.
  4. Ignition: Light the fluffed-up end with a match or a lighter. The cotton ball should catch fire easily and continue to burn long enough to ignite the kindling.

While using Vaseline-coated cotton balls is a great hack, safety should never be compromised. Always build your campfire in a safe, controlled environment and follow local regulations. Make sure that you have water or a fire extinguisher nearby to manage unexpected flare-ups or to extinguish the fire when you’re done, and ensure all fire remnants are cold before disposal.

So, is Vaseline the secret to an incredible campfire? Absolutely. Whether you’re a novice camper or a seasoned wilderness explorer, incorporating Vaseline into your camping toolkit could elevate your fire-making game. With these tips, your next campfire could be your most successful yet.

Sarah Joseph
Sarah is a lover of all things outdoors. With a bright sense of adventure and a heart for the mountains, she is always…
3 duct tape camping hacks: Why it should always be in your hiking or camping kit
Stick to duct tape while camping — here's how
Closeup of two friends setting up a tent in the woods.

One of the most useful scenarios for duct tape is out in the wilderness, but it can be tricky to figure out how to store it. One of my go-to ways is to simply wrap several feet of duct tape around an old credit card or a sturdy piece of cardboard. I've also seen people wrap duct tape around their water bottles, but that's never appealed to me since it can be a bit of a mess to clean. Regardless of how you do it, taking some duct tape with you might just make or break your next camping or hiking trip. Here's how.
3 uses for duct tape while out in the wilderness

Patch repairs with duct tape
Sleeping pads pop and nylon tears. We've all been there, and duct tape can save the day! It's great to have duct tape on hand to patch a hole or close a gap in my tent. If you happen to accidentally tear your sleeping bag, a patch of duct tape will get you through it. Reinforce broken straps, seams, zippers, or even sole separation in your shoes and you'll make it home all right.
Duct tape in first aid
When thinking about duct tape, first aid might not always come to mind. However, duct tape is great in a jiffy for splint support if you or someone in your party ends up breaking or spraining something. With a piece of clean cloth or gauze, you can create a makeshift bandage in an emergency. You can also use a small square as blister protection if your shoes start rubbing your feet raw.
Using duct tape as an organization tool
While masking tape might work a bit better in this case, duct tape can still be used to label and tag gear or mark items. That said, nothing is better than duct tape if you want to seal an open liquid container. Duct tape can also be used to keep loose cords, tent poles, or stakes bundled together in a pinch.

Read more
How to calculate hiking time and plan for being away
Calculating your hiking speed isn't as hard as you think
Two people hiking together

To most people, planning a hike can be tedious, but for me, packing my bag gets me even more excited for the adventure ahead. One of the most important aspects of preparing for my hike is determining how long it will take to complete it. This is important for several reasons. First, you'll be able to determine what kind of equipment you'll need during that timeframe, and second, you'll be able to tell someone when to expect you back in case you go missing. About 600,000 hikers get lost every year in the U.S., so if you're one of them, calculating this could mean your survival. Here's how to calculate hiking time.
How to calculate hiking time accurately

If you’re an experienced hiker, you might have noticed that sometimes there is an estimated time listed for a hike in a guidebook or app, which is termed "book time." Almost across the board, these hike time estimations are calculated using Naismith’s (Time Estimation) Rule, which essentially says that it takes about 1 hour to hike 3 miles plus an additional hour for every 2,000 feet of elevation gained.

Read more
Try these lunch ideas the next time you go backpacking
Got a rumbling tummy on the hiking trail? Try one of these backpacking lunch ideas
Hiker with a backpack in front of a mountain lake background

Trail mix has to be one of my personal favorite snacks while backpacking. That said, you can't live on it, especially when you're hiking for miles every day. I'll be honest — dinner is my favorite meal while out on the trail, mostly because there's a higher chance that I can start a safe fire and simmer something delicious. Lunch, however, has been a challenge. Not only do backpacking lunches have to be delicious and satisfying, but they also need to be easy to prepare. Hopefully these backpacking lunch ideas will help.
Things to consider for backpacking lunch ideas

When planning backpacking lunch ideas, it's more important than ever to choose foods that are nutritious, lightweight, nonperishable, high in energy, and most importantly, easy to prepare. You might not have access to a campfire while you're out backpacking, so here are a few considerations to keep in mind.
Easy preparation
I love preparing a hearty meal while backpacking or camping, but not during prime daylight hours when I could be making better time. That's why I always reach for easy-to-prepare meals. Sometimes, I even do a lot of the prep work while I'm still at home. That way, all I need to do is find a nice view.
Weight and packability
I've made the mistake of packing a huge cooler with sandwiches. Not only do you have to lug the entire thing up the mountain, but you've got to bring it down, too. Plus, on a multiday backpacking trip, no ice pack is going to last that long. Be careful that the food you take is lightweight, and avoid foods that require excess packaging or bulk.
Caloric density
Since backpacking is a high-energy sport, you'll want to select foods based on nutrients. High calories are one thing, but to get the most energy from your food, aim for a balance of carbohydrates, proteins, and fats. Make sure you're incorporating proteins so your muscles can repair after a long day of hiking.
Shelf stability
A lot of backpackers plan their trips for the summer, which means having to deal with the heat. This can definitely play a part in what kinds of foods you bring. Backpackers aim to bring as light as possible, so foods that don't spoil and don't need excessive cooking are going to be your best friend.
Our favorite backpacking lunch ideas

Read more