There are many reasons people love cooking with cast iron, but seasoning and maintaining cast-iron cookware is a task that's often misunderstood. Treated properly, a correctly seasoned cast-iron pan, skillet, or Dutch oven can last generations — and the good news is that this cookware's not all that challenging to season or maintain.
Whether you've just purchased a new piece of cast-iron cookware, or if an heirloom followed you home from aunt Donna's estate sale, taking the time to learn how to season a cast-iron skillet properly is imperative to get your relationship started on the right foot.
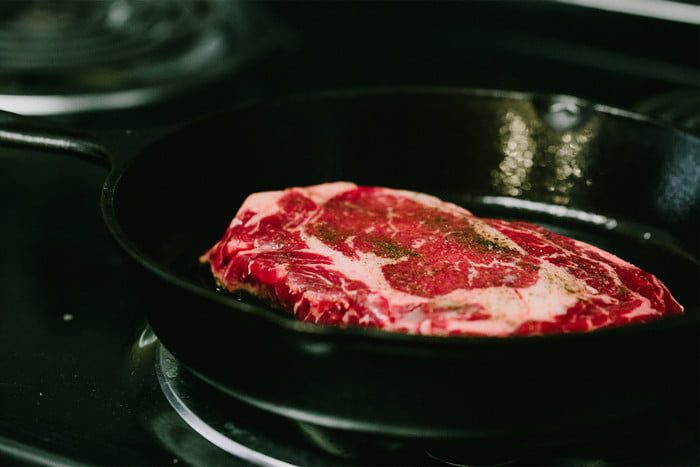
Whether you want to use a cast-iron skillet when you want to cook the perfect ribeye steak, or you want to use it for cooking bacon or biscuits and gravy, having it properly seasoned will make using the pan so much more enjoyable.
Treat cast-iron cookware properly now, and it will reward you with a lifetime's worth of hassle-free hashbrowns or amazing fried chicken.

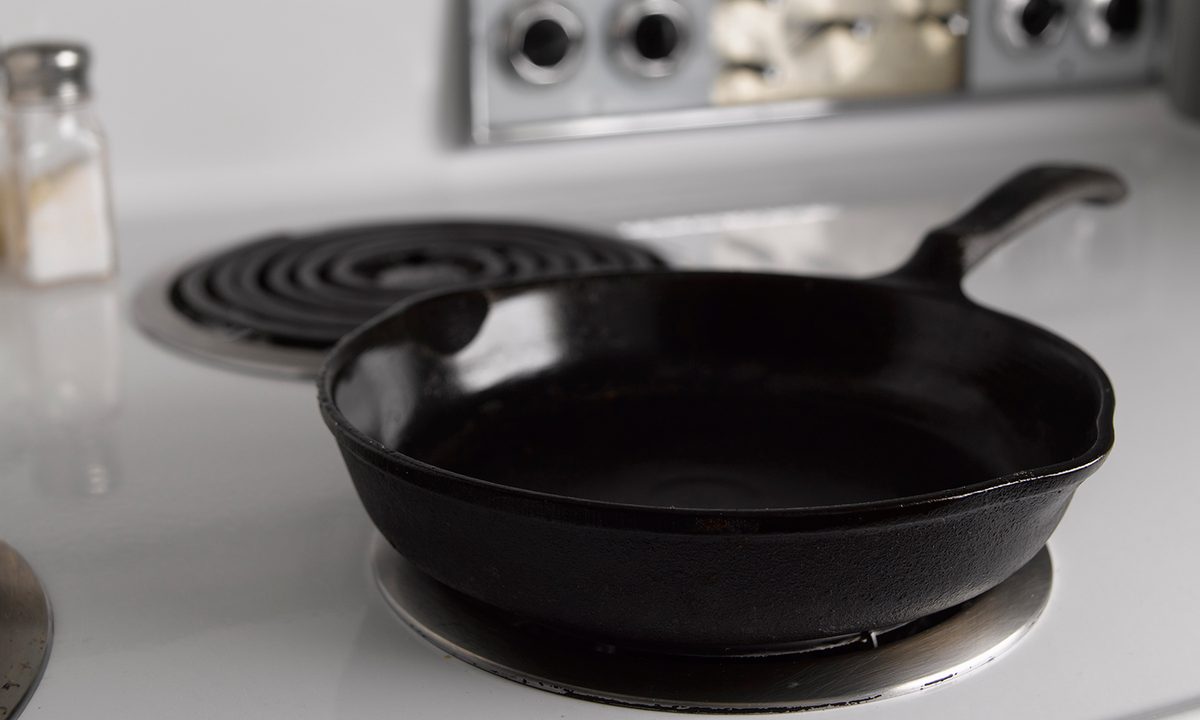
Start with the cast iron as clean as possible
The first step for seasoning cast iron is to start with a blank canvas, or in this case a clean piece of cast iron. Even if the cast-iron pan you will be seasoning is brand new, it's still a good idea to give it a thorough washing with hot water and a degreasing kitchen soap.
Cast-iron cookware is made by pouring molten metals into forms often made from sand. Once cooled the edges are ground down and then buffed which could leave unwanted metal particles clinging to the pan.
You want to make sure all of those particles are washed away as well as any oils the manufacturer may have sprayed on the pan to prevent it from oxidizing en route to your kitchen.
If your cast-iron pan is used or has been used, it will also need a good cleaning. You can follow these steps on how to clean cast iron to help you get started.
Stubborn stains may require a mechanical advantage
If you're cleaning a used pan, sometimes you will run across charred foods. This is where a sturdy scrubbing brush and even a putty knife can give you an advantage.
Usually, between hot water, soap, and a putty knife, stubborn stains don't stand a chance. But for the most part, a clean pan is a clean pan so let your intuition be your guide.
Steps for seasoning cast iron
Step 1: Preheat your oven to 350 degrees Fahrenheit.
Step 2: Thoroughly wash your new skillet using an abrasive sponge or brush, hot water, and soap.
Step 3: Immediately rinse your skillet and dry it with a towel.
Step 4: Using a paper towel or cloth, apply 1 tablespoon of shortening or oil to the pan. Spread it evenly across all areas of your pan including the bottom and handle. Use more oil if necessary to coat.
Step 5: Wipe any pooling oil or oil droplets completely from the pan.
Step 6: Place your skillet upside down on the top rack of your oven.
Step 7: Bake for 1 hour.
Step 8: Turn off the heat and let the skillet cool inside the oven. Do not try to cool the skillet with ice or cold water, as this could cause cracking and warping.
Step 9: For the best results, repeat steps No. 4 through No. 8 twice or even three times.
Cooking a large onion sliced in a cast-iron skillet after seasoning does wonders to enhance the surface
- Cook them over low-to-medium heat until they are translucent making sure they do not burn.
- After about 10 minutes the onions should have released the majority of their liquid.
- Discard the onions and give the pan a rinse with hot water, then wipe completely dry with a towel.
Tips for drying and storing cast iron
Now that you've got your cast iron seasoned, it's important to make sure you dry and store it carefully after each use. You generally don't want to use soap with cast iron, as that could remove some of the seasoning. A good method to clean cast iron that has cooked-on food is to use coarse salt. Just dump some salt into the skillet after you've finished using it and scrub the pan with the dry towel. The abrasion from the salt should remove the food. You can then rinse the skillet and dry it thouroughly.
One of the easiest ways to make sure your cast iron is completely dry so it won't rust, is to put it back on the stove and gently heat it until the water is gone. Once it's dry, you can rub it with a little oil and put it away.
Speaking of putting it away, it's important to protect your cast iron by storing it properly between uses. If you have the wall space, and a strong enough hook, you can hang the pan. If hanging isn't an option, you can store them in a cabinet, but if you stack pans, be sure to use paper towels between the pans so they won't get scraped and ruin the seasoning you worked so hard for.
Tips and tricks for seasoning and maintaining cast iron
- Crisco and vegetable oil work fine, but flaxseed oil is best. Flaxseed oil can be found refrigerated in most grocery stores' natural food sections.
- Seasoning cast iron is essentially slowly cooking the oil into the surface of the pan, and it will leave an odor. This is why a gas grill is an ideal appliance for seasoning your pan outdoors. If you do season in an indoor oven, be sure to run an exhaust fan or consider opening windows in your kitchen.
- If you season inside your oven, laying a sheet of aluminum foil on the bottom rack of your oven is a good idea. This will catch any oil drops that fall during the seasoning process.
- Refrain from cooking tomatoes and acidic sauces in cast iron.
- You can develop the seasoning by frying chicken or other high-fat foods.
- People love cooking bacon in cast iron but bacon typically contains sugar or flavorings which can leave a residue on the pan. If this happens, wash the pan thoroughly and re-season if necessary.
- Do not boil water with your cast-iron skillet — this can cause it to rust.
- After each use, wait until your skillet cools to a sufficient temperature, then rinse it with warm water. Use a sponge or non-metal brush with coarse salt to scrape off leftover food debris. Do not let your skillet soak.
- Thoroughly dry the skillet and apply a thin layer of oil before storing it, wiping any oil droplets away.
- If your cast-iron skillet develops rust, don’t worry! Scrub off the rust with steel wool and immediately re-season your skillet. Extensive rust may require more substantial restoration measures.
- Don’t neglect your skillet — use it as often as you can to prevent the seasoning from going bad. Fortunately, cast-iron cookware is extremely versatile; You can use it to fry, sear, or bake just about anything.
Can you use soap to clean cast-iron pans?
Yes! But it's complicated.
If you have a stubborn stain after making something like a bacon, egg, and cheese sandwich or an oversized skillet chocolate chip cookie, sometimes you need soap to get the burned-in food to release. Unfortunately, the soap will release some of the seasoning as well. But not to worry. Once the skillet is clean, wipe it completely dry and give it another seasoning.
By now, you are already a pro at it!
Considering that cast iron lasts forever and doesn’t require a whole lot of maintenance, a good skillet is certainly a worthwhile investment.