It’s grilling season. It’s time to stock up on charcoal, pellets, and propane and get ready to enjoy some quality outdoor time with your friends and family. Aside from burgers and brats, chicken is also a grilling go-to for those guests who require a healthier option.
The difference between burgers and brats and the delicious white meat is that chicken can be tough to get right on the grill. We’ve all had a piece of grilled chicken that was drier than shoe leather. This quick guide on how to grill chicken will help you every step of the way through the process of grilling up tender, moist, and delicious chicken.
The tools of the trade
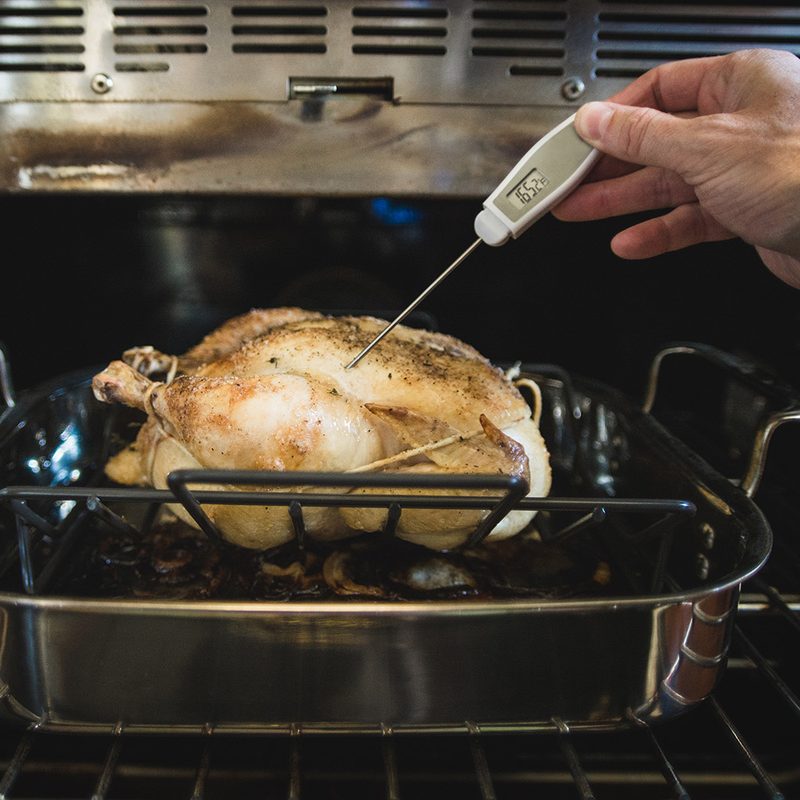
Besides a grill, a chicken, and some top-rated beers to enjoy while you’re cooking, there’s only one other thing that you’ll need, which is also an essential barbecue tool in the grilling process. That thing is an instant-read thermometer. This little gadget should be attached to your grill, not for just grilling chicken, but for any meat. Those guys who try to look like tough-guy expert grillmasters and say they know when meat is done by touching it are just plain poppycock. There’s no shame in temping your meat frequently to ensure the meat is not under or overcooked.
When you grill chicken, you want to ensure you’re not serving it undercooked (165 degrees Fahrenheit is always our target temperature). The only other way to really do this is to cut it open to check for doneness. But, when you do this, you lose precious juices. Chicken can be hard to gauge if it’s done by touch alone, especially if it’s not deboned. A thermometer will allow you to access the center of the breast, thigh, drumstick, or wing to ensure that your bird is ready to come off the grill.
How to brine chicken
An extra step to make your grilled chicken extra juicy and the skin crispier is to brine the chicken. Trust us, you don’t want to skip this step, once you brine chicken, you’ll never want to do it any other way. A simple brine of 2/3 cup salt and 2/3 cup sugar per gallon of water will do the trick.
You should brine boneless chicken for no longer than an hour, or the meat will become too salty. Bone-in pieces can be brined for up to 2 hours. If you’re planning to brine a whole chicken, plan on letting it chill in your fridge for 12 to 48 hours, depending on the size.
How to marinate chicken

Marinating is an excellent way to add a unique taste to your chicken. If you really want to infuse the flavor, we recommend marinating overnight. However, if you’re planning on brining before you marinate, make sure to use a low-sodium marinade, as your chicken will already be infused with salt from the brine.
Also, brining your chicken before you marinate it will drastically reduce the time it will need to sit in the marinade (2 hours at most). When making a marinade, pay attention to the amount of oil as well. A marinade that is too oily will create grease fires in your grill, resulting in a blackened and burnt outer crust.
How to grill chicken
How the chicken is prepared will affect how you want to grill it. Below are all the ways a chicken can be broken down and grilled.
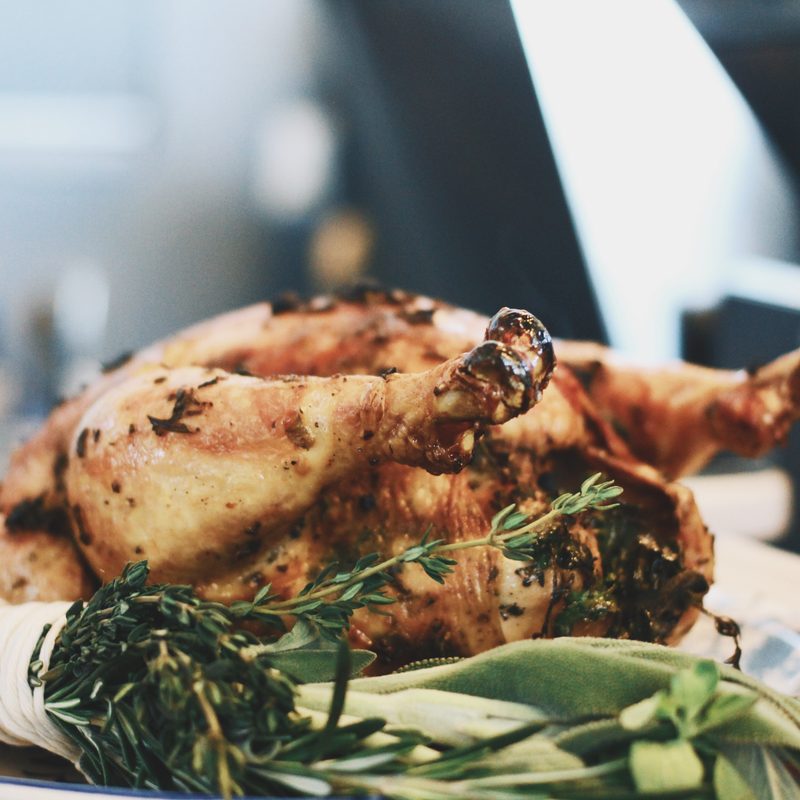
Whole
If you’re planning on grilling a whole bird, we recommend the beer can method. To do this, all you need is a 16oz or 12oz can of good cheap beer (depending on the size of the chicken).
- Rub the whole chicken with your favorite seasonings.
- Drink the beer until the can is one-third of the way full, then ram it into the chicken cavity.
- Balance the chicken upright on a baking pan or on the grill grates themselves, and cook with indirect heat between 250 and 300 degrees Fahrenheit.
- Use a thermometer to check for doneness (165 degrees Fahrenheit).
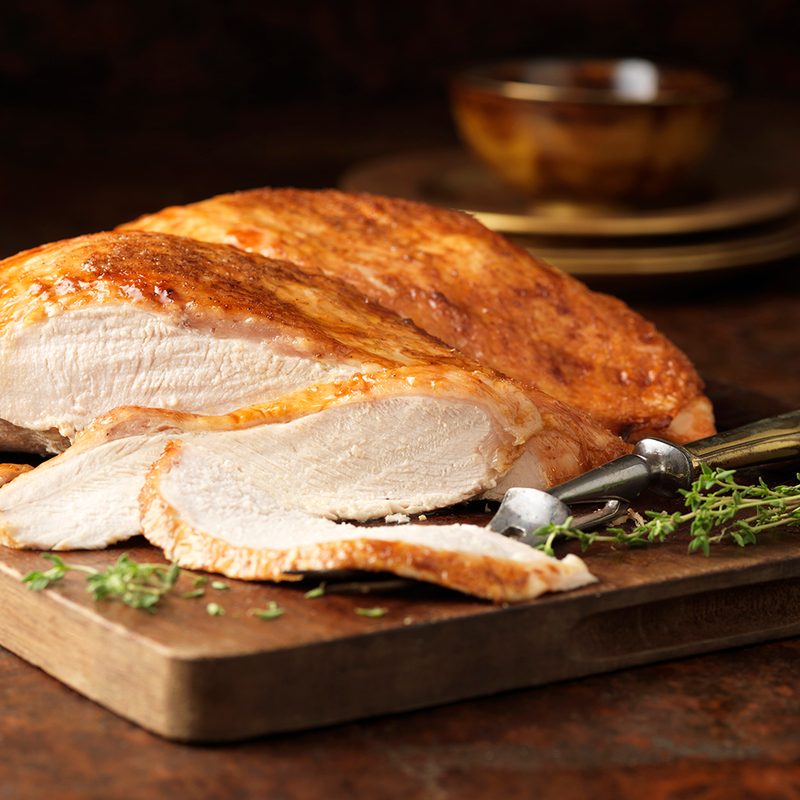
Bone-in and skin-on
If your chicken pieces have both skin and bones, there’s a process that will get you the best results.
- Before grilling, rub the chicken in some of your favorite seasonings.
- Bring your grill to high heat, then season the grates with a healthy portion of oil to keep the chicken from sticking.
- Sear the chicken skin-side down with the grill uncovered for about 3-5 minutes or until you have heavy grill marks on the skin.
- Flip the chicken to the skinless side. If you’re grilling with propane, move the chicken to one side and turn off the burners underneath using indirect heat. Then, cover the grill with the lid. If you’re grilling with charcoal, simply flip the chicken and continue to grill uncovered.
- Use a thermometer to check for doneness (165 degrees Fahrenheit).
Boneless skinless
Grilling boneless skinless chicken will yield the quickest (and healthiest) results. However, these types of chicken cuts are the easiest to get wrong. Grilling the chicken with too high or too low of heat can result in dry, tough chicken. You’re going to want to shoot for a grill temperature between 350 and 375 degrees Fahrenheit. Hot enough to give you a good sear, but not too hot to dry out the outer portion of the meat. A good rule of thumb for boneless, skinless chicken is to grill for 5 minutes per inch of thickness and flip it once in between. But don’t worry too much about this, because you’ll have your trusty thermometer at hand.
- Before grilling, rub the chicken with a little cooking oil and your favorite seasonings. Be sure not to use too much oil to start a grease fire in your grill.
- Bring your grill up to around 350-375 degrees Fahrenheit, then season the grates with a healthy portion of oil to keep the chicken from sticking.
- If possible, sear over direct heat, then finish grilling covered with indirect heat.
- Use a thermometer to check for doneness (165 degrees Fahrenheit).
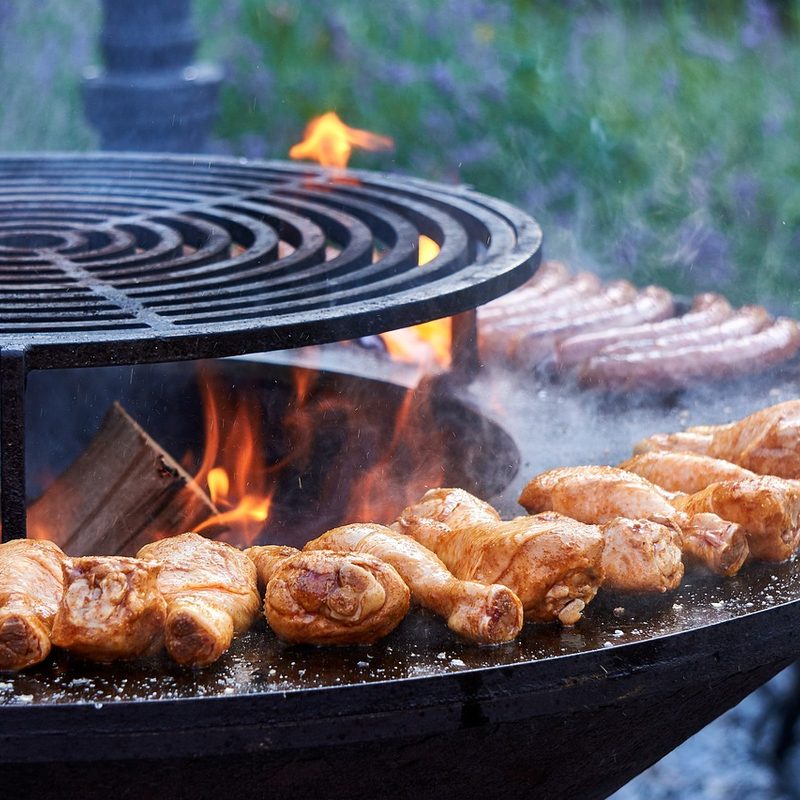
Drumsticks
With drumsticks, it’s all about frequent rotation and getting the meat evenly cooked. Again, shoot for an internal temperature of 156 degrees Fahrenheit, but take note of the size and shape of the drumsticks as no two are exactly alike (also, be aware of hot spots on your grill should they exist).
- Season to your liking prior to grilling.
- Bring your grill up to around 350-375 degrees Fahrenheit, then season the grates with a healthy portion of oil to keep the chicken from sticking.
- Sear evenly over direct heat for 25-30 minutes, rotating every 5 minutes.
- Use a thermometer to check for doneness (165 degrees Fahrenheit).
- Let the meat rest for at least 5 minutes.
How to grill spatchcock chicken
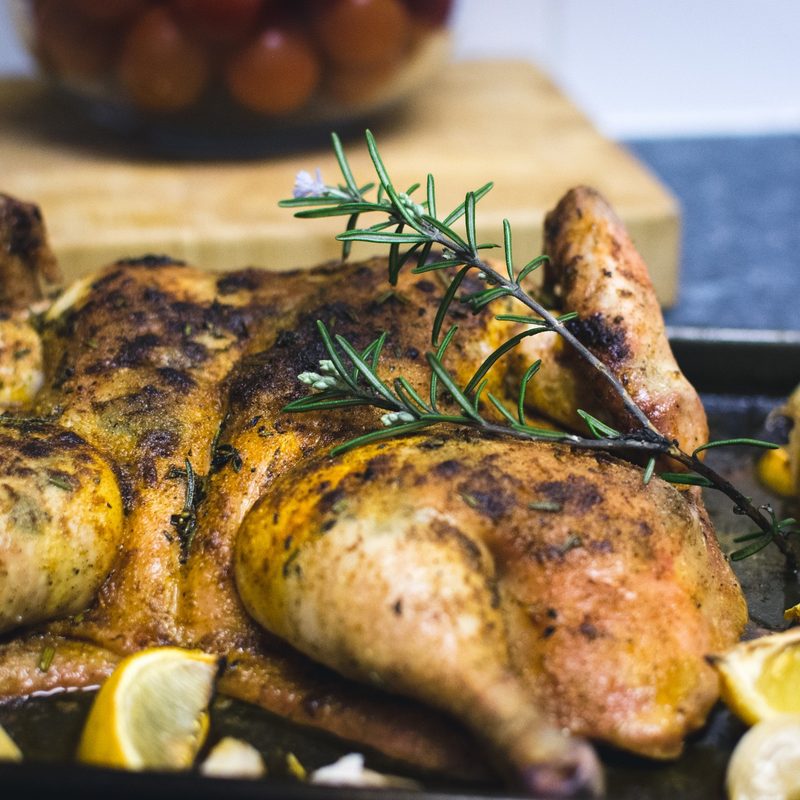
Yes, we know the term “spatchcock” sounds vaguely dirty, but trust us, it’s a legitimate cooking term, and it is actually one of the best ways to cook a whole chicken on the grill. When you spatchcock a chicken, you remove the backbone, which allows you to spread the chicken out flat on the grill, and this means it cooks evenly, leading to a juicer result. All you need is a pair of strong kitchen shears or poultry shears.
According to the Food Network, the proper way to spatchcock a chicken is to take your scissors or poultry shears and cut the chicken down each side of the spine. Then pull out the spine, turn the chicken over, and press down on the breast so it flattens out to a single thickness. Then it’s time to season it up and throw it on the grill and grill like you would chicken on the bone. Keep your instant-read thermometer handy, and when the bird hits that magic 165 degrees Fahrenheit, it’s time to eat!