Walk into any kitchen in the midst of a baking pie and one will quickly be engulfed by a fragrant warmth, a combination of buttery crust mingling with spiced apples or a savory stew. The smells alone are enough to stimulate the appetite. While a delicious filling is essential, that’s only half of the pie equation. For the ambitious baker, or those looking for a challenge, making that perfectly flaky crust from scratch is a great way to up your pie repertoire. Of course, making pie crust is a time-consuming task, especially when frozen crusts are readily available. But when done correctly with the right techniques, the flavor and texture of homemade pie crust are well worth the effort.
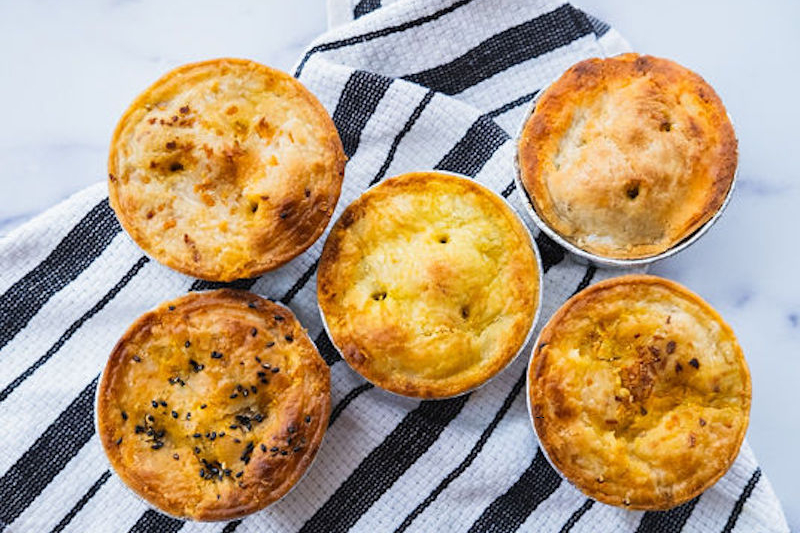
Enter East Bay Pie Co, our experts on flaky pie crusts. Founded by culinary professionals Rahul Dharod and Bill Holdenstern, East Bay Pie Co makes unfussy, yet untraditional sweet and savory hand pies inspired by the international flavors of the Bay Area, California. Quality is of utmost importance to East Bay Pie Co and they take care to source from local purveyors whenever possible. All of their pies are delivered frozen with easy reheating instructions (simply place the pies on an oven-safe pan for 35- to 40 minutes at 400 degrees Fahrenheit or until the crust turns golden brown. For safe food handling, look for an internal temperature of 165 F). Also, all first-time orders will get 20% off as a bonus.
Their selection of pies is unconventional yet instantly appealing. From the Indian-inspired Chicken Tikka Masala to the decedent Chocolate Maple Pecan, East Bay Pie Co is equally spectacular at both savory and sweet. With the help of these pie professionals, making a pie crust from scratch is really as straightforward as nailing down the right techniques.
Related Guides
- How to Bake Chicken Pot Pie, a Comfort Food Favorite
- G’Day Gourmet is Bringing Australian Meat Pies to America
Choosing the Right Ingredients
The first step to making any great pie crust is to source quality ingredients. A pie crust can essentially be broken down into three components: Flour, water, and fat. The specifics of those ingredients (different fats like butter, shortening, or lard) can differ depending on the recipe and individual preference of the baker. When possible, try to source local or organic ingredients depending on your budget. Local purveyors will generally have higher quality products due to craftsmanship and simple logistics (less travel time to the customer). So if available, source ingredients like butter or flour from a higher quality purveyor — the result is worth it.
The Pie Crust Techniques
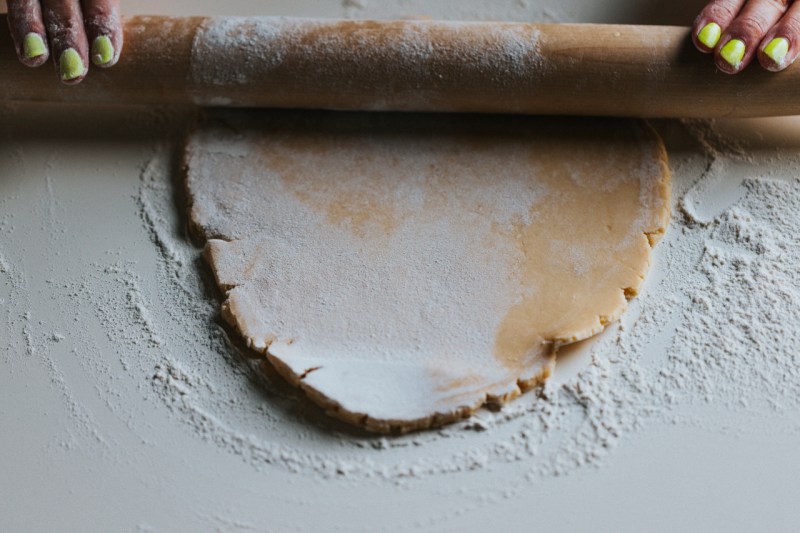
While a pie crust doesn’t require a lot of ingredients, these limited ingredients need to be used with precision and the correct techniques. Without those techniques and hands-on practice, one can easily end up with a leathery or broken pie crust. One of the first steps is to always make sure your water and fats are ice cold. This step is essential for making flaky pie crust. In fact, temperature control is important for every step of the pie crust process. “Heat kills,” said Holdenstern. “Use metal or wood when possible to bring the dough together, using your hands is fun but the natural heat from your body warms the butter up quickly which allows the dough to get overworked very quickly.”
So how do you know if your raw pie crust is trending in the right direction? Two words: Butter veins. “These are what make your pie crust flakey! While you bring the dough together make sure at every point you can still see small veins and lumps of intact butter throughout the dough,” said Holdenstern.
Now that you’ve got your ingredients properly combined, it’s time to roll out your crust. “If you really want to impress, on the top crust you can roll out the dough then fold it back over itself and roll out again, then repeat one or two more times,” said Holdenstern. “This will give your dough more layers of flour and butter giving it extra flakiness and lift without overworking the dough.”
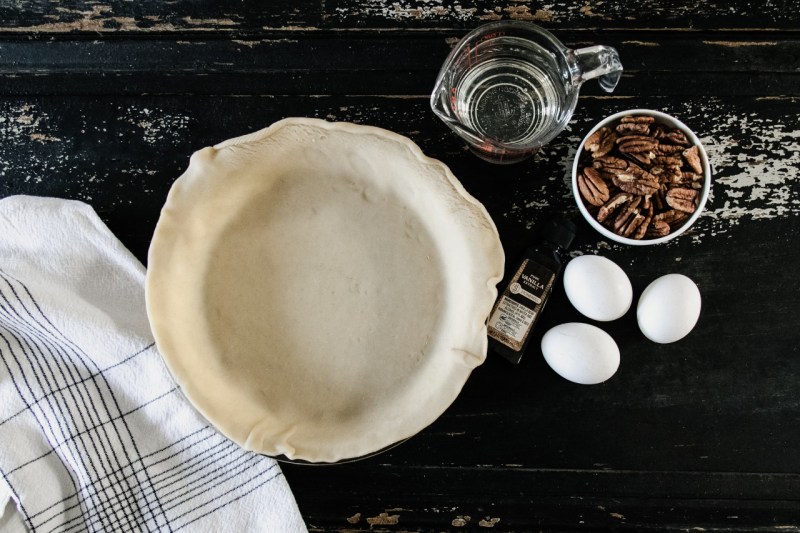
East Bay Pie Co. Pie Crust Recipe
While East Bay Pie Co makes hand pies, this recipe is meant for a larger pie. This crust is also equally great for both savory and sweet pie recipes.
Ingredients:
Yield: one 9 inch pie crust. For a top crust, simply double the recipe.
- 1 1/4 cups all-purpose (AP) Flour
- 1/2 cup cold unsalted butter
- 1/4 teaspoon kosher salt
- 1/4 cup ice-cold water
Method:
- Mix flour and salt in a bowl until fully incorporated.
- Dice butter into 1/4 inch cubes 00 make sure the butter is very cold (not frozen) remove directly from the fridge or put it in the freezer for a few minutes ahead of time.
- Toss the butter in to the flour. For best results use a stand mixer with a flat beater to incorporate the butter into the flour until it becomes a slightly grainy mixture with some lumps still visible. If you don’t have a stand mixer use a fork to incorporate the butter by smashing and stirring to same effect as above.
- With the stand mixer running slowly drizzle in the water until fully incorporated and dough begins to come together. Continue mixing for another minute or two until crumbly dry pieces at the bottom of the bowl have disappeared, but not so long you can’t see streaks of butter in the dough anymore. Continue using a fork while drizzling in the water until the dough comes together as much as possible, then use your hands to quickly form it into a ball. Make sure not to knead it, just press it together.
- Lightly flour a work surface and roll the dough out in a circle wide enough for the pan (about an 1/8 of an inch thick).