
Granite countertops can easily elevate any room in your house. Glossy and luxurious, these popular stone countertops are high on the list when it comes to a home remodel. Regardless of the ever-changing interior design landscape, granite seems to remain king of the countertops for a good reason.
It's important to clean and care for granite in a specific way so you don't damage it. An investment in granite countertops today will add value to the price of your home down the line, as long as it is still looking its very best. Taking the right steps to clean and care for your granite is the best way to protect your investment and be able to enjoy your kitchen countertops for many years to come.
Benefits of Granite Countertops
Granite is extremely durable and can handle all kinds of knives or wear and tear that might come its way. The sought-after stone also happens to be a heat-resistant option, and while you probably shouldn’t make a habit of it, a hot pan won’t do any damage.
Let’s not forget that granite, like other natural stones, is porous with small holes throughout its surface. Porous materials like granite have a natural ability to protect against mold, mildew, and bacteria. So not only is your granite countertop beautiful, but it cleans up after itself, too.

How to Clean Granite and Not Damage It
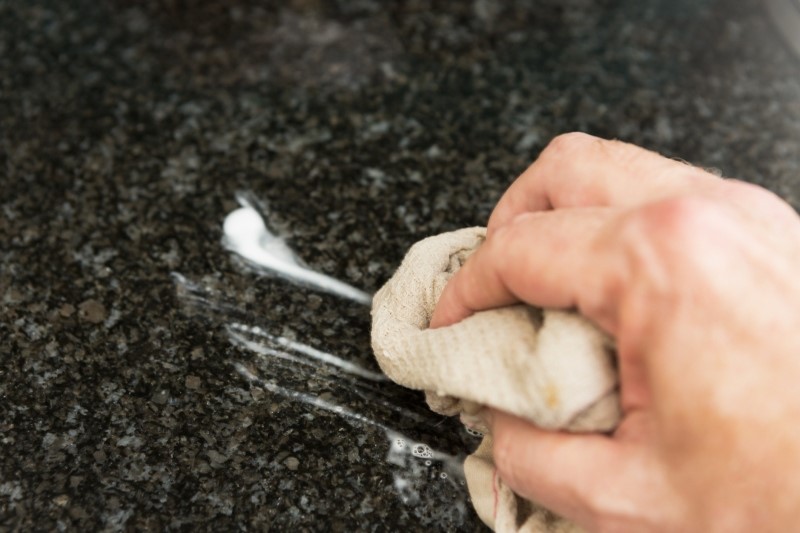
Granite is relatively strong, but that does not mean you should clean it using rough and abrasive materials, such as a steel wool sponge, or with harshly acidic cleaners like vinegar. When cleaning granite, it's important to choose a very mild dish soap, warm water, and a soft microfiber or terry cloth. These are all very light cleaning mediums that will not scratch or damage your countertop or its sealant.
Step 1: In a bowl, mix warm water with mild dish soap.
Step 2: Soak a soft cloth in the mixture, wring it out, and then wipe the countertop with the dampened cloth.
Step 3: Dry the entire countertop with a dry, absorbent cloth material. Be sure not to let excess water sit on top of the surface.

How to Remove Tough Stains From Granite Surfaces
Baking soda is a really wonderful ingredient that is extremely useful for removing stains from granite without damaging the surface with harsh and abrasive chemicals.
Step 1: For cleaning oil-based stains, mix baking soda and water to form a paste. For water-based stains, mix baking soda and hydrogen peroxide to form a paste.
Step 2: Apply a small amount of your paste to the stain and then clean it using the same mild dish soap and water solution that we recommend for cleaning granite.
Step 3: If your stain is resistant, you can apply the solution and cover it with a piece of plastic wrap.
Step 4: Leave the paste and plastic wrap in place for 24 to 48 hours with its edges taped down.
Step 5: After 24 to 48 hours, remove the plastic and you're likely to find a clean and stain-free surface underneath.
Step 6: Follow up by cleaning the granite surface as needed to remove any excess paste.
How to Maintain Granite Countertops
Did you know granite countertops can last for up to 100 years if properly cared for? The secret to maintaining and caring for granite is to clean it in a gentle and mild way, as described above. Beyond that, it's important your counter is resealed with granite sealant every two to four years, depending on how much you and your family are using it.
If you are unsure about whether it's time to reseal your granite, there's a simple and handy test you can try.
Step 1: Apply water to your counter and use a timer to see how long it takes to absorb.
Step 2: If the water absorbs into your counter instantly, it's time to apply sealer now and you might consider repeating this test in about a year to see if an additional layer is needed.
Step 3: If the water absorbs into your surface, but it takes 4 to 5 minutes to do so, your counter is well sealed but you can test again in 2 to 4 years to be sure an additional layer is not needed.
Step 4: If the water absorbs after 10 minutes, your counter is well sealed and probably doesn't need an additional layer of sealant for 5 to 10 years or even longer.
Step 5: If the water absorbs, but it takes up to 30 minutes, your counter is amazingly sealed and probably doesn't require additional sealant for more than 20 years.


