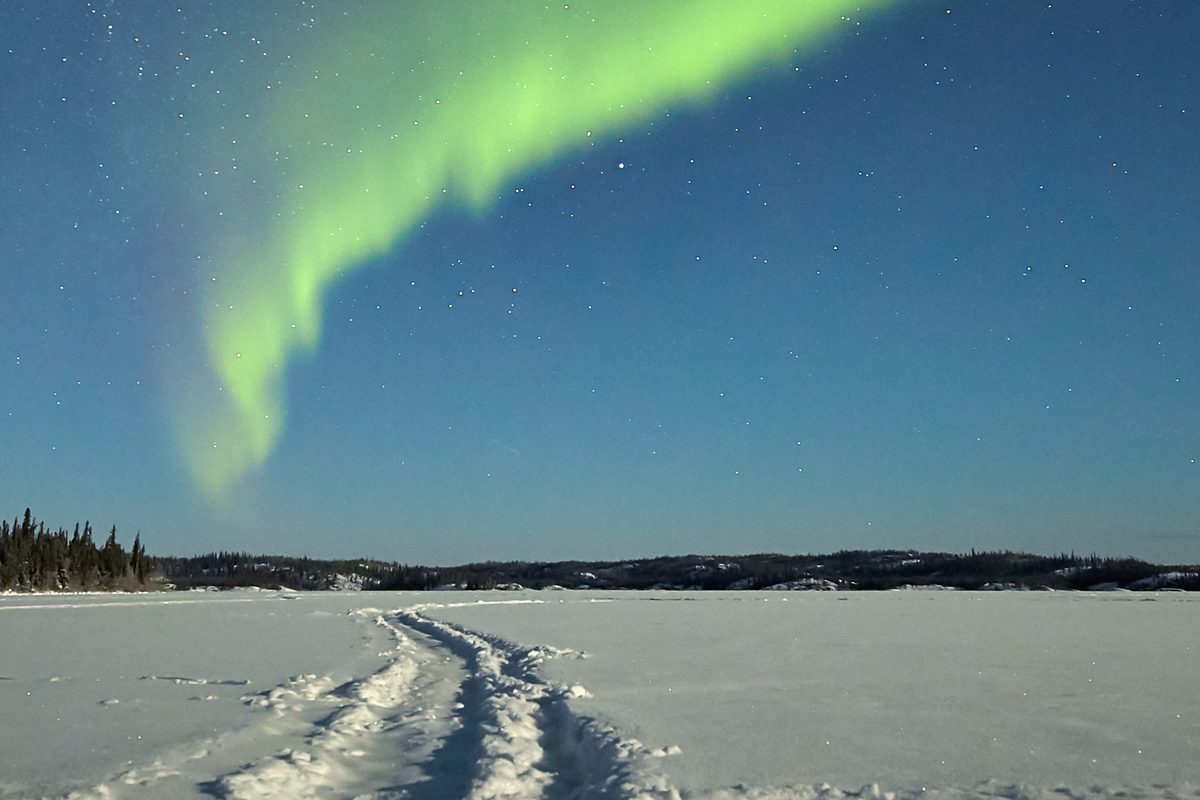
The ever-changing, green-hued shapes of the Northern Lights, illuminating the winter skies over the Arctic circle, are a fascinating experience that you can enjoy with very little preparation. Make the most of your trip to the north and bring back stunning pictures with these easy tips.
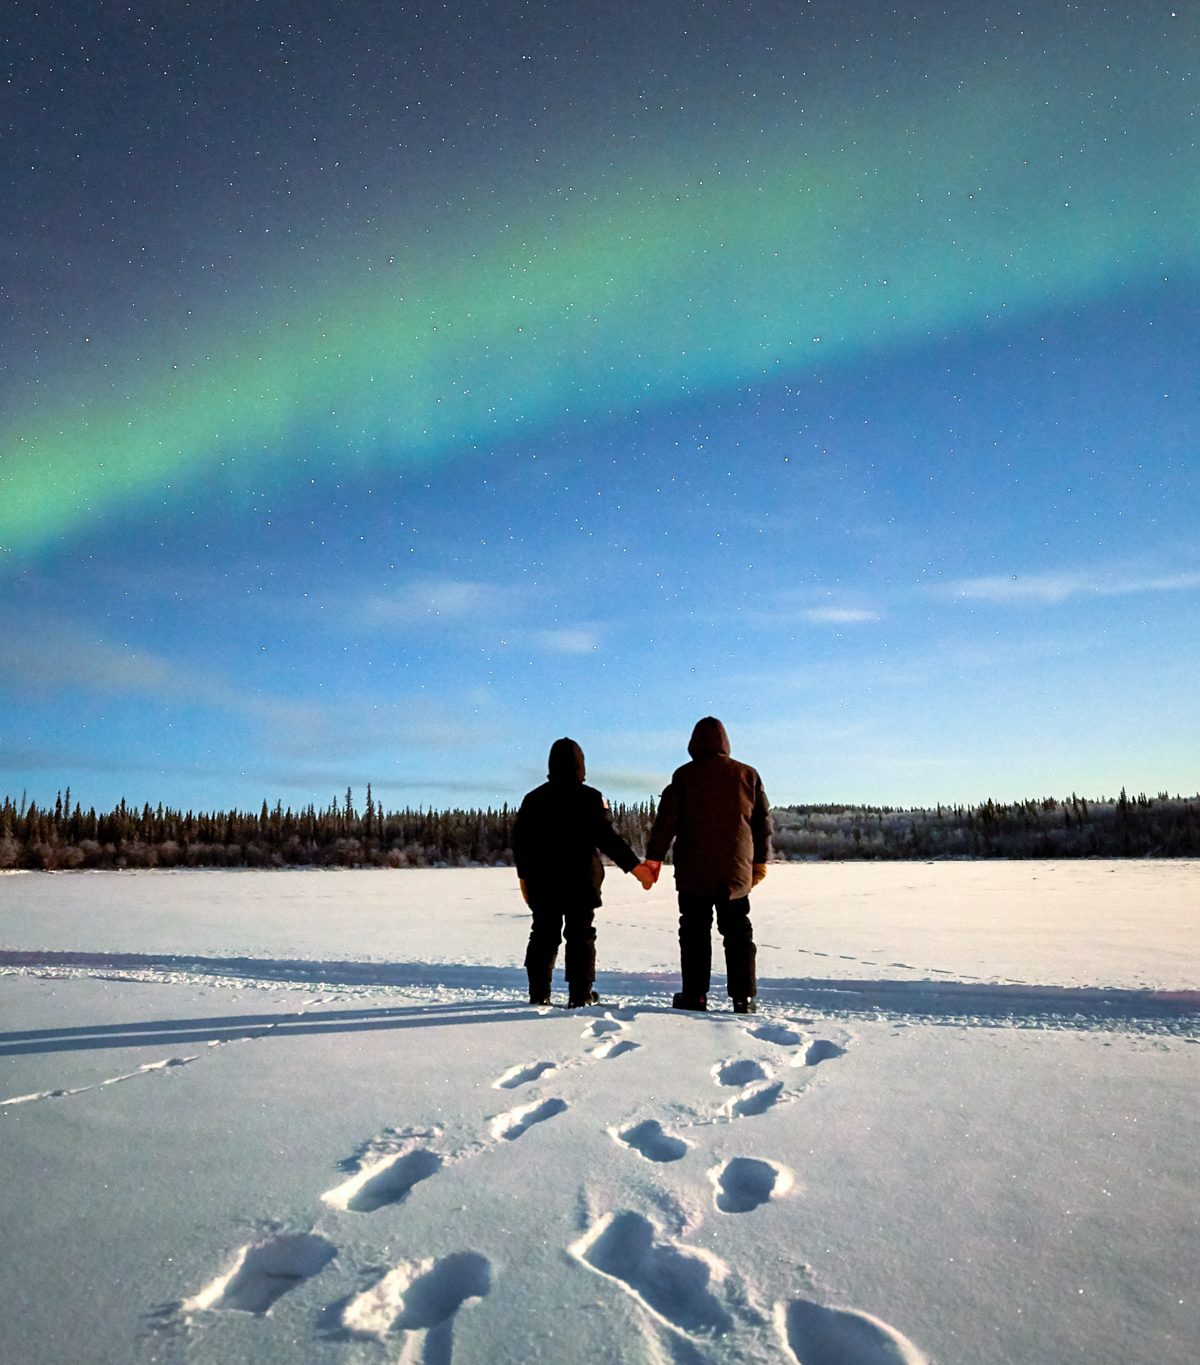
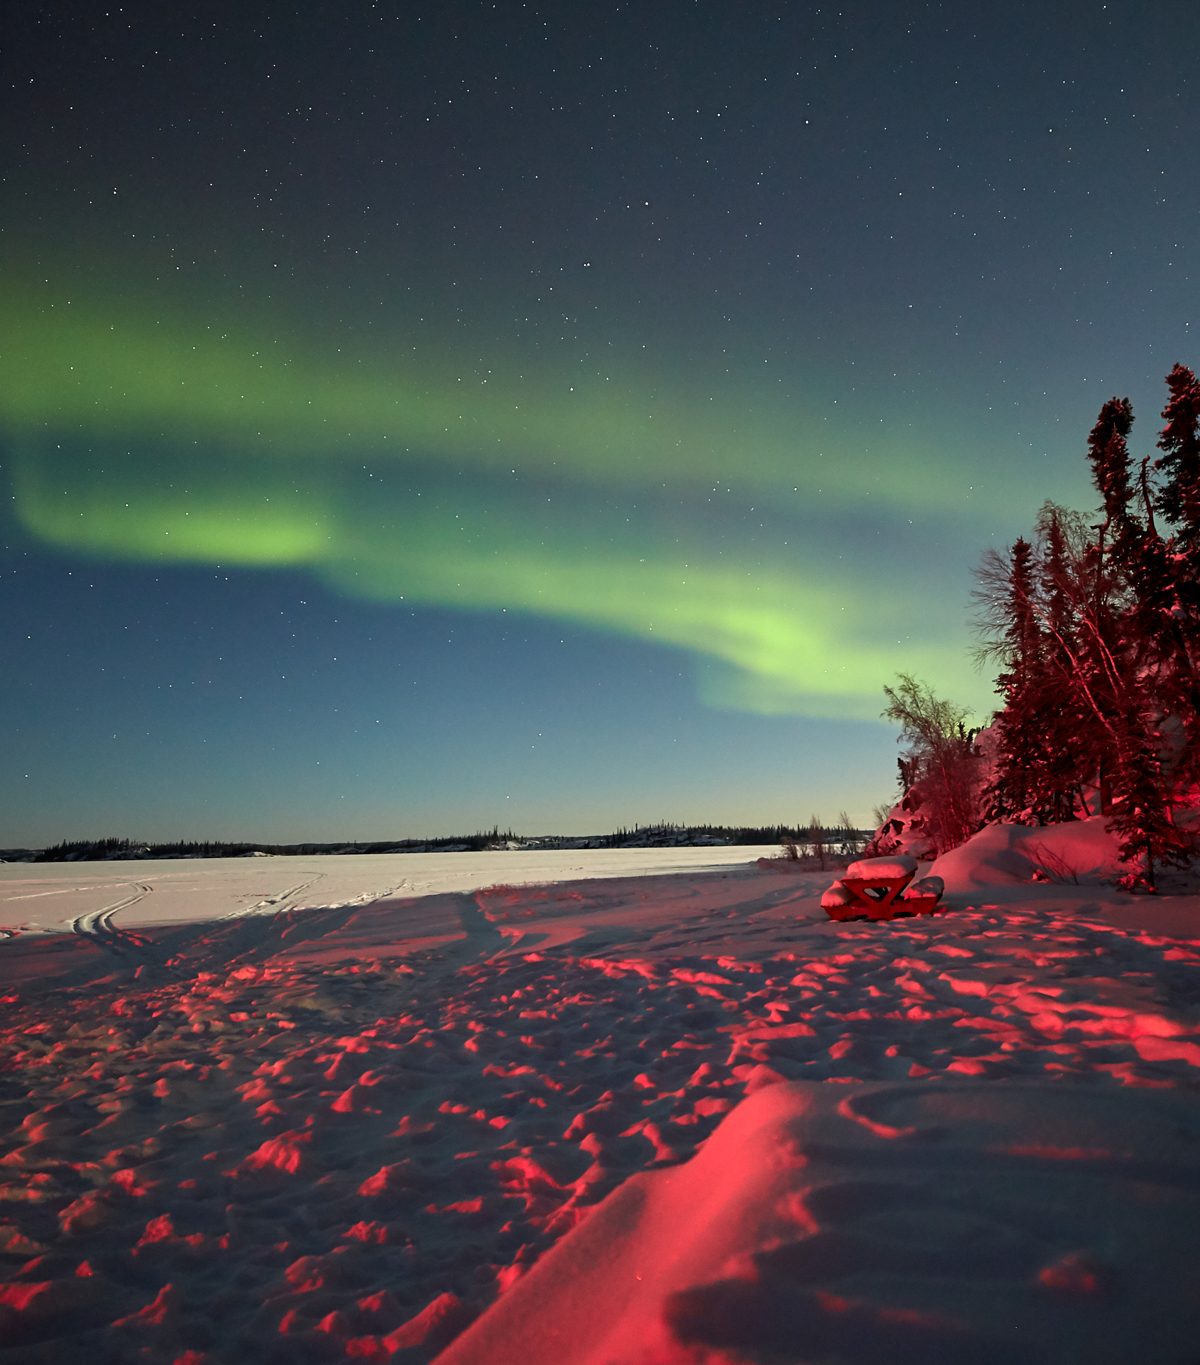
In winter, the days are short around the polar circle — so short, in fact, that the sun barely rises. That doesn’t discourage tourists from flying to Canada and enduring insanely low temperatures with one goal in mind: hunting the Aurora Borealis. Indeed, the cold and starry skies looming over the infinite forests of Canada are the theater of a once-in-a-lifetime sensorial experience that you’ll never forget. The green and ever-changing shapes of the Northern Lights fill the starry night in total silence, dancing in front of a few spectators, staring speechless with their feet in the snow. It seems so unreal that you might feel like something is going to happen, or that you just fall into another dimension.
Best Place to See the Northern Lights
The Northern Lights are a beautiful result of a chemical reaction that happens when gaseous particles in the Earth’s atmosphere collide with electrically charged particles released from the sun’s atmosphere. The reaction is best seen close to the North Pole, either on the European side in Sweden or Norway or in Canada and Alaska. Flying from the U.S., the small town of Yellowknife, Canada is one of the closest and best destinations to see the Aurora.
Best Time to See the Northern Lights
On a scale of 0 to 10, expect the lights to be brighter, at around 6 to 8 at the equinoxes, in March and September, and weaker with a scale value of 3 in December. Depending on your schedule, you might want to experience the lights during the heart of winter, with the snow covering the forest, or go there in fall to enjoy a warmer experience. Even though the Northern Lights are brightest in September, we would highly recommend the wintertime, since the snowy landscape, the short days and the extreme cold will definitively add some spice to the adventure. Furthermore, there will be fewer tourists at this time of the year which will make the whole expedition feel even more exclusive.
Planning Your Trip
Once the date has been scheduled and the plane booked, you might wonder if it’s better to go by yourself, with a rental car, or to book a tour. Even if there’s a road that you can follow with some designated spots to observe the lights, the driving conditions might be challenging and having to plug your car to stop the engine from freezing is not fun. It’s best to book a tour for three to four hours each night. You have two options:
- Teepee camp: This is nice location where you can admire the Northern Lights form a heated seat and go back to the tent to warm up when you need to. It’s easy, but you’ll see the lights from only one spot.
- Hunting tour: You’ll be in a small bus and a guide will drive you to multiple spots, looking for the best locations to see the Aurora Borealis. You’ll have the opportunity to take pictures from different angles. Going back on the bus, you’ll get hot chocolate and cookies to warm you up.
Tour operators can rent you some winter gear to help you survive the cold. On our last trip to Yellowknife in late December, we could go out despite temperatures of -61 degrees Fahrenheit thanks to the heavy-duty gear provided by Arctic Tours.
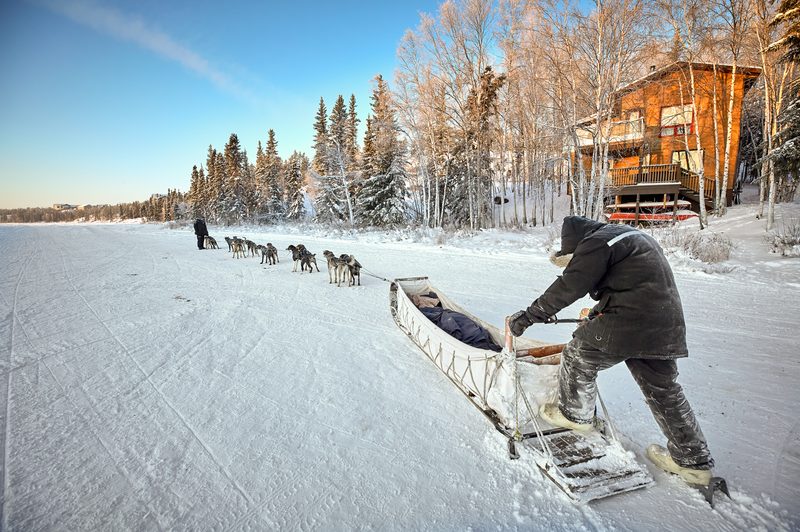
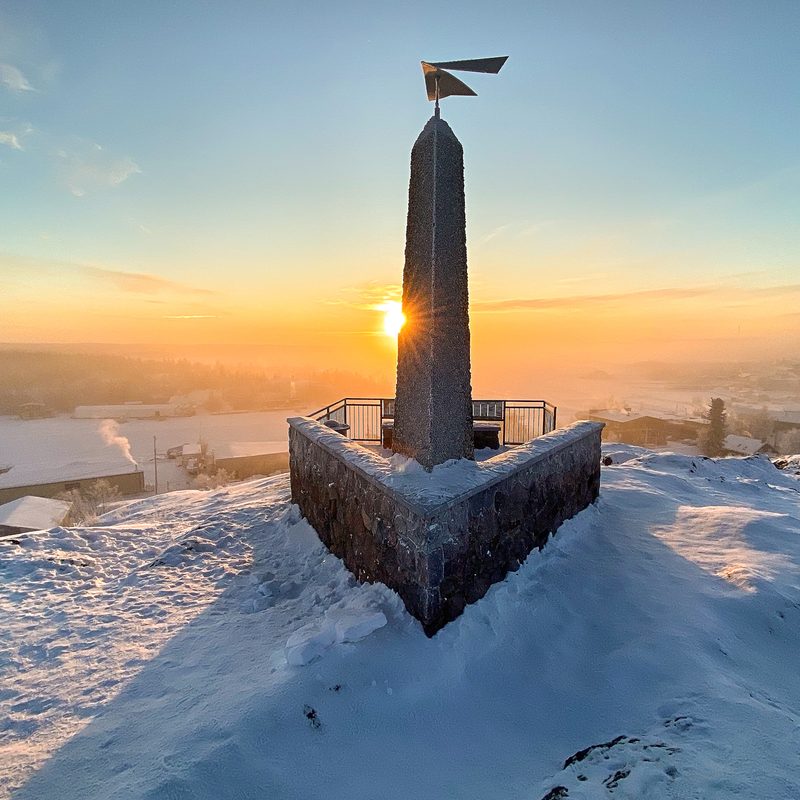
With many activities available during the day, including art galleries, ice fishing, hiking, and even dog sledding, flying up north to see the Aurora Borealis is destined to be a really fun time. To ensure that the lights won’t be obscured by clouds, it’s best to book three nights for hunting the Aurora. You’ll have more chances to get a clear sky and to bring home the perfect pictures that will make all your friends jealous.
How to Shoot the Northern Lights
Once you’re there, you can quietly observe the Northern Lights for hours. However, what you’ll see is far less impressive than what a modern camera can actually capture. For once, your vacation photographs will be more impressive than the real-life experience! There are a few steps to follow in order to capture the best images.
Tips for smartphone users:
- The best advice would be to keep the smartphone in your pocket and to resist the temptation of using it. The sensors on the smartphones, even the most expensive ones, won’t be good enough to capture the light and you’ll end up with dark and noisy pics.
- If you really want to use your fancy smartphone, download an app that allows you to use long exposures. We used Slow Shutter Cam with our iPhone. The settings will be the same as those in the DSLR section below.


Tips for using a professional camera:
- DSLR: Bring a DSLR and, if possible, select a full-frame sensor, which will best capture the low light.
- Tripod: This is mandatory. If you book a tour and forgot yours, the guide can rent you one.
- Lens: Choose a wide-angle lens with a very big aperture. A value of 4 is the strict minimum; an F:2.8 aperture will allow more light to hit the sensor and therefore offer a better result.
- Mode: Set up the camera in Manual (M) mode.
- Shutter speed: Set the shutter speed between 5 and 20 seconds, depending on the intensity of the Aurora.
- Aperture: Use the lowest number possible, i.e. f:2.8 or f:4.
- ISO: The best range is between 1,600 and 3,200.
- Focus: Slide the AF button on the side of your lens and put it in Manual (M). You can’t rely on the built-in autofocus since the night will be pitch dark. Turn the focus ring to position the red mark on infinite. Every lens has a small window on the top with the ∞ sign. Watch out Canon users — on your lenses, the exact position is on the ¬ and not on the ∞.
- Timer: Set your camera on timer mode. A delay of 2 seconds is enough to be sure there are no more vibrations left after you pushed the button to shoot your pic.
- Batteries: You’ll realize that the cold temperature has a big effect on your battery’s endurance. Bring an extra pair of batteries, keep them close to your body and charge them every day before going outside.
- Practice and adjust: When you’re all set, use the first shots to adjust your settings. Too dark? Use a longer exposure. Too bright? Use a shorter one, or reduce the ISO.
Finding the right angle:
- Always shoot your pictures away from other people or cars. Sadly, you can count on them to use flashlights and ruin your shot.
- Try to frame your picture of the sky with some object in the bottom of the image: trees, mountains, some silhouettes, a small cabin, the reflexion on a lake.
- If you shoot during winter, bring thin gloves that you’ll keep when manipulating your camera, which is not possible with the big heavy-duty gloves you’ll be wearing. You don’t want any frostbite on your fingers!
- Once the camera is set, use a remote to shoot multiple pictures while keeping your fingers in your pocket.
- Don’t shoot too many pictures. Try to enjoy the moment. But also be aware that the shapes of the Northern Lights are changing very quickly, so be alert and ready to shoot at any moment!