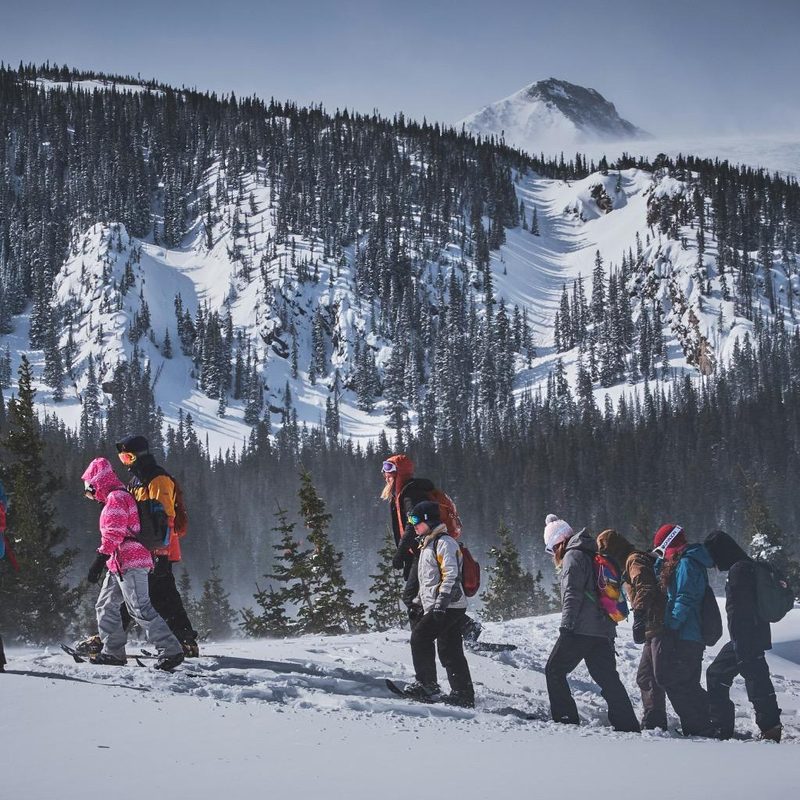
For a lot of people, winter is all about hitting the slopes and skating over ponds. But not every day needs to be a high-speed race down the mountain. When the trails are packed with snow, a good set of snowshoes can be a great workout and a source of joy as you hike through winter wonderland. That said, snowshoeing can be challenging when you first try it out. Don’t be discouraged. Here’s everything you need to know about snowshoeing, as well as how to ensure that your trip will be a great one.
How to choose your equipment
Snowshoes
Snowshoes work by spreading your weight across a larger surface area. Choosing your pair will depend on your weight and the type of terrain. Each snowshoe has a recommended weight range, so add your weight to that of the pack you’ll be carrying, and you’ll get a general idea of which snowshoes will be right for you, but you’ll also need to take the terrain into account.
Flat terrain or trails often don’t need anything more than lighter snowshoes for ease of movement. There won’t be too much snow to sink into here, so this may be all you need. But if you’re planning to venture into hilly or mountainous terrain, look for snowshoes with heel risers to reduce calf strain during ascents. For that deep powder, you’ll want large snowshoes for the greatest amount of surface area. That way, you won’t sink up to your knees. For steep or icy conditions, choose snowshoes with aggressive crampons or metal teeth.
Choose the smallest, lightest snowshoes you can, and look for a binding system that’s easy to adjust with your gloves on. That way, if you ever need to adjust anything, it won’t be that bad of a stop.
Poles
If you’ve got a pair of ski poles at home, pause for a moment before you take them snowshoeing with you. Downhill ski poles might work in a pinch, but they are shorter and designed for control and stability during fast descents.
Snowshoeing poles, on the other hand, are telescopic, which means you can change the length based on the terrain. Snowshoeing poles also have wider snow baskets to keep them from sinking in too deeply. They also might have padded straps or extended foam grips for maximum comfort.
Layering up
When you go outside, your clothing keeps you warm, dry, and alive. Dress in layers because you’ll heat up quickly. Snowshoeing is tiring, and you’ll sweat if you’re wearing a thick jacket. Wear thin base layers that wick away moisture, like merino wool or polyester, against your skin. Stay away from cotton because it absorbs a lot of water from you and the snow, sucking away your body heat in the process.
Merino or fleece work well as insulation in the middle. The top layer will be your waterproof jacket and pants to keep you dry and help break the wind. Don’t forget about a good pair of merino socks too, to keep your feet warm inside a pair of hiking boots or winter boots. Remember hats and gloves, as well as spares too.
Take a pack
Trips into the backcountry can change your life for the better, but they can also be a nightmare if something goes wrong. Having the essentials — navigation tools, sun protection, insulation, a headlamp, first aid, fire repair tools, food, water, and emergency shelter — in your backpack is essential at any time of year, but in the winter when you could be out for hours in sub-zero temperatures, they become even more important.
If you are headed out to open areas and into avalanche-prone territory, be sure to take avalanche-specific gear — a beacon, probe, and shovel — if you have it. This equipment is only useful if you have the knowledge to use it, and more importantly, if you have the knowledge to stay safe in that terrain. If you’re not sure, don’t go. Stick to lower trails or book yourself on a guided snowshoe tour instead.
Don’t forget about the UV
Snow blindness is real, as is the fact that sunny days and snow give you double exposure. You often have no shelter from the sun on the slopes, and with it reflecting off the snowpack, you can find yourself getting more burnt than you would in the summer. Snow blindness happens when the UV rays bounce off snow and ice and reflect into your eyes.
Stock up with high factor sunscreen and be sure to pack your sunglasses when you head out snowshoeing. Even on cloudy days, you may find that you need to pull them from your pack halfway along the trail if you find yourself burning or your eyes getting sore.
How to walk in snowshoes
It can take a little time to get used to walking in snowshoes because they’ll kind of feel like flippers. Walk normally with the poles in your hands, swinging your arms just like you do when you run.
Here are a few tips to get you started:
- Flat ground: On flatter ground, try to walk as normally as possible. Your hips will be slightly wider apart and you might find that your muscles ache a little the first few times you head out on your snowshoes. This is perfectly normal.
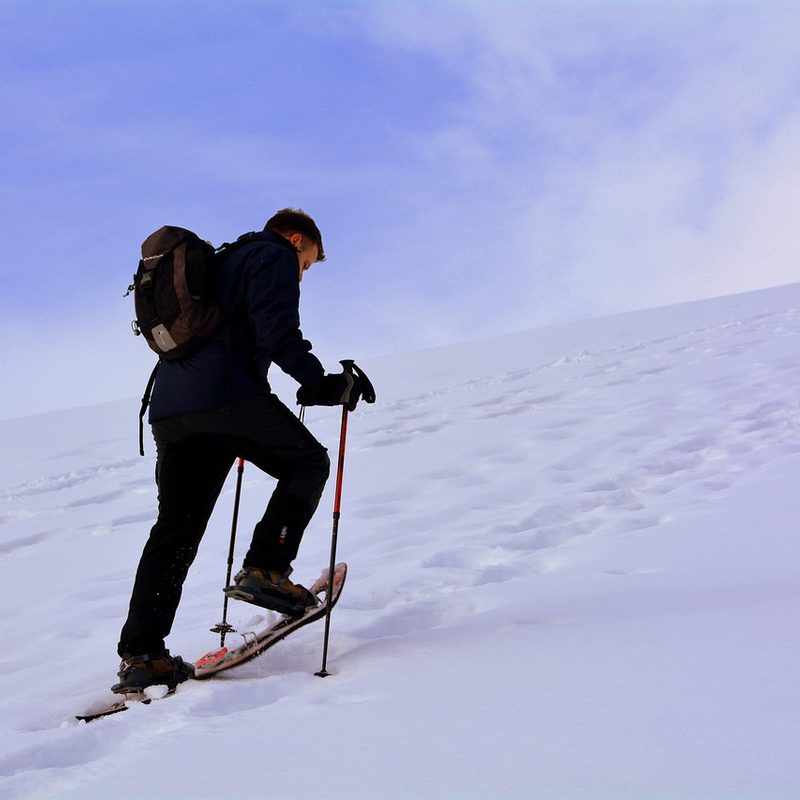
- Kick forward during uphills: When you head uphill, you may need to kick forwards into the snow to get a good grip and create a step. If your snowshoes have risers on them — a small bar that can raise at the back — use it to prevent over-straining your calf muscles.
- Land heel first on downhills: When you’re snowshoeing downhill, try to land heel-first and let the back of your snowshoes drag in the snow. This takes some practice and the movement feels a little like ice skating, but stops you from tripping over your snowshoes. Keep your poles out in front of you as you go.
- Use your poles: Plant them in the snow about a foot in front of you, then bring one forward again the next step, alternating with your feet. Does the snow over that creek look like it’s going to collapse, sending you face-first into the frozen water? Test it with your pole first.
With a little practice, you will quickly find yourself exploring trails that you had thought were out of bounds when the snow was deep. These tips will not only help you get to grips with snowshoeing, but to stay out for longer this winter.