
Remember back in the day when pulling out your multitool entailed the multi-step process of reaching to the side or back of your belt, opening a pouch sealed with velcro or a snap, and then finally pulling the actual tool out so you could do some screwing/cutting/measuring/wire crimping/etc.? It was an onerous proposition, and many a man simply left his multitool in its pouch, instead extracting a screw or loosening a bolt with his teeth to save time.
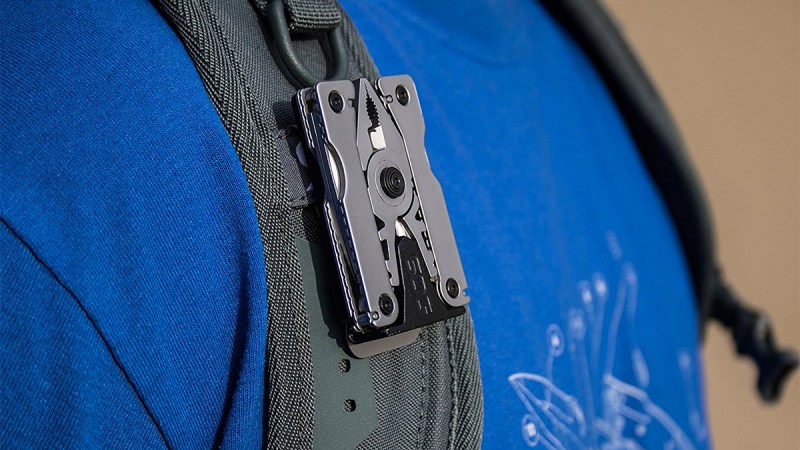
Thanks to the SOG Sync multitools (the Sync I and II), the aforementioned process is a thing of the past. That’s because with either SOG Sync, the multitool itself is your belt buckle.
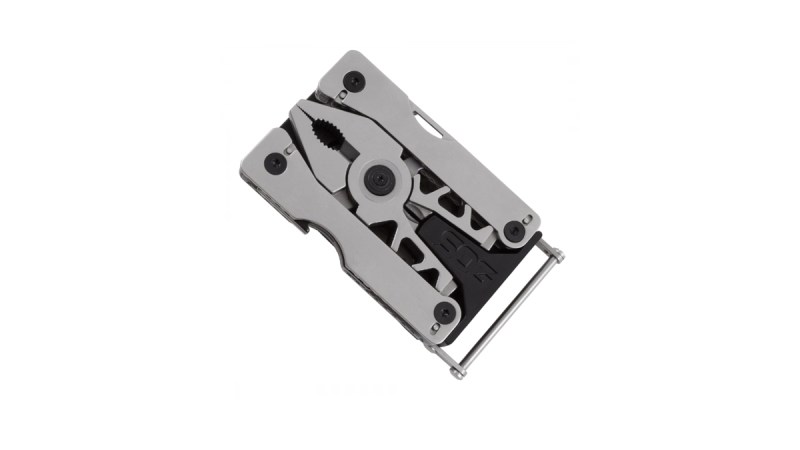
Alright, yes, I was being flippant: pulling a multitool out of a pouch is not very hard, nor is it time consuming. Simply tucking the tool into a pocket or into a toolbox is also a viable option for storage. But the fact that does make them that much easier to access: You release a SOG multitool from its base — which continues its noble service as your pants-retaining buckle or stays clipped onto a pack strap. Then, simply unfold it into its pliers/knife/scissors/etc. configuration, use it, and then you clip the tool back onto its base and get on with your day. Easy, convenient, and even a fine conversation starter (with some people. Maybe a deterrent with a select few, to be fair).
But… are SOG Sync multitools good at serving their core purpose, i.e. being a multitool? Well, let’s take a closer look at each of these compact devices.
The SOG Sync I
The SOG Sync I retails for $67 if you buy it directly from the manufacturer, and when you do so, you are eligible for the brand’s lifetime warranty against defects. So you know they believe in their gear, which is a good sign. The Sync I weighs 2.6 ounces by itself, and 4.8 ounces when paired with its base; even that “heavier” weight is still nice and light, making this a fine option for the hiker or climber who wants some tools at hand. Note that the slot through which you thread a belt is rather narrow, though — certainly too narrow for a thicker belt commonly used for webbing or with a hiking pack — so you’ll likely be obliged to use this tool clipped onto a strap, not as a belt. (For everyday belts, it will fit fine.)
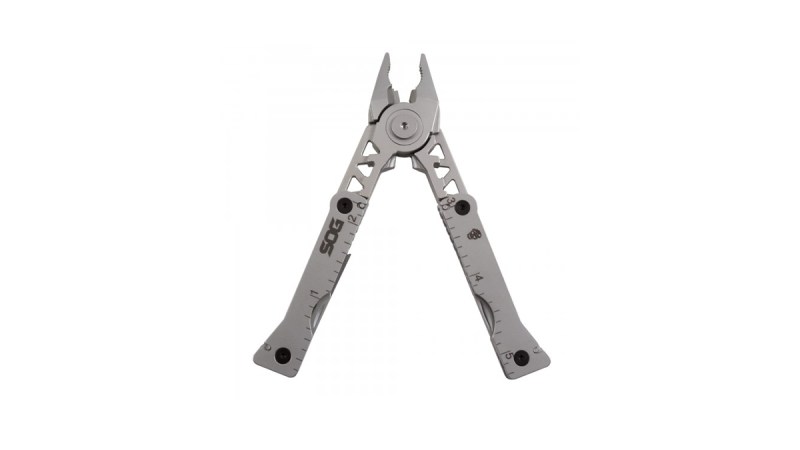
The Sync I features eleven tools. These are (from top to bottom) pliers, a gripper (for bolts and such), a wire cutter, wire crimpers, a bottle opener, a file, a blade, an awl (which is essential just a shorter narrower blade here), a flathead screwdriver, a “jewelry driver” (which is really just an even smaller screwdriver), and ruler markings lining the handles.
Here are the things I like about the Sync I: it’s quite light, as noted. And it folds up small enough (less than 2.5-inches long) to slip into any pocket. The blade is razor sharp and the pliers provide plenty of leverage for such a small tool. It feels good in the hand and its bead-blasted zinc alloy design makes the Sync I highly resistant to corrosion.
As for the drawbacks? I have a lot more use for a compact saw than I do for a file. I’d also gladly trade the jewelry driver for scissors. In fact, I’d trade the driver, awl, and the file for scissors or for a saw, and it would not surprise me if a designer could fit both those tools in with the removal of the other three. This is a small tool, and nothing can be everything to everyone; I’m sure this configuration was carefully reasoned and is ideal for many people, but for me — who spends more time outdoors than tinkering with very small screws — those are my two cents.
The SOG Sync II
The SOG Sync II sells for $80, and while that’s almost double the price of many ostensibly similar options from brands like Leatherman or Gerber, you can count on a damn good quality tool here– and again, one that is backed by a lifetime warranty. The Sync II weighs 8.9 ounces with its base, and just five ounces as a tool alone. Remember, you don’t have to use it as a belt buckle or clipped to a pack; you can always just bring the multitool itself. Opened, the Sync II measures 5.8-inches long. It’s large enough for as solid a grip as you get with any standard pair of needle nose pliers. The handle size also allows for a nearly three-inch locking blade (again sharp as hell) that can be used for everything from cooking to woodworking.
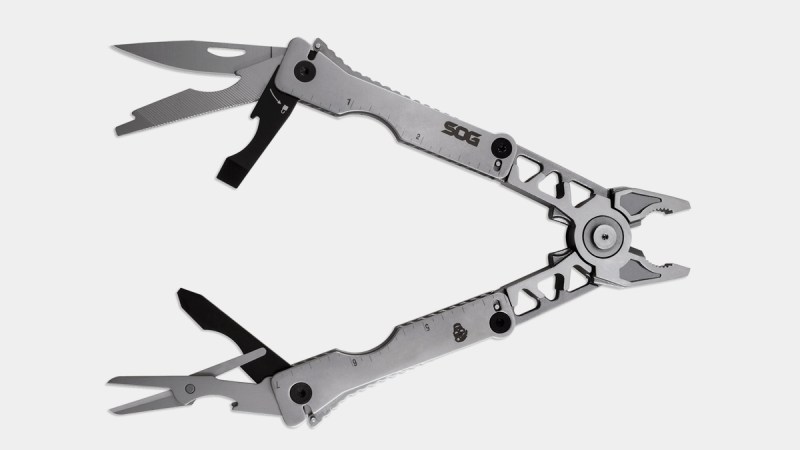
Here’s the rundown on the tools packed into the Sync II: pliers, gripper, wire cutter, wire crimpers, bottle opener, blade, scissors, file, flathead screwdriver, phillips screwdriver, and the ubiquitous ruler. So again, eleven tools. I very much like the inclusion of the phillips driver, and the scissors are large enough for many a-task.
My main complaint? The base is just too heavy. It weighs a hair less than four ounces, meaning it accounts for almost half of the weight of the package. Five ounces might not sound like much, but any experienced mountaineer will tell you that carrying too much weight is a death-by-a-thousand-cuts scenario; it’s caused by a few too many ounces here and there, not because you chose to hike with a fifteen pound weight in your pack for training purposes only to be forced to leave the weight in the woods after you got hopelessly off-trail due to a bushwhacking shortcut through a series of ravines, Ryan. (Yeah, true story.)
And again, I’d prefer a saw to a file. But maybe that’s just me.


