How To Make Perfect Tortellini Arso

tortellini arso
Image used with permission by copyright holder
Feasting is our column dedicated to cooking, grilling, eating and discovering what’s on the menu across America and the world.

Many of our favorite dishes come from humble beginnings. Peasant foods like polenta and ratatouille were cheap and filling options when there was little or nothing else to eat. As we know, these dishes have climbed their way up through the culinary ranks and onto modern restaurant tables—not just because they’re delicious, but because they’re nostalgic as well. But there’s one peasant dish that we weren’t familiar with until we saw it on the menu at Barano, a seasonal Italian restaurant located in Brooklyn’s South Williamsburg neighborhood.

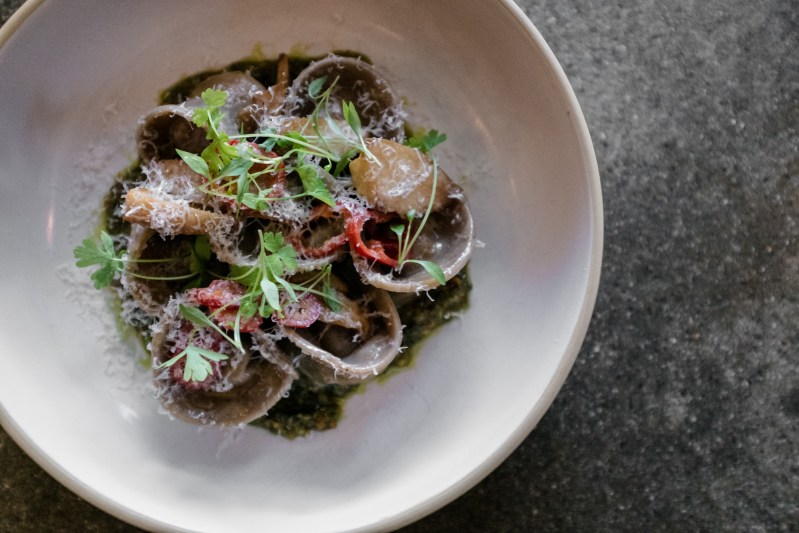
Pasta arso, or burnt flour pasta, is a traditional preparation from Italy’s Puglia region. Peasants would scour burnt wheat fields or sweep the burnt flour leftover from baking bread out of wood burning ovens. This burnt flour, or grano arso, was mixed with regular durum flour to take the supply further, and it gave bread and pasta a wonderful toasted quality in the process. Barano chef Albert di Meglio was inspired by this tradition and decided to put it on his menu in the form of Tortellini Arso—a mouthwatering preparation that includes a luscious ricotta basil filling and savory, herbal pistachio pesto.
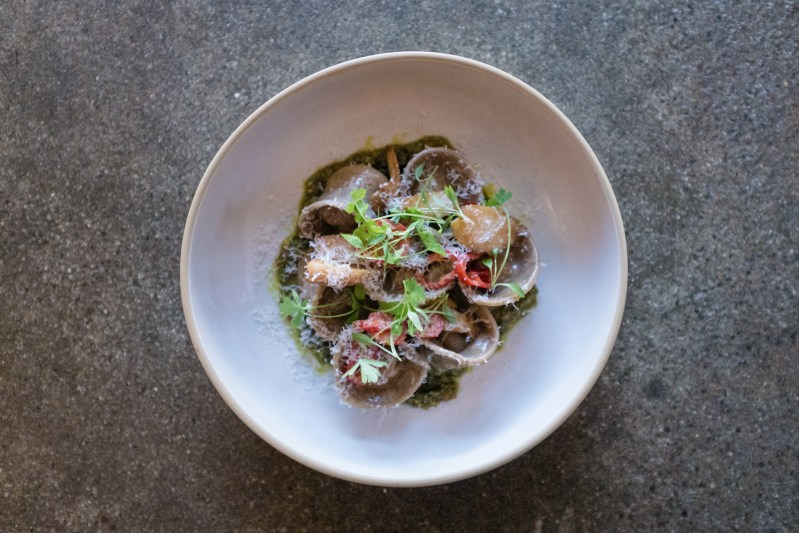
final dish 3
Image used with permission by copyright holder

One bite and we were so hooked, we needed to learn how to make it at home. So we went into the Barano Kitchen with Chef di Meglio and documented the process so you can try it for yourself, too.

Tortellini Arso
arso-flour
Image used with permission by copyright holder

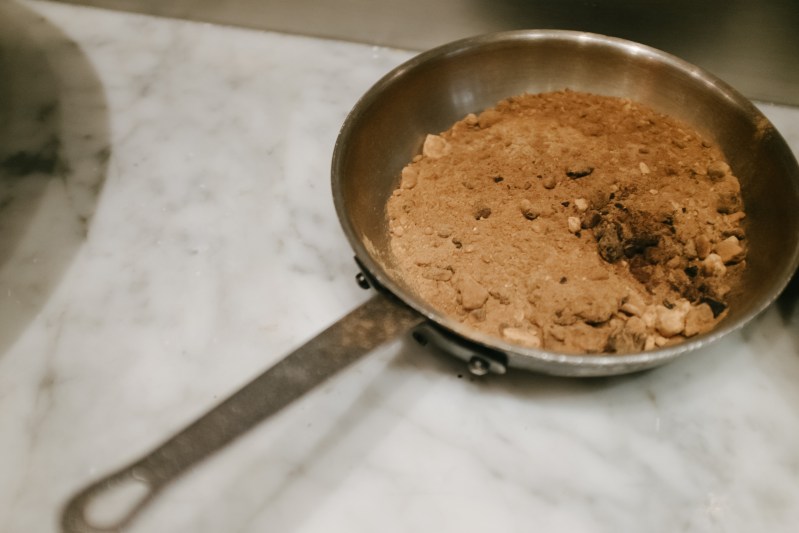
For the arso flour:

  • 125 grams durum flour

Preheat the oven to 400 degrees. Spread flour on a baking sheet or in a cast iron skillet. Bake for 30-40 minutes, stirring once or twice, until dark in color and charred around the edges. Remove from the oven and let cool.

For the arso pasta dough:

  • 125 grams arso flour
  • 320 grams durum flour
  • 320 grams wild hive bread flour 00
  • 25 grams salt
  • 75 grams extra virgin olive oil
  • 5 eggs
  • 100 grams water

Combine the dry ingredients and wet ingredients separately. Add the dry ingredients to a mixing bowl with a dough hook. Start to add the wet ingredients until they incorporate well. The dough may look crumbly—that’s okay. Roll it together in plastic wrap and refrigerate for at least 2 hours.
filling
Image used with permission by copyright holder

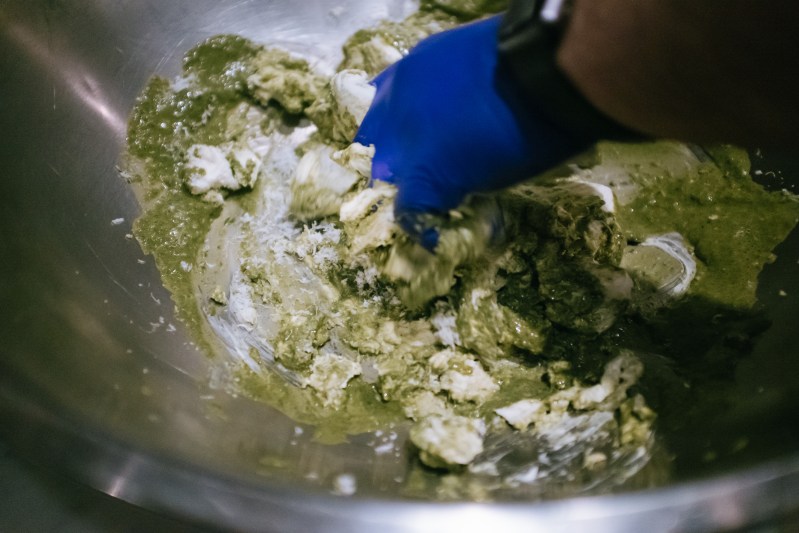
For the lemon basil ricotta filling:

  • 575 grams ricotta impastata
  • 1 egg
  • 40 grams basil
  • 6 grams salt
  • Zest of 1 lemon
  • 45 grams Pecorino

First, puree the eggs and basil together. Then using your hands or a spoon, combine all ingredients until they are well mixed.
pesto
Image used with permission by copyright holder

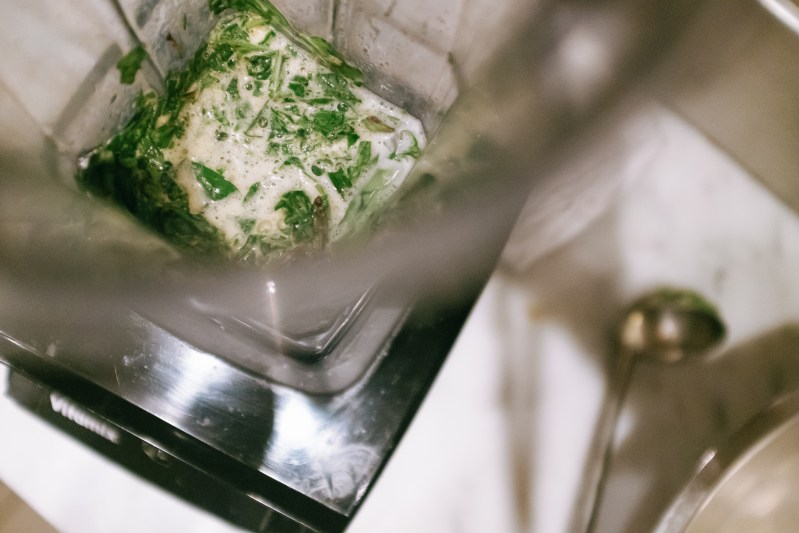
For the pistachio pesto:

  • .5 pound toasted pistachios
  • 75 grams roasted garlic
  • 21 grams blanched chervil
  • 21 grams blanched chives
  • 40 grams parsley
  • 60 grams pecorino
  • 165 grams blended oil (like Colativa)
  • 65 grams extra virgin olive oil

Add all ingredients to a blender and mix until smooth.

For serving:

  • Sliced trumpet mushrooms
  • 1 small red chili, sliced
  • Parsley
  • Grated Parmigiano-Reggiano

To assemble:

Using a pasta machine, roll the dough out so it’s thinner than 1/16 of an inch. Lay the dough on a floured surface.
cutter
Image used with permission by copyright holder

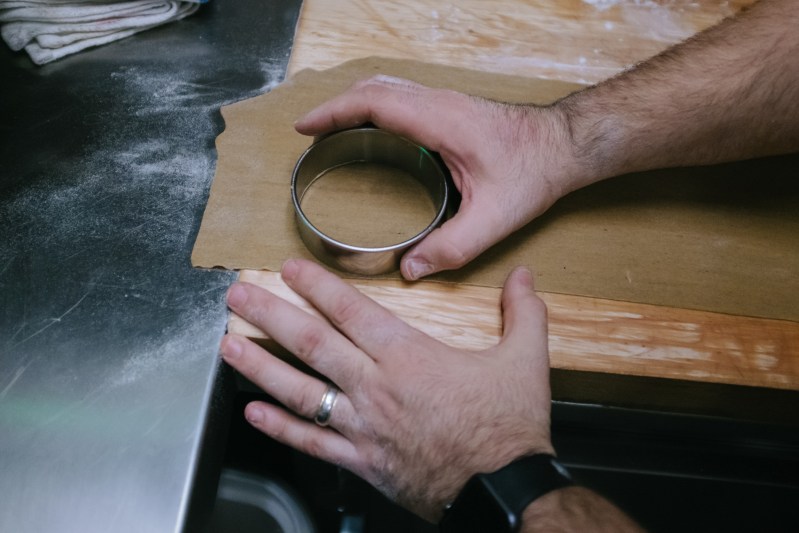
Use a round cookie cutter, biscuit cutter or ring mold (about 2 inches in diameter) to cut circle shapes from the rolled out dough. Re-knead the leftover scraps, roll out another sheet and repeat.
filling-pastry-bag
Image used with permission by copyright holder

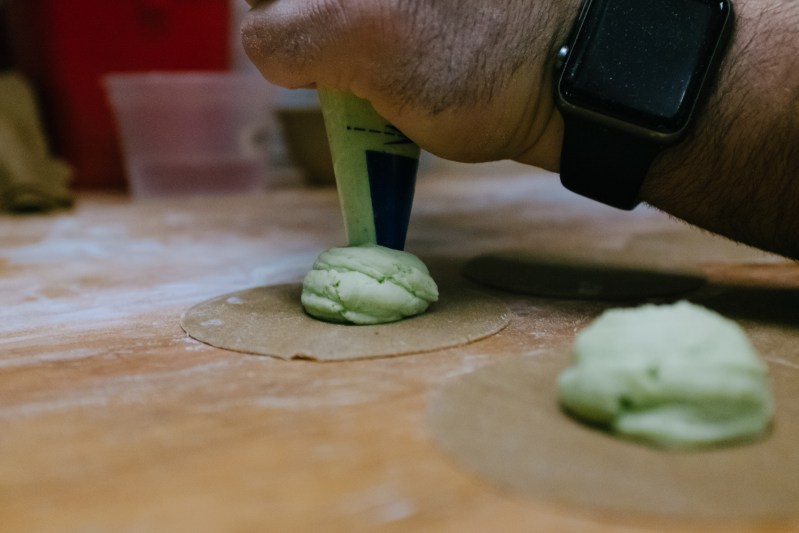
Add the lemon basil ricotta filling to a pastry bag. Place half a teaspoon of filling in the middle of a dough circle. Using your index finger—or a pastry brush if you prefer—add a thin layer of water around the outside edge of the circle.
seal
Image used with permission by copyright holder

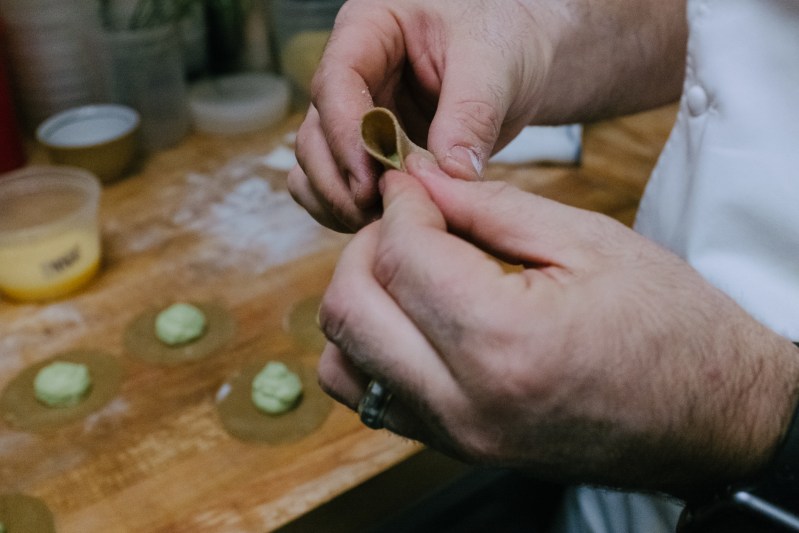
Gently fold one side over the other to form a semicircle. Press the edges together to seal the filling inside.
corners 2
Image used with permission by copyright holder

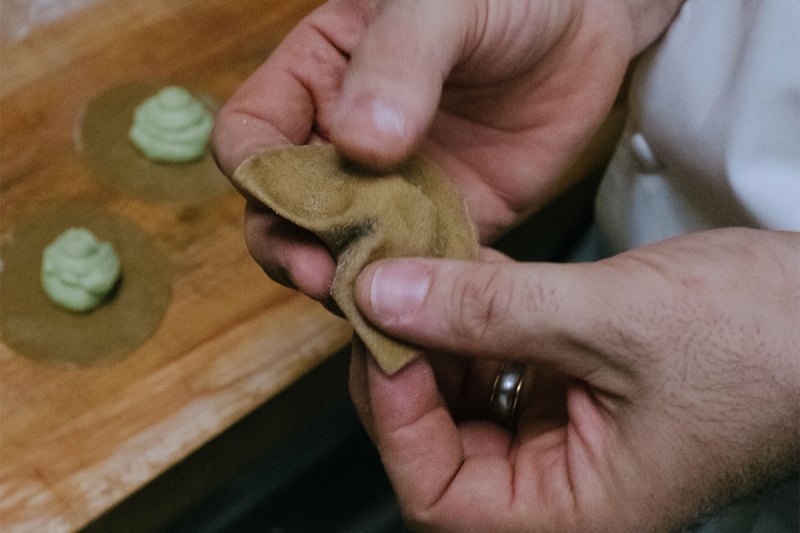
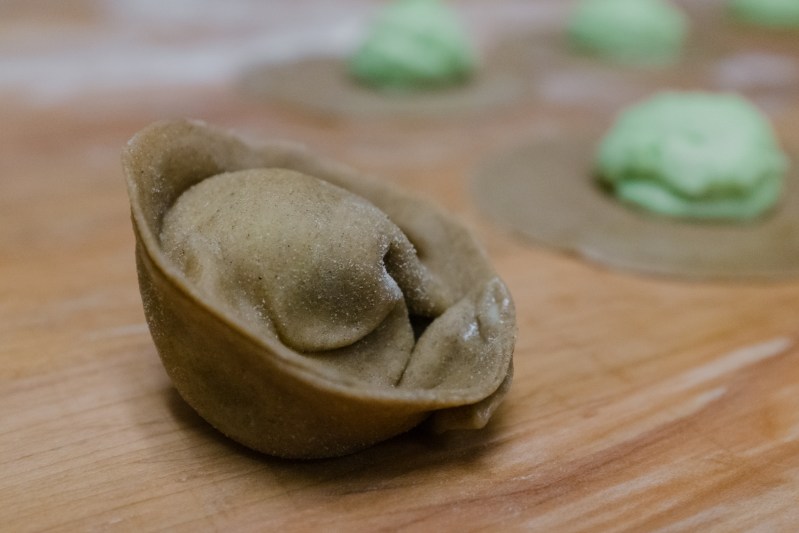
Carefully bring the corners of the semicircle together—at this point, the tortellini will look a bit like a fortune cookie.
complete-tortellini
Image used with permission by copyright holder

Tuck one corner behind the other and gently squeeze them together.
mushroom
Image used with permission by copyright holder

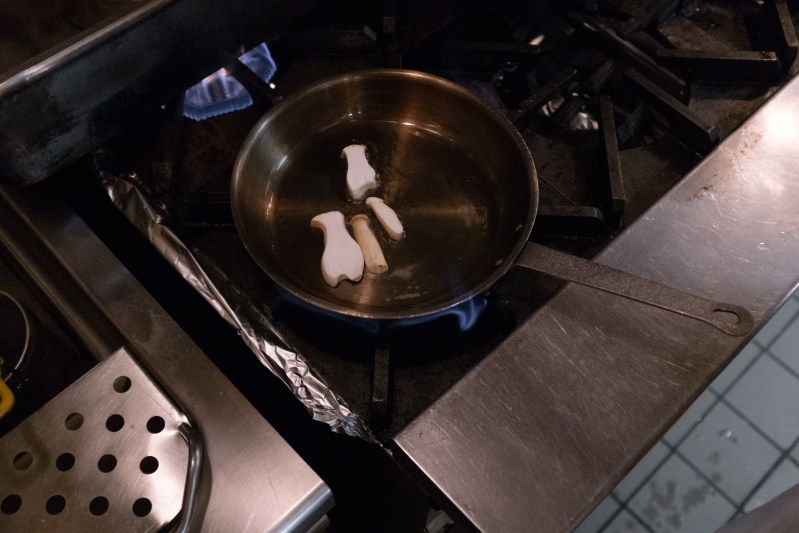
Add the sliced mushrooms to a pan with olive oil and sauté over medium heat until they start to soften, about 2 minutes.
everything-in-pan
Image used with permission by copyright holder

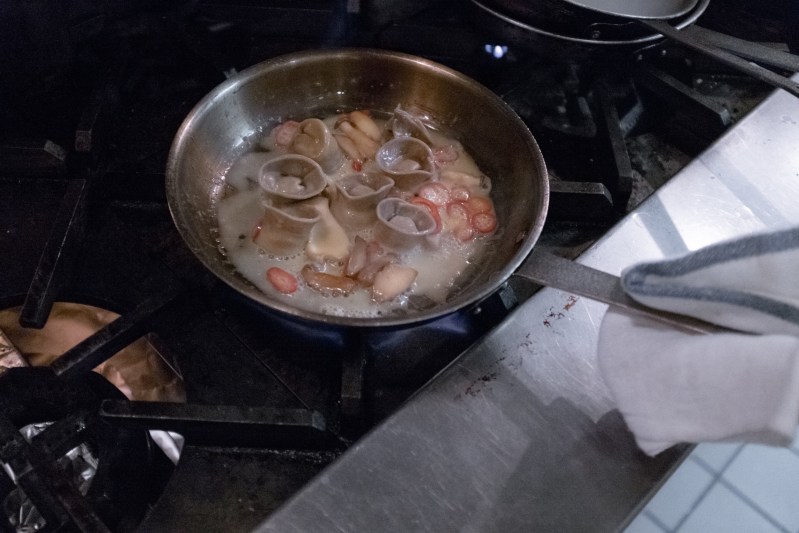
Add the tortellini, chili and a little water to the pan. Cook until the tortellini is al dente around the edges, 4-5 minutes.
pesto-bowl
Image used with permission by copyright holder

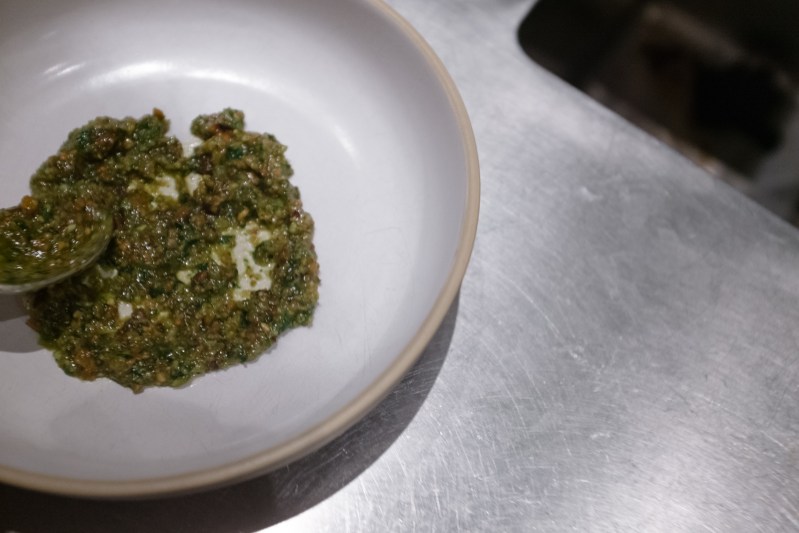
To serve, spread some of the pesto on the bottom of a bowl. Arrange the tortellini, chilies and mushrooms on top of the pesto. Serve with fresh parsley and grated Parmigiano-Reggiano cheese.
final dish 2
Image used with permission by copyright holder

Photo story by Max Schwartz

Amanda Gabriele
Amanda Gabriele is a food and travel writer at The Manual and the former senior editor at Supercall. She can’t live without…
The 10 best rosé wines that everyone should drink
It's time to finally try rosé
Rose wine glasses

Rosé rules -- no ifs, ands, or buts. You’ve most definitely seen dudes drinking rosé, with the pink wine sold in forties. Chances are, you’ve heard the term “brosé” at least once or twice in your life. Heck, people are cooking with rosé. Can you believe that? It's a sweet wine worth talking about.

All this talk about the drink prompted us to go on a quest to find the most exceptional ones this rosé season. With plenty of great options in the market, we chose to narrow down our list to these best rosé wines for your next hot date, guys' night, or solo Netflix binge. Still reluctant to try this magical wine? We listed seven reasons why you should start drinking rosé.
Best rosé wines

Read more
How to start your own home bar: the essential spirits
Home Bar

When you start getting into cocktails, drinking them is only half the fun -- making them is part of the appeal too. If you start making your own drinks at home, you'll soon find that you can often create better or more interesting drinks than what you're served in most bars. And even better, making drinks for other people is a great way to try out new combinations, learn about spirits, and make your friends and family happy too.

However, moving beyond the simple spirit plus mixer style of drinks which most people make at home and into the world of cocktails means that you'll need a wider array of spirits on hand than you might be used to. It can take some time and research to build up a well stocked bar, and choosing high quality spirits isn't a cheap endeavor. It's worth it, though, for the pleasure of being able to try out classic cocktail recipes and experiment with making up your own creations too.

Read more
You’re overlooking the most important ingredient in your cocktail
Steel Hibiscus cocktail.

When you list off the most important parts of making a good cocktail your mind likely goes immediately to good ingredients: quality spirits, freshly squeezed citrus juices, and well-matched mixers. You might also consider the importance of using the right tools, like getting a proper mixing glass so your stirred drinks can be properly incorporated, or a good strainer so that there aren't little shards of ice in your cocktails. And then there are the fun additions like elaborate garnishes, bitters, or home-made syrups which can add a personal touch to your drinks.
All of those things are important, absolutely. However I think there's one ingredient that can make or break a good cocktail, and it's something many drinkers don't ever stop to consider. It's the humble but vital ingredient of ice.

Why ice is so important
In mixed drinks like a gin and tonic or a screwdriver, ice is added to the drink primarily to chill it down to a pleasing temperature. That's a topic we'll come back to. But in cocktails which are shaken or stirred, ice is far more important than that. Cocktails are typically composed of between around 20 to 30 percent water, and this water comes from the ice used in the preparation process.
When you stir ingredients in a mixing glass or shake them in a shaker with ice, you are chipping away small pieces of the ice so that it dissolves and blends with your other ingredients. You might imagine that water doesn't make much of a difference to taste, being tasteless itself. But it's vital in opening up the flavors of other ingredients. That's why many whiskey drinkers like to add a dash of water to their whiskey when they drink it neat.
If you're ever in doubt of how important water is to cocktails, it's worth trying to make a drink with no ice. Even if you mix up the ideal ratios for a drink that you love and put it into the freezer so that it gets to the chilled temperature that you usually enjoy it at, if you sip it you'll find that your drink tastes harsh, unbalanced, and incomplete. Even for special room temperature cocktails like those designed to be drunk from a flask, you'll generally find water being added at a rate of around 30%.
When you make your cocktails you should be sure to stir for a long time – around 30 seconds is a good start – or to shake for a good while too – I typically do around 12 to 15 seconds – in order to melt enough ice to get plenty of water into your cocktail. Despite what you might imagine, this won't make the cocktail taste watery but will rather make the flavors stand out more as well as often improving the mouthfeel of the drink. A good rule of thumb is to mix or shake until the vessel is cold to the touch. That means your ingredients are sufficiently incorporated with the ice.

Read more