If you’ve ever been to Hawaii and had breakfast, then chances are you’ve come across loco moco on the menu (unless you stayed ensconced in your hotel and didn’t go out and experience what the islands have to offer, of course). A staple dish if there ever was one, loco moco is a great mix of proteins and cereal grain, and more that allows you to have a hearty breakfast without feeling too full.
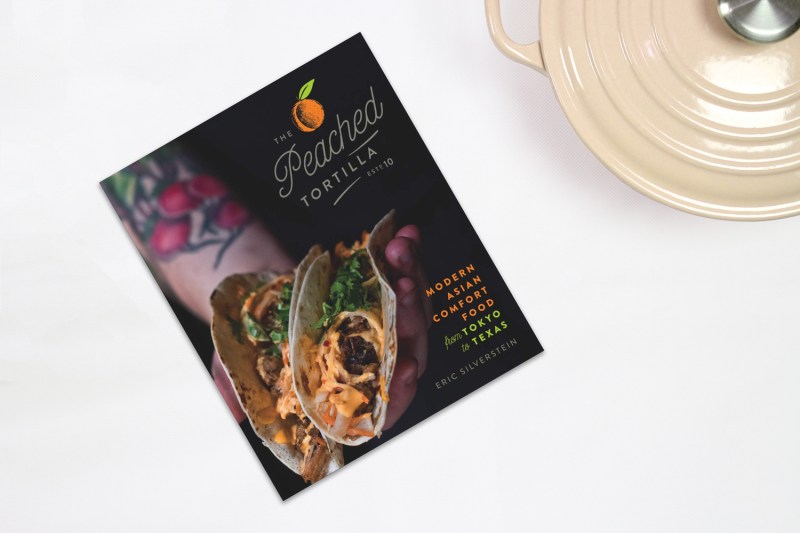
The fun things is that it’s also easy to make. We reached out to Eric Silverstein, author of The Peached Tortilla (and recent guest on The Manual Podcast) for his take on the classic dish. As you’ll see from this recipe in the book, he took the dish and ran with it, spicing it up with some dashi and other fun ingredients.
Loko My Moco

(Serves 4)
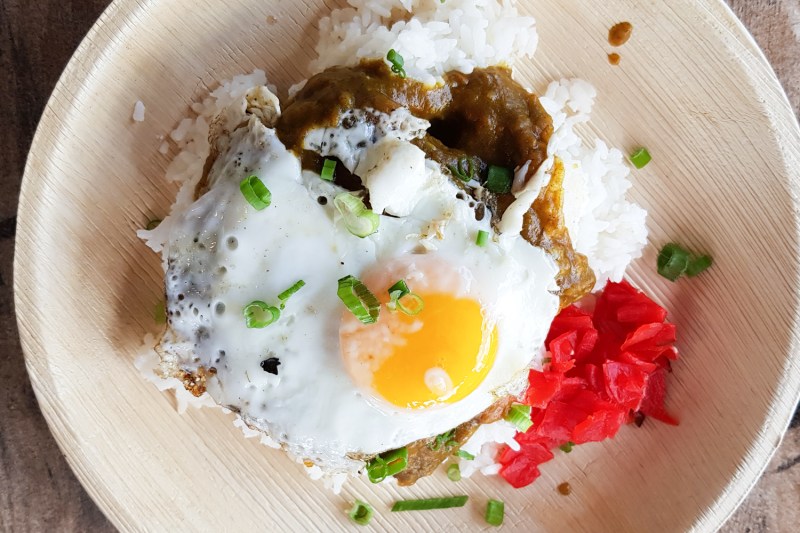
The loco moco, one of Hawaii’s stable dishes, is still a relative unknown outside of Hawaii and the West Coast. It’s something I can imagine Hawaiians waking up to, and filling their stomachs with, before hitting the beach for a morning surf. It’s basic in the sense that the main elements are a hamburger and a fried egg. However, I kick it up a notch with a dashi gravy that really adds a layer of flavor to the overall dish. You can make the dashi and caramelized onions the day before, and focus on the rest of the dish when you get up to make it for breakfast or brunch.
Ingredients:
For The Dashi Gravy
- 4 tbsp unsalted butter
- .25 c + 2 tbsp flour
- 2 c Dashi (see below for recipe)
- .25 c beef broth
- 2.5 tbsp heavy cream
- .25 tbsp white pepper
Method:
- Melt the butter in a small saucepan over medium-low heat. Once the butter is melted, slowly whisk in the flour to make a roux.
- Reduce the heat to low, and continue to stir and cook the roux until it turns brown. When the roux is cooked it will have a nutty aroma. This should take 7-8 minutes.
- In a separate saucepot, heat the dashi and beef broth over medium heat.
- Add the cream to the cooked roux and continue to whisk the mixture over medium heat. Taste the roux and make sure there is no taste of flour on your tongue. This is important, as you don’t want the taste of the flour to make its way into the gravy.
- Slowly add the hot dashi and beef broth to the roux.
- Add the white pepper to the gravy. Keeping the heat on medium-low, whisk the gravy frequently until it thickens. It should thicken in 3-4 minutes. Keep the gravy covered hot, over low heat, until you are ready to serve.
Assembly
Ingredients:
- 2 tbsp vegetable oil
- 4 (4-oz) hamburger patties
- Pinch of kosher salt
- Pinch of freshly ground black pepper
- 4 eggs
- 2 c jasmine rice, cooked
- 4 tbsp Miso Caramelized Onions (see below for recipe)
- .75 c green onions, chopped
- Fried shallots, for garnish
- Togarashi, for garnish
Method:
- Heat a large skillet over medium-high heat and add 1 tablespoon of the oil. Season the hamburger patties in the skillet. You may need to do this in two separate pans simultaneously. Alternatively, you can do this in rounds, in the same pan.
- When you start to see the blood run through the meat, flip the patties. For a medium cook on the burgers, you will need to fry them another 2 minutes before taking off the heat.
- In a separate pan, using the remaining 1 tablespoon of oil, cook the eggs, sunny side up, over low heat. Season them with salt and pepper. It’s very important to control the heat when cooking eggs. If the heat is too high, you will overcook the bottom of the eggs and they will be rubbery.
- Spoon ½ cup of cooked rice onto the bottom of a plate. Spread the rice out so that it isn’t a mound. Place a tablespoon of Miso Caramelized Onions on top of the rice.
- Lay the cooked burger patty on top of the rice, and then place a fried egg on top of the burger patty. Using a large spoon or a ladle, spoon some of the dashi gravy on top of the egg and burger patty, leaving the yoke exposed.
- Garnish the dish with green onions, fried shallots, and a punch of Togarashi.
Dashi
(Makes about .5 gallon)
Ingredients:
- 1 sheet Kombu (approximately 8 x 8 inches; about 2 oz)
- 2 dried shitake mushrooms
- About 1 oz (approximately 1 c loosely packed) Katsuobushi
Method:
- Pour .5 gallon of cold water into a large cooking pot. Place the kombu and shitake in the water and let them soak for 30 minutes.
- Place the pot on the stove over super-low heat and let the temperature of the liquid heat up for the next 15 minutes, making sure that it does not come to a boil.
- Add the katsuobushi and steep it in the liquid for 30 minutes, with the heat on low. The liquid should never boil.
- Strain out the katsuobushi, shiitakes, and kombu, and let the liquid cool in the pot. Once the dashi has cooled, pour it into an airtight container and refrigerate or freeze it, as desired. The dashi will keep for up to 5-6 days in the fridge and up to 2-3 months in the freezer.
Miso Carmelized Onions

(Makes about 1 cup)
Ingredients:
- 2 tbsp vegetable oil
- 1 large yellow onion, julienned
- 25 tablespoon Shiro (white) Miso
- .5 tbsp brown sugar
- .5 c Sake
Method:
- In a wide-bottomed skillet or pot with a large surface area, heat the oil over a medium heat. Sauté the onion slices with the miso and brown sugar until they are browned. This should tale 10-15 minutes.
- Add ¼ cup of the Sake to the pan and continue to stir the onions for 20 minutes over medium-low heat until the onions really start top caramelize. You will want to keep an eye on the onions and stir them constantly so they don’t burn. The onions should turn a dark shade of brown.
- Deglaze the pan with the remaining sake and stir the onions for an additional 5 minutes. Take the onions off the heat.
- Store the onions for up to 5 days in an airtight container, refrigerated.
You can purchase The Peached Tortilla by Eric Silverstein here.
Recipe and image courtesy of The Peached Tortilla by Eric Silverstein. Sterling Epicure 2019.